
Dual Booting CachyOS and Windows
There is something about CachyOS. It feels fast. The performance is excellently smooth, specially if you have newer hardware.
I don’t have data to prove it but my new Asus Zenbook that I bought in November last year is rocking CachyOS superbly.
The new laptop came with Windows, which is not surprising. I didn’t replace Windows with Linux. Instead, I installed CachyOS in dual boot mode alongside Windows.
The thing is that it was straightforward to do so. Anything simple in the Arch domain is amusing in itself.
So, I share my amusing experience in this video.
I understand that video may not be everyone’s favorite format so I created this tutorial in the text format too.
There are a few things to note here:
- An active internet connection is mandatory. Offline installation is not possible.
- An 8 GB USB is needed to create the installation medium.
- At least 40 GB free disk space (it could be 20 GB as well but that would be way too less).
- Time and patience is of essence.
Use Swiss-based pCloud storage
Back up important folders from your computer to pCloud, securely. Keep and recover old versions in up to 1 year.
Learn more about pCloud backup
Creating live USB of CachyOS and booting from it
First, download the desktop edition of CachyOS from its website:
You can create the live USB on any computer with the help of Ventoy. I used my TUXEDO notebook for this purpose.
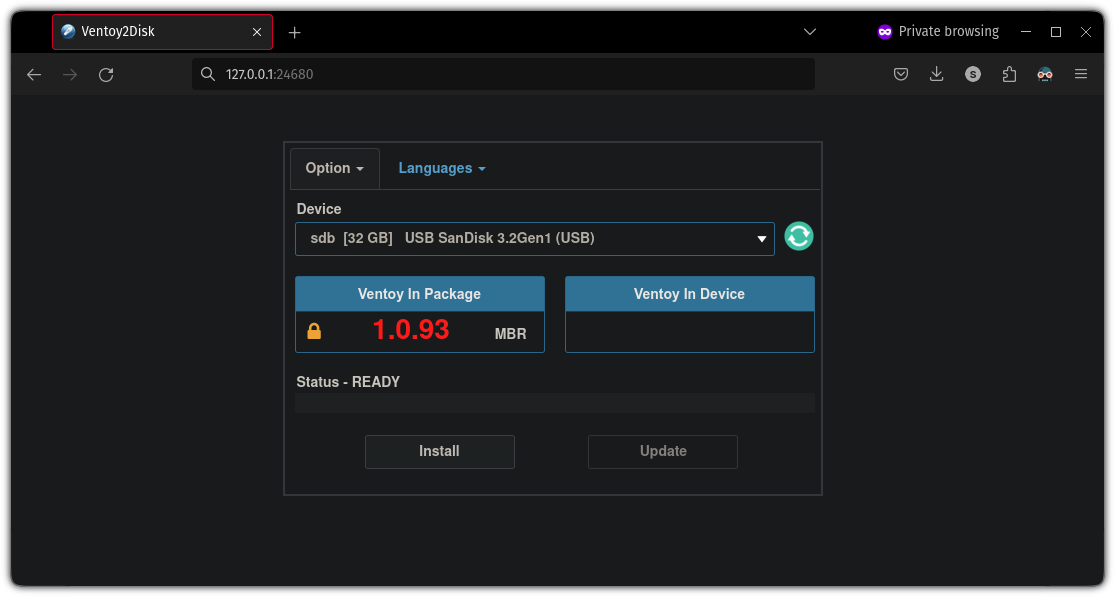
Download Ventoy from the official Website. When you extract it, there will be a few executables in it to run it either in a browser or in a GUI. Use whatever you want.
Making sure that USB is plugged in, install Ventoy on it.
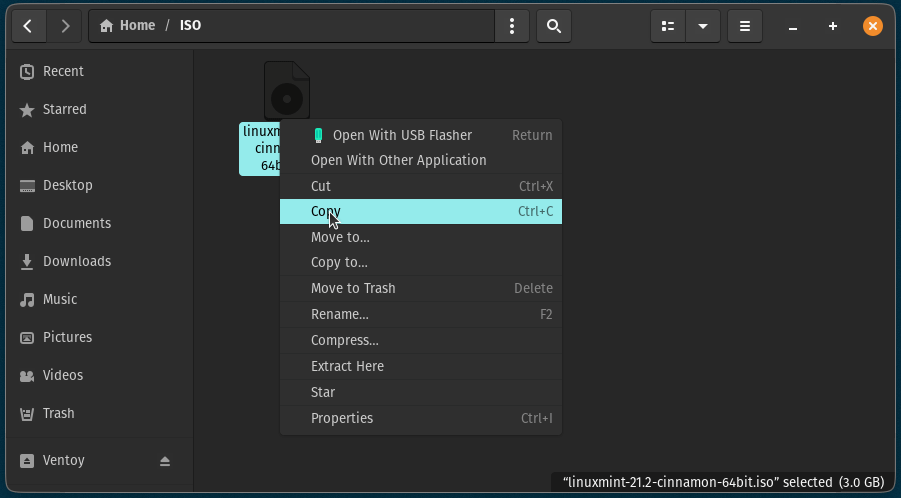
Once done, all you need to do is to drag the CachyOS ISO to the Ventoy disk. The example below shows it for Mint but it’s the same for any Linux ISO.
If you need detailed steps for using Ventoy, please follow this tutorial.
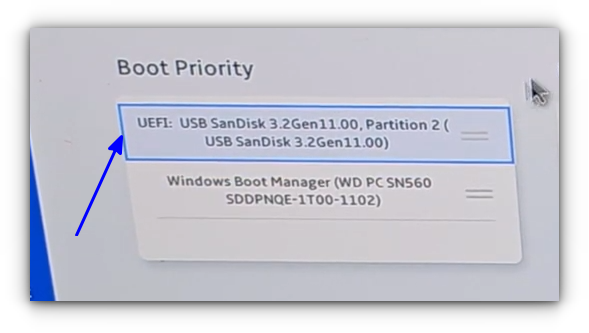
Once I had the CachyOS live USB, I put it in the Asus Zenbook and restarted it. When the computer was starting up, pressing F2/F10 button took me to the BIOS Settings.
I did that to ensure that the system boots from the USB instead of the hard disk by changing the boot order.
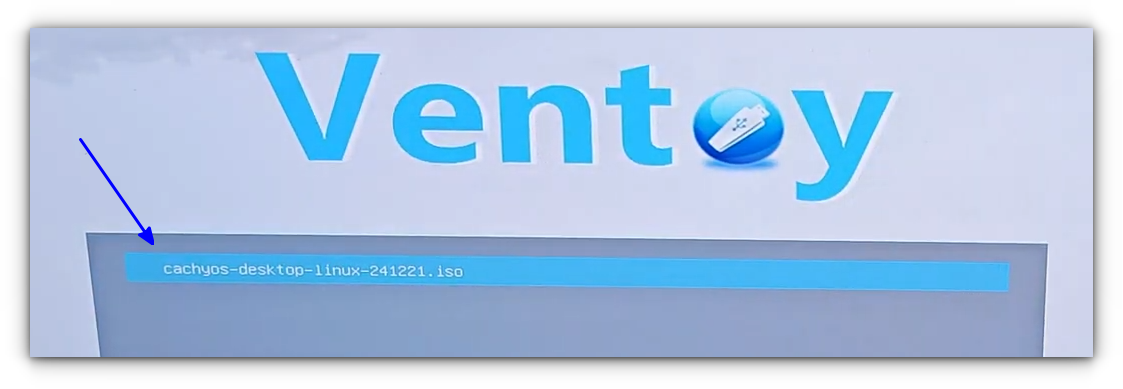
When the system booted next, Ventoy screen was visible and I could see the option to load the CachyOS live session.
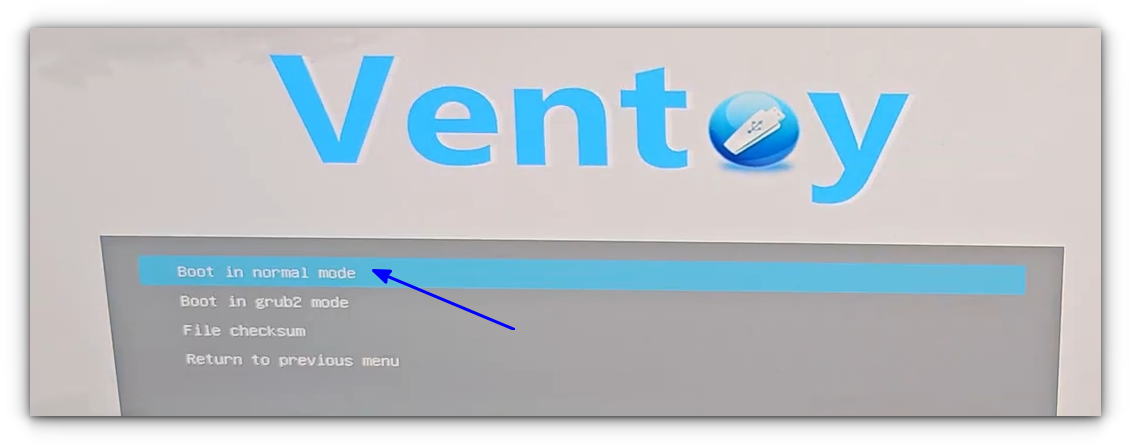
I selected to boot in normal mode.
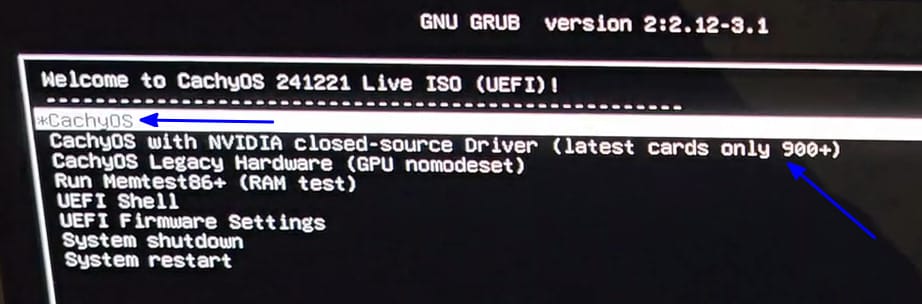
There was an option to boot into CachyOS with NVIDIA. I went with the default option.
While booting into CachyOS, I ran into an issue. There was a “Start Job is running…” message for more than a minute or two. I force restarted the system and the live USB worked fine the next time.

If this error persists for you, try to change the USB port or create live USB again.
Another issue I discovered by trial and error was relating to the password. CachyOS showed a login screen that seemed to be asking for username and password. As per the official docs, there are no password required in live session.
What I did was to change the display server to Wayland and then click the next button, and I was logged into the system without any password.

Installing CachyOS
Again, active internet is mandatory to download the desktop environment and other packages.
Select the “Launch installer” option.
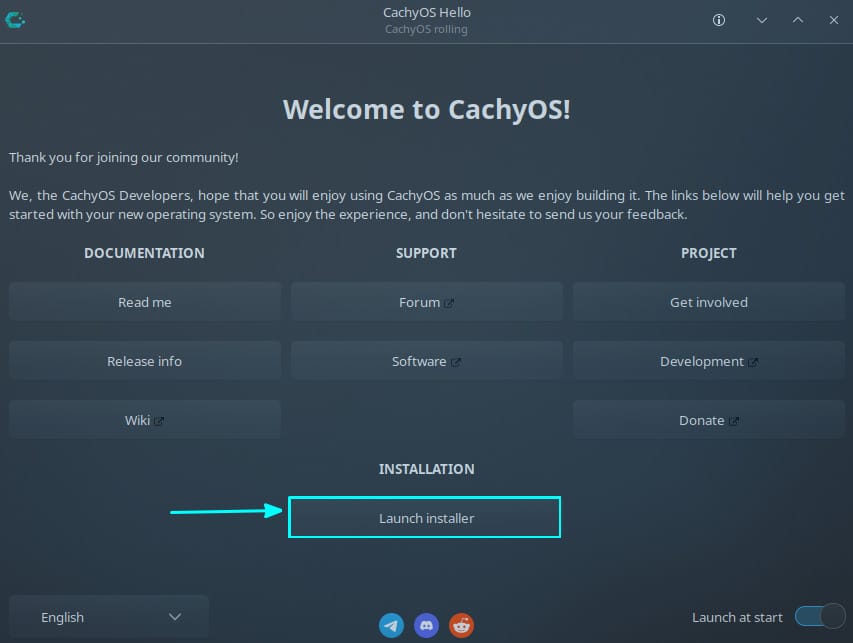
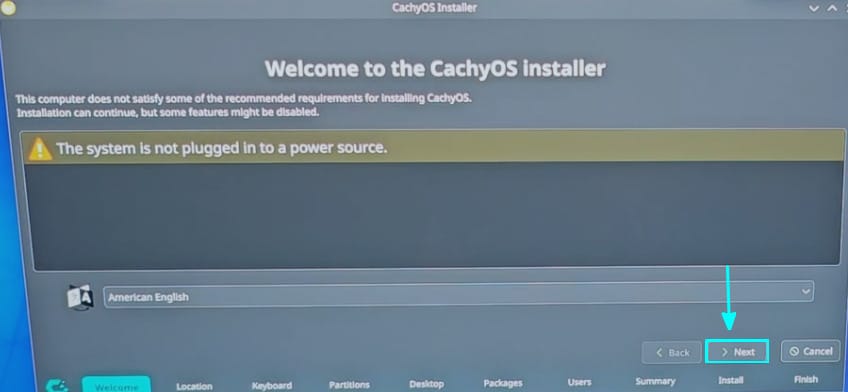
My system was not plugged into a power source but it had almost 98% battery and I knew that it could handle the quick installation easily.
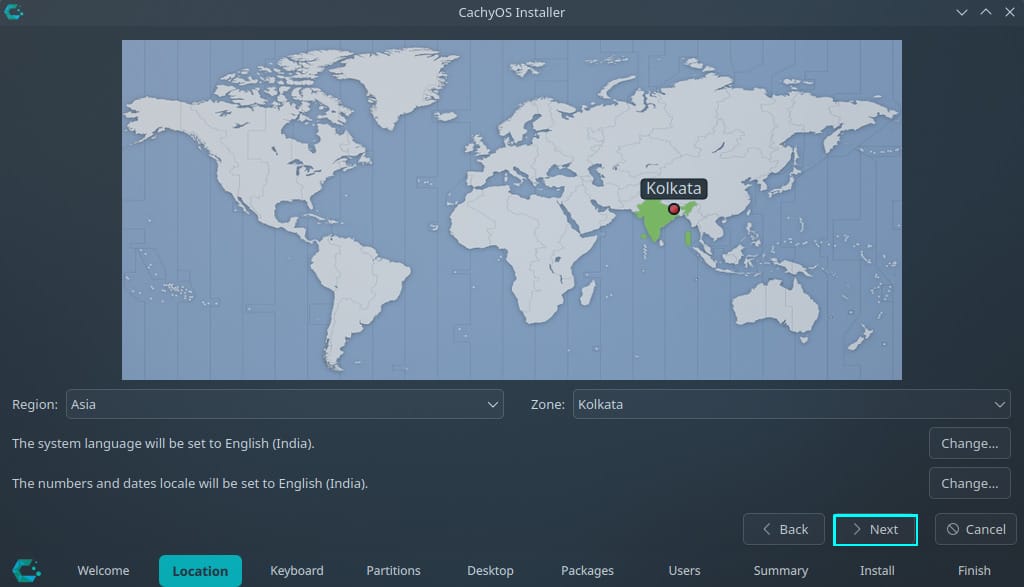
Quite straight forward settings in the beginning. Like selecting time zone
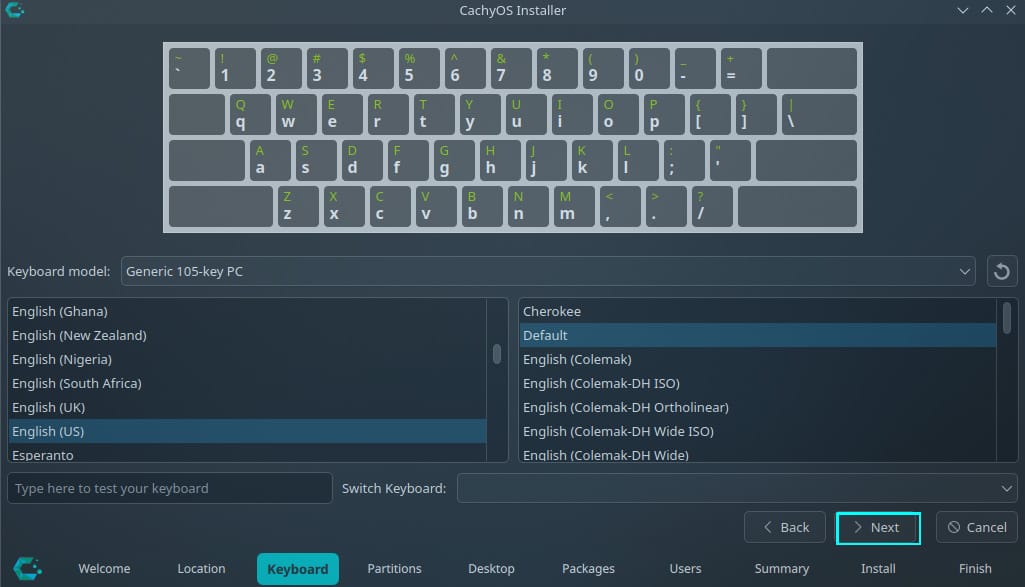
and keyboard layout.
The most important step is the disk partition and I was pleasantly surprised to see that the Calamares installer detected Windows presence and gave option to install CachyOS alongside.
I have a single disk with Windows partition as well as EFI system partition.
All I had to do was to drag the slider and shrink the storage appropriately.
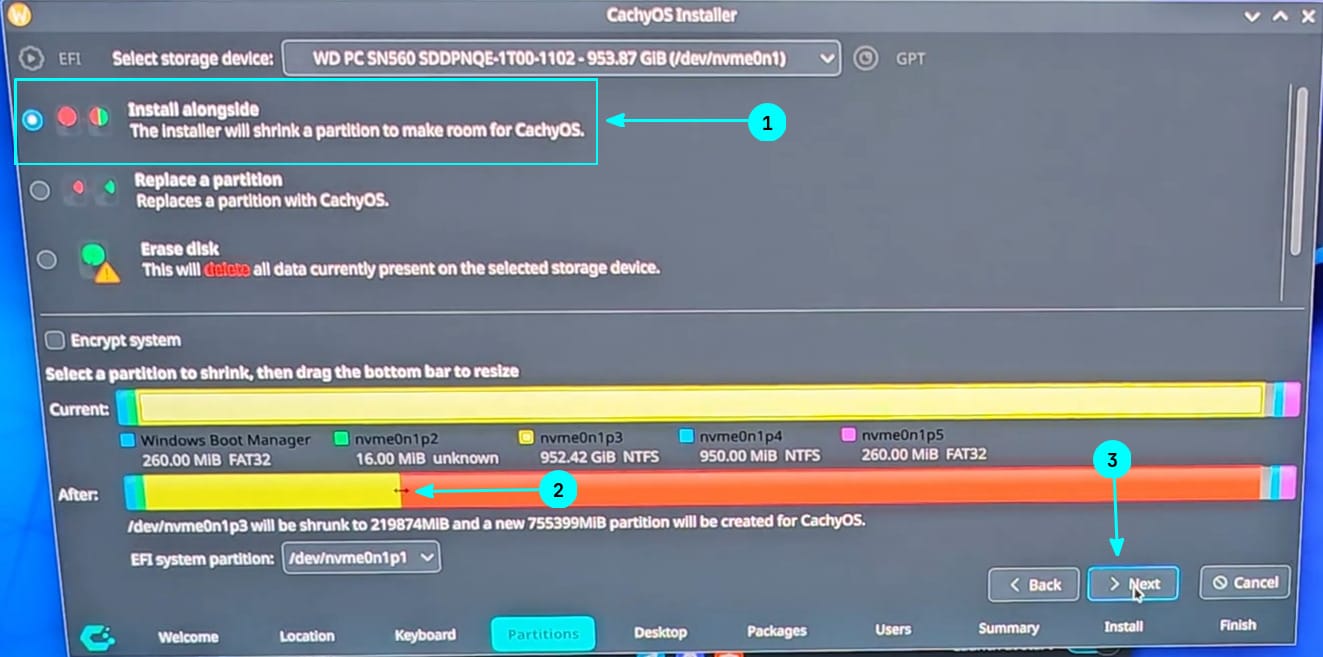
I gave more space to Linux because it was going to be my main operating system.
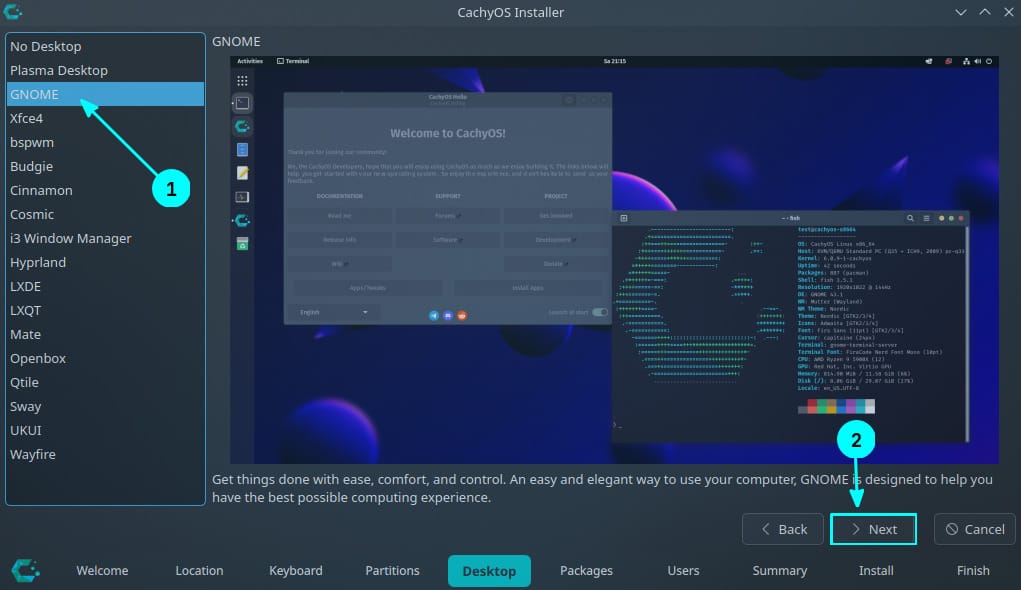
The next screen gave the options to install a desktop environment or window manager. I opted for GNOME. You can see why it is important to have active internet connection. The desktop environment is not on the ISO file. It needs to be downloaded first.
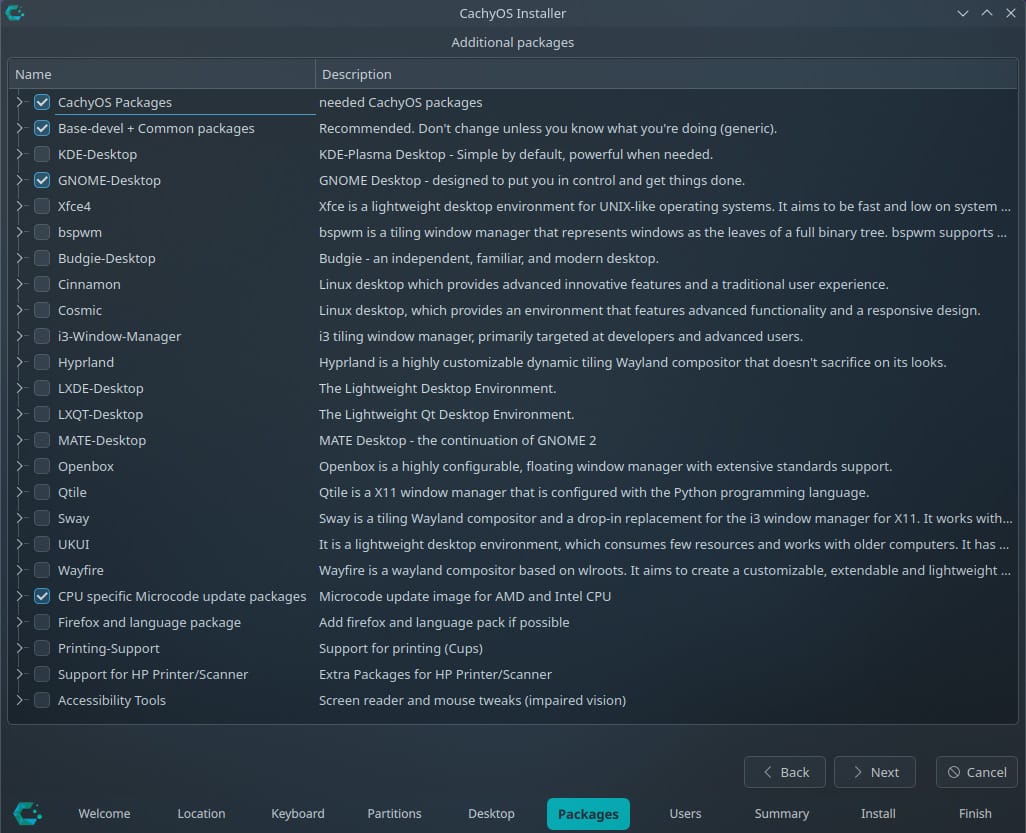
And a few additional packages are added to the list automatically.
And as the last interactive step of install, I created the user account.

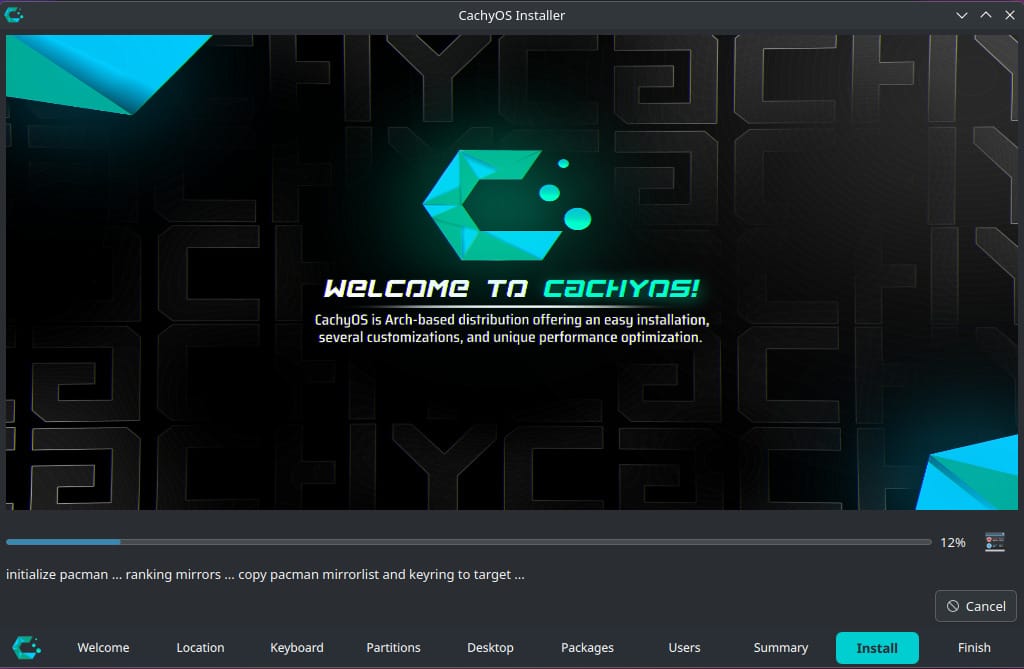
A quick overview of what is going to be done at this point. Things looked fine so I hit the Install button.

And then just wait for a few minutes for the installation to complete.
When the installation completes, restart the system and take out the live USB. In my case, I forgot to take the USB out, but still booted from the hard disk.
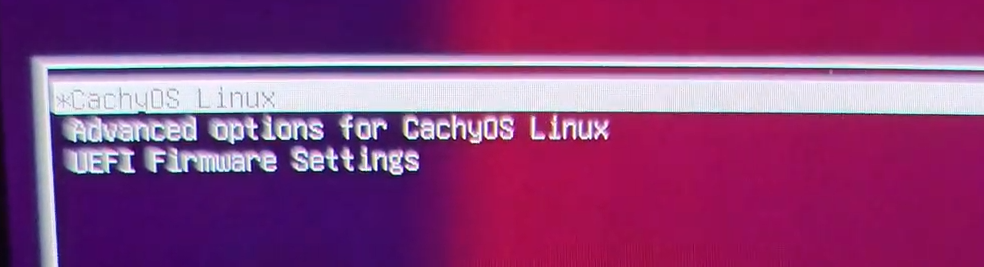
Fixing the missing Windows from grub
When the system booted next, I could see the usual Grub bootloader screen but there was no Windows option in it.
Fixing it was simple. I opened the grub config file for editing in Nano.
sudo nano /etc/default/grubOS_PROBER was disabled, so I uncommented that line, saved the file and exited.

The next step was to update grub to make it aware of the config changes.
sudo grub-mkconfig -o /boot/grub/grub.cfgAnd on the next reboot, the Windows boot manager option there to let me use Windows.

This is what I did to install CachyOS Linux alongside Windows. For an Arch-based distro, the procedure was pretty standard, and that’s a good thing. Installing Linux should not be super complicated.
💬 If you tried dual booting CachyOS, do let me know how it went in the comment section.