
Proton’s Lumo is Finally Useful and Gives Us Hope for a Real Private AI
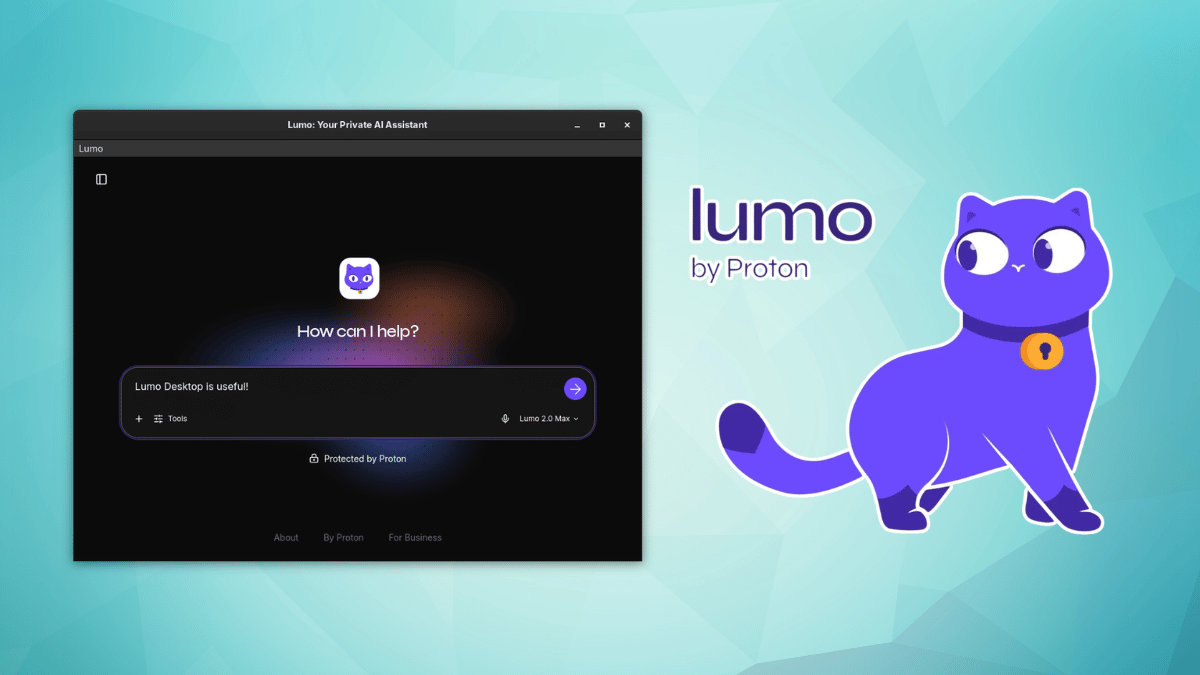
Lumo is, as you know, Proton’s cat-themed AI assistant that positions itself as a private alternative to the likes of Gemini, ChatGPT, and Claude.
You can already use it on the web and through the Android and iOS apps. But now, Proton has launched a cross-platform desktop app for Lumo that covers most popular desktop platforms.
The app is not a from-scratch affair, as it takes the Lumo web app, puts it inside a Tauri window, and bolts on the parts that interact with your computer. Proton has put the wrapper on GitHub under the GPL-3.0, while the web app sits in a repository of its own.
Anyhow, I took it for a test run to see how it performed on a Linux system, specifically, my Fedora Workstation daily driver.
A late, but welcome arrival
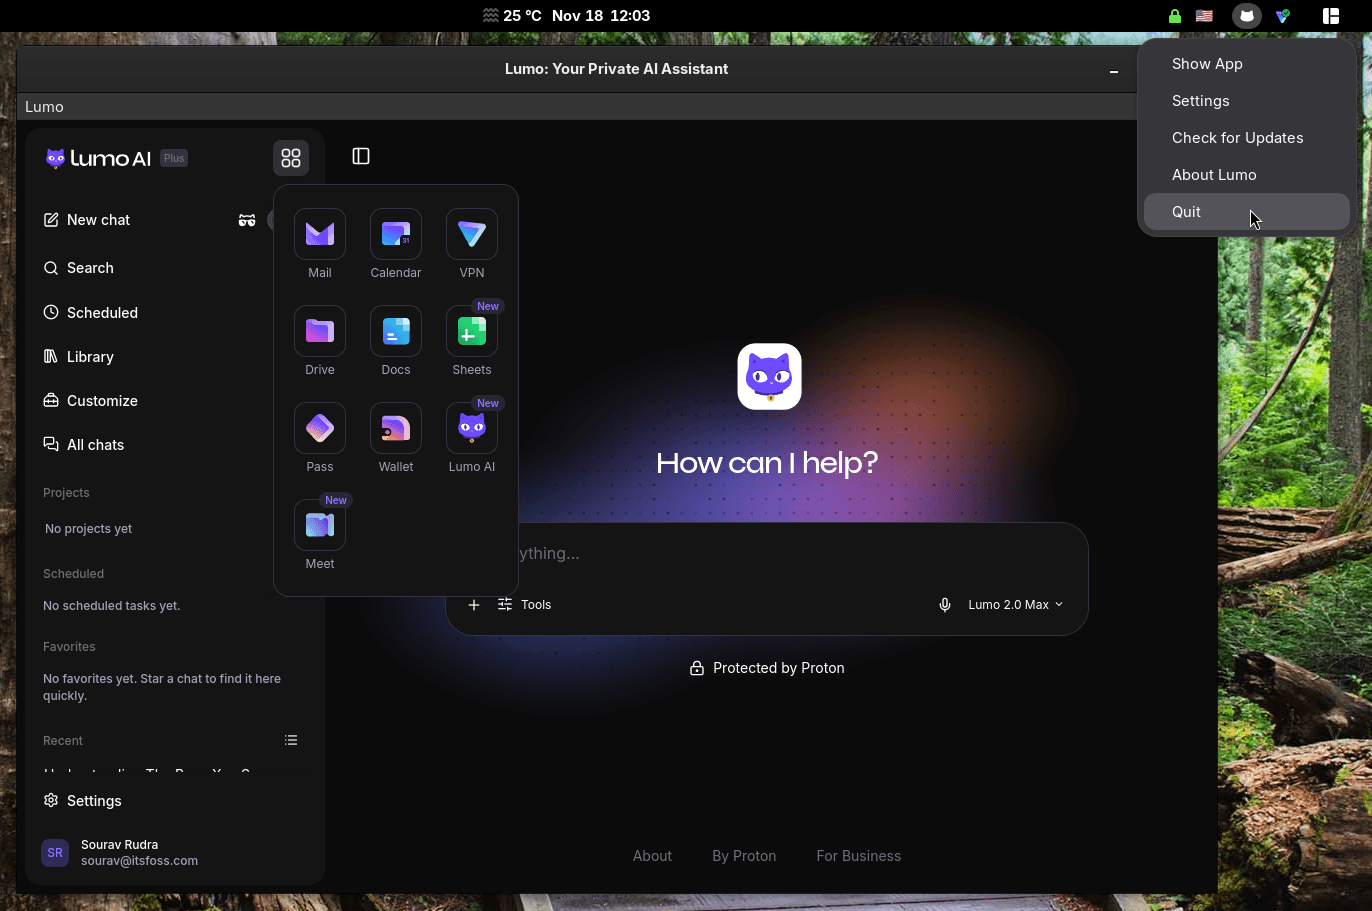
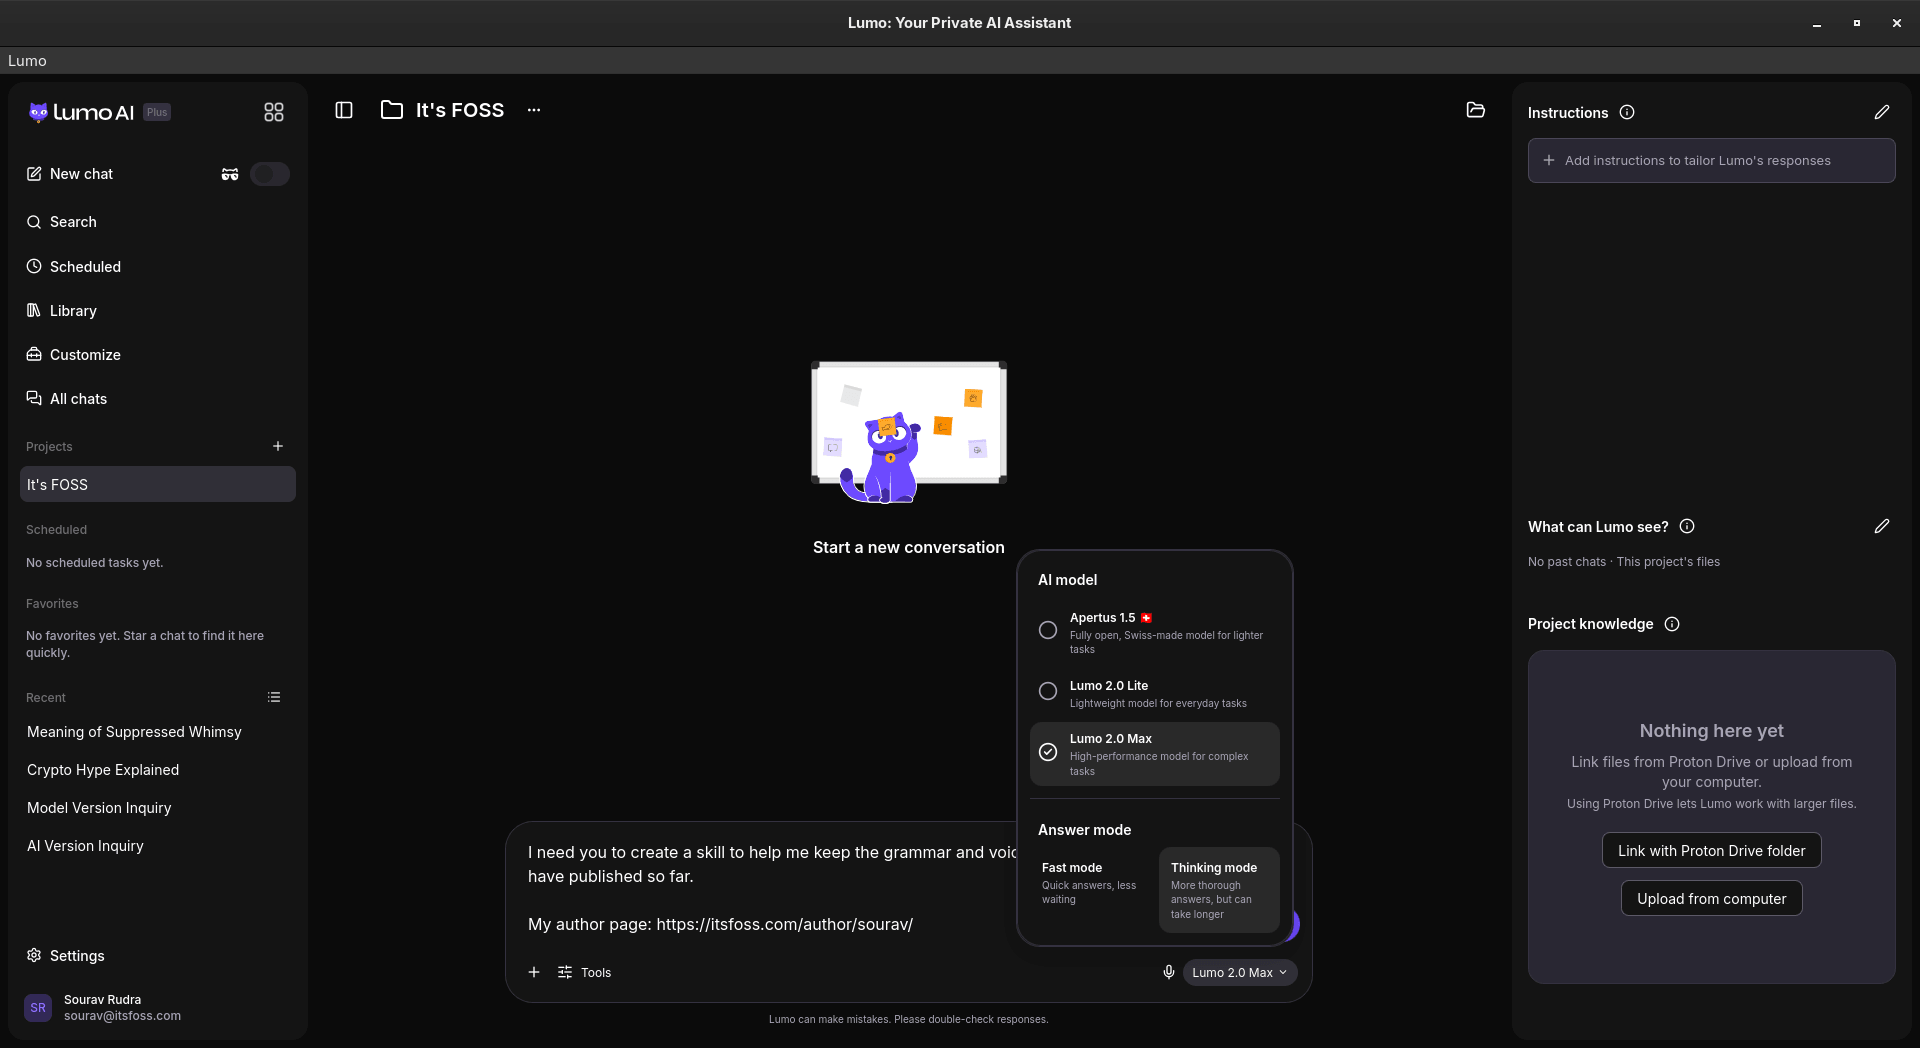
Opening the app for the first time feels like using the web version (partner link). It has a tray icon, a few new settings, and a familiar square-shaped button that gives quick access to the other proton services like Mail, Drive, Calendar, Docs, and Sheets.
The desktop app gains many neat features, like Connectors, where Lumo can access your files and shell, along with apps such as Google Drive and Jira.
With Skills, you can store instructions and supporting files for Lumo to use in later chats, and existing Custom Lumos carry over to them automatically, and with Scheduled Tasks, you can have Lumo take care of a recurring job at set times.
There’s also MCP server support that lets you hook up your own local/remote tools to Lumo. For all my tests below, I used the Lumo 2.0 Max model with “Thinking” mode on.
Scheduling some tasks
Going into the “Scheduled” tab gives you an overview of what kind of tasks Lumo can handle for you. Clicking the “New task” button lets you set one up manually or have Lumo create it; I went with the second option.
I asked it to fetch news from the Open Source, Linux, and a few related categories on certain days, and Lumo walked me through the details with a few multiple-choice questions.
Tweaking the parameters was a friction-free affair too! ✅
I then asked it to run on weekdays only and keep the excerpts short, which gave me a second task. Lumo said it had replaced the old one, but both were still active on the Scheduled page.
Though carrying out a test run worked remarkably well, as Lumo came up with some useful leads. I asked it where the digests would arrive; it said they show up as chats. When I asked if the news was stale, it said a couple of items dated back to late October.
Connecting to Proton Mail
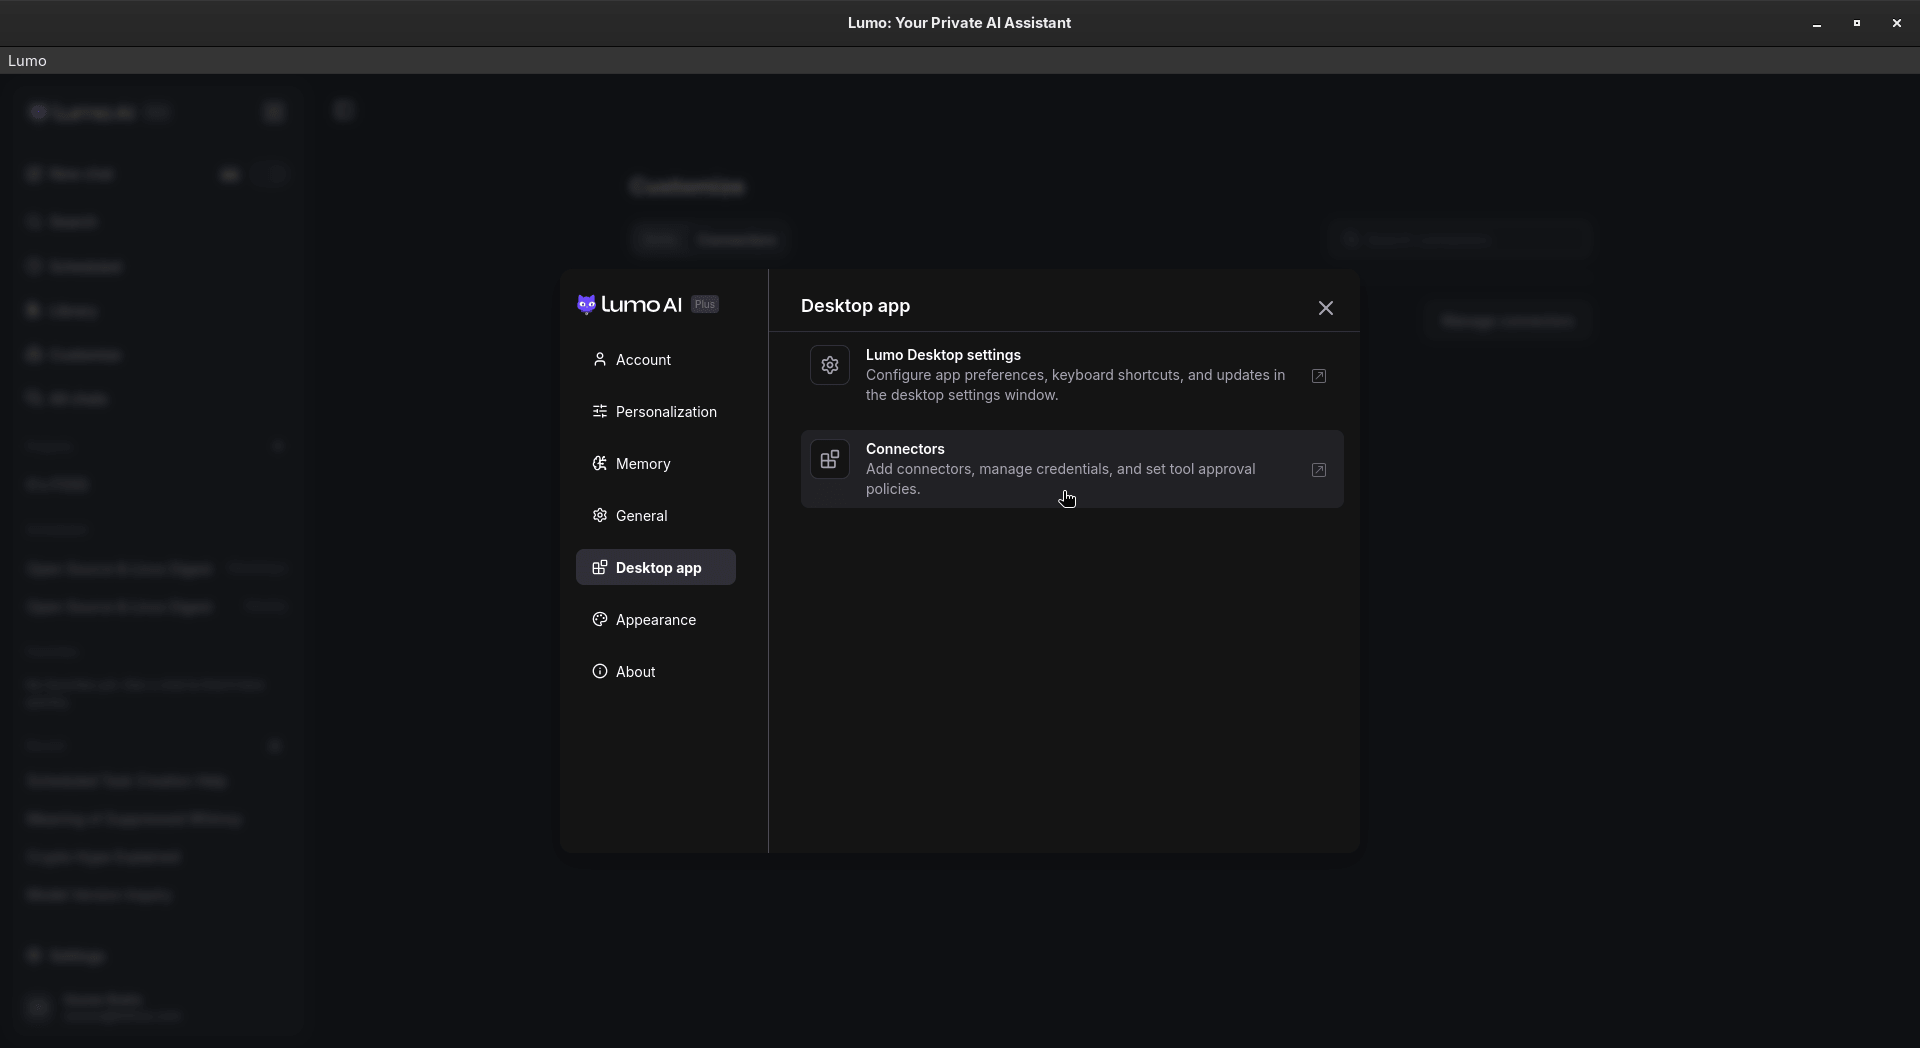
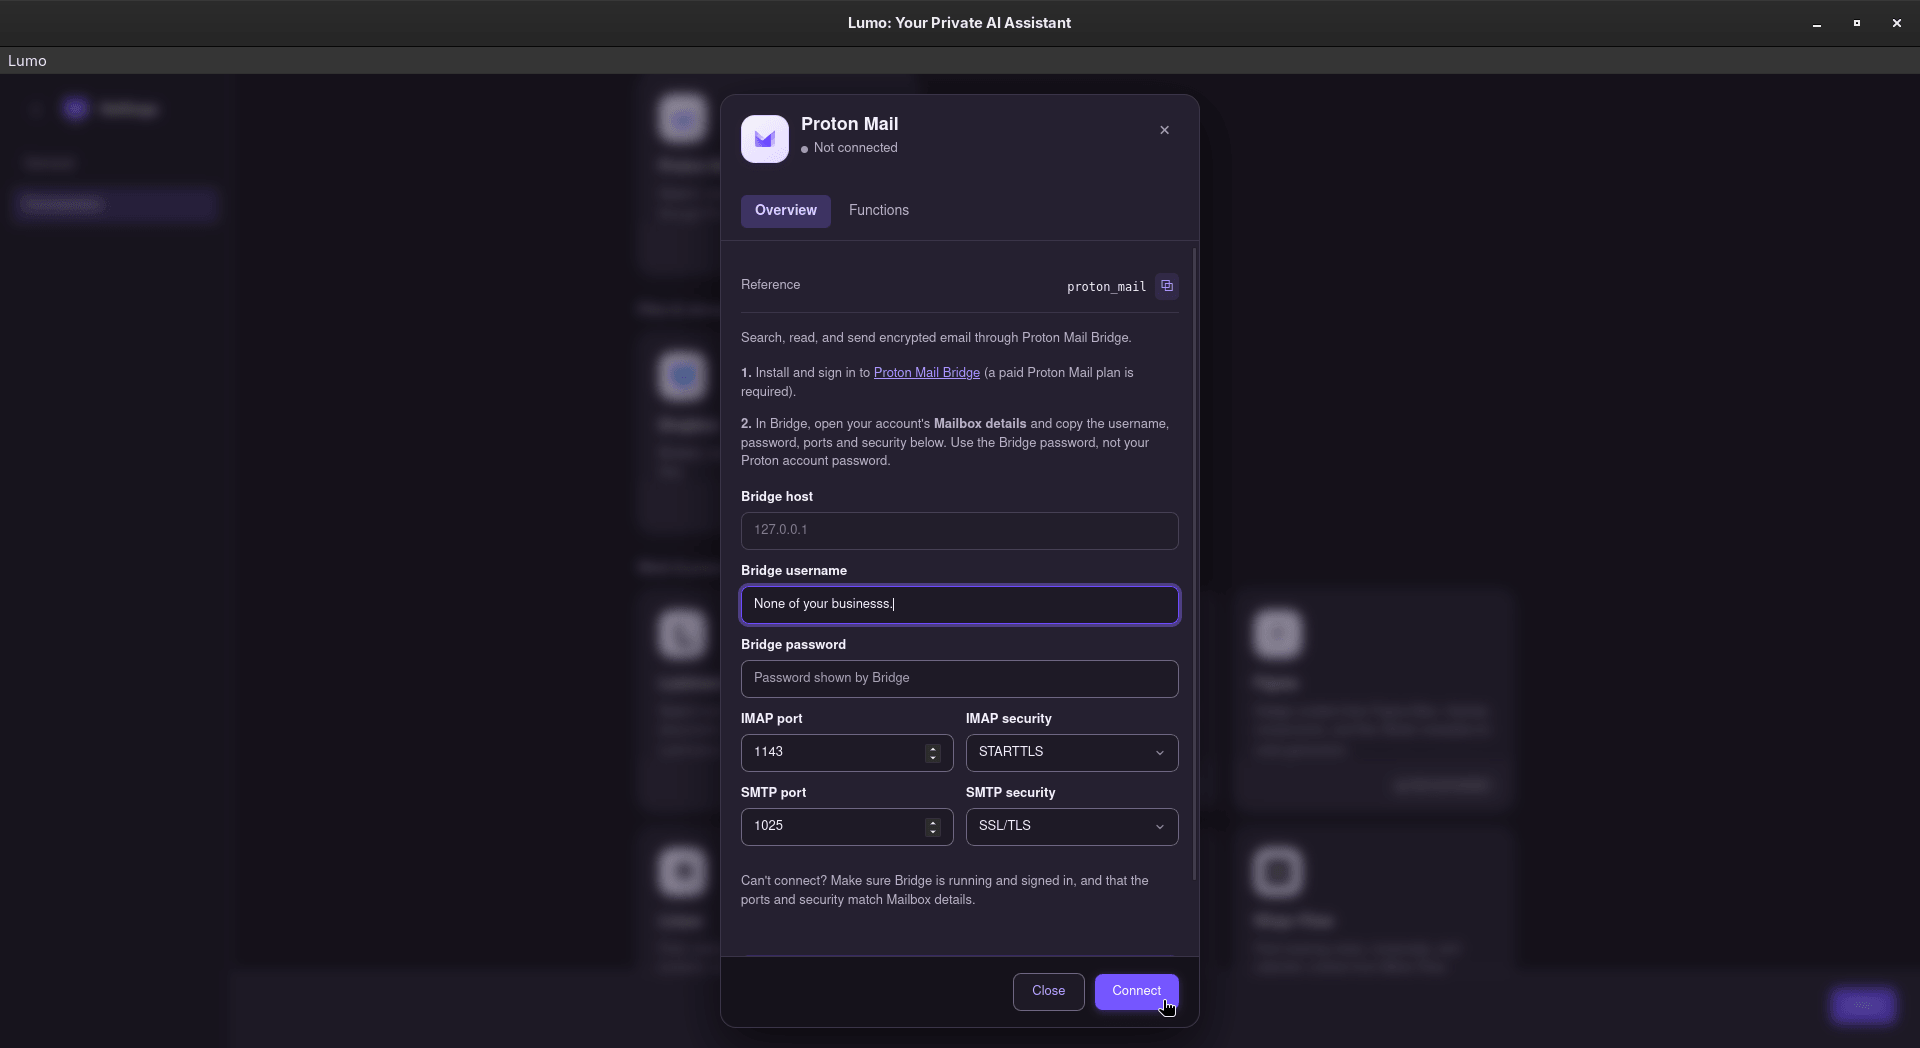
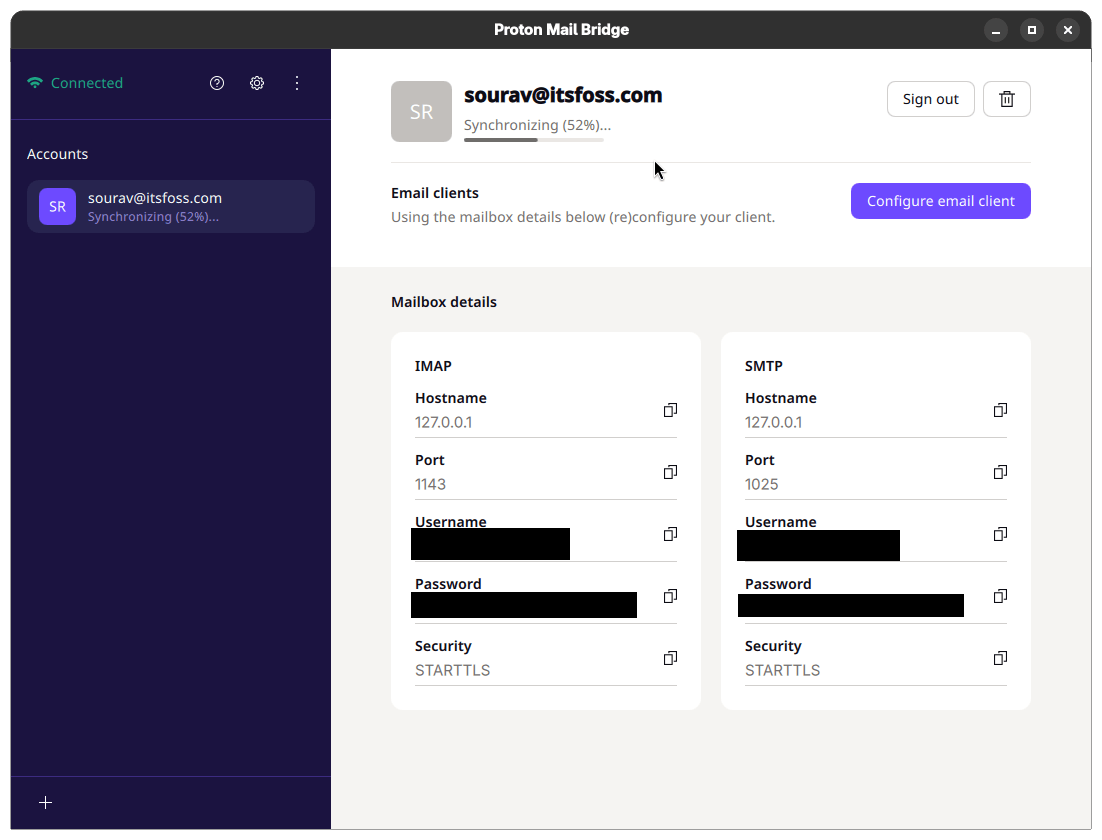
Next, I connected Proton Mail so that Lumo could go through my inbox. Doing that meant setting up the paywalled Proton Mail Bridge first, and as I have a paid Proton Mail plan, I went on to install it, sign in, and copy its mailbox details into the connector.
Bridge took a long while to sync my mail, and I had to wait for it to finish.
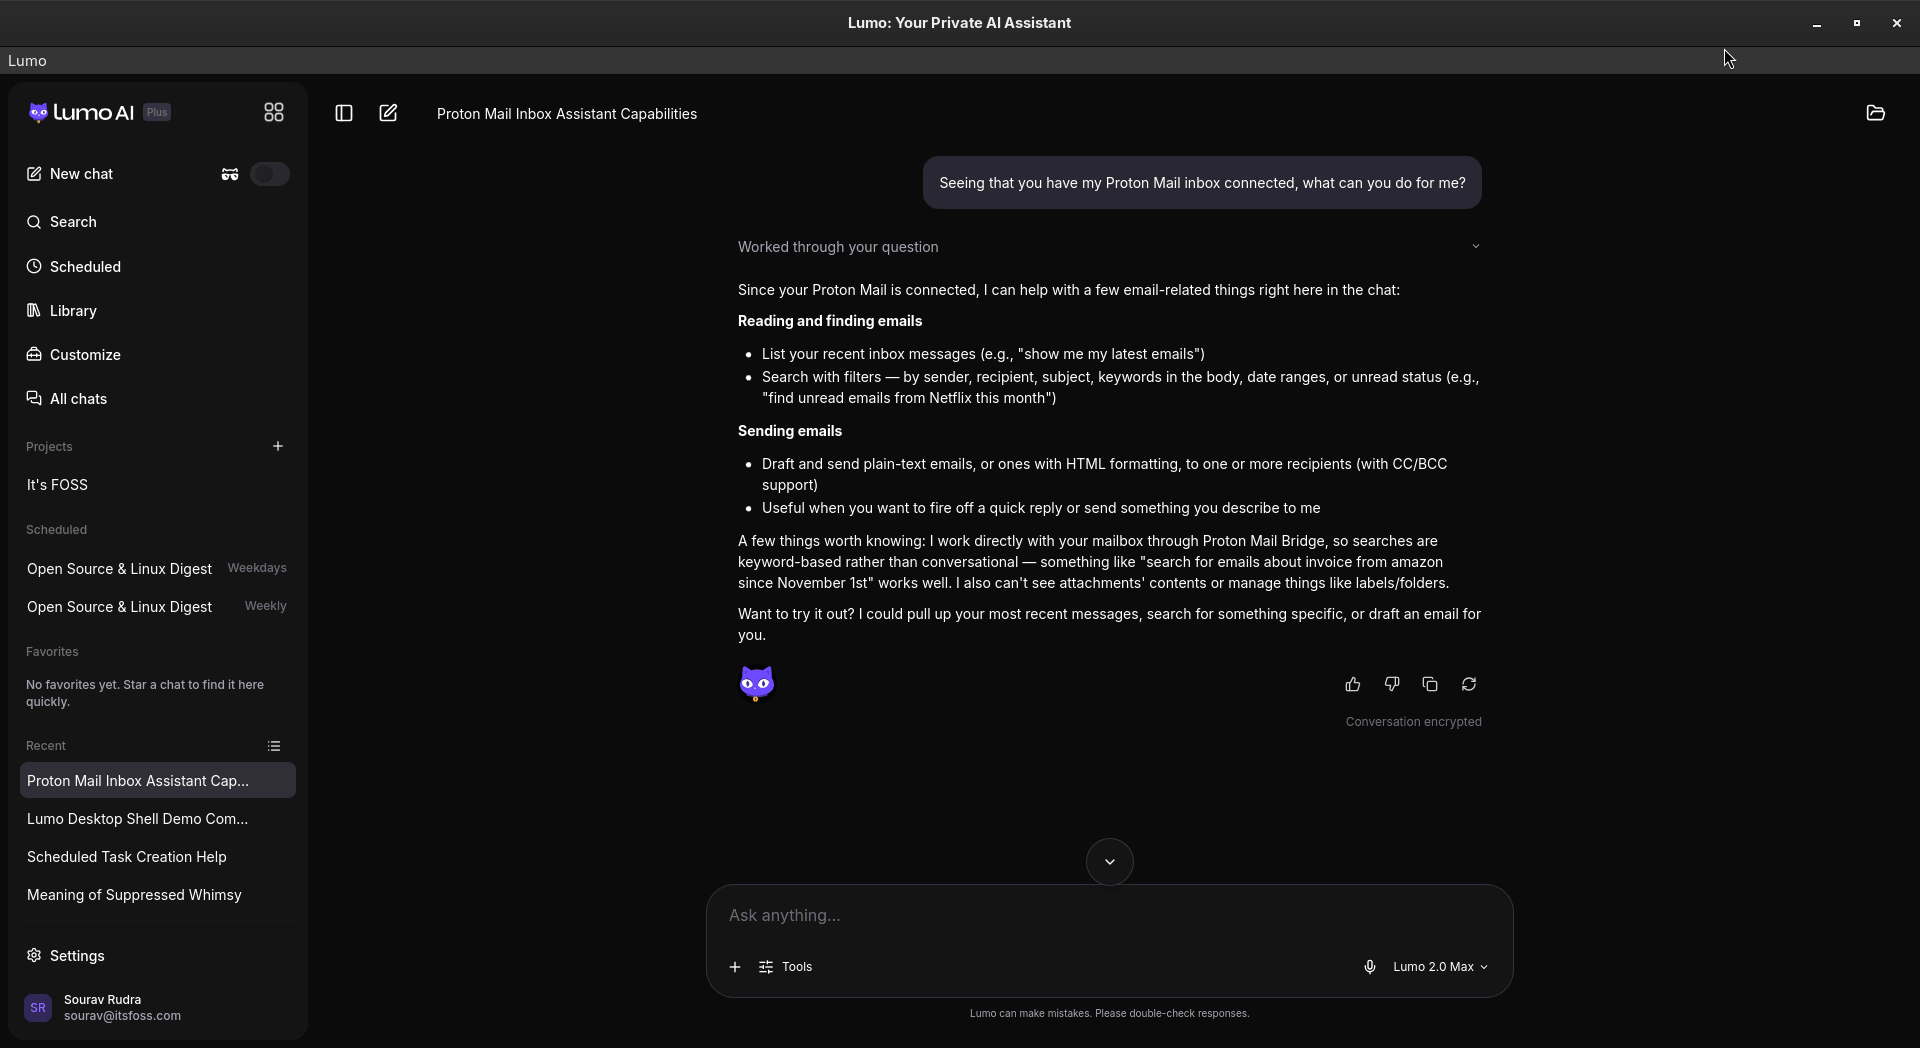
Once connected, I asked Lumo what it could do with my inbox. It said it can list and search emails, draft and send them, but cannot read attachments or manage labels and folders.
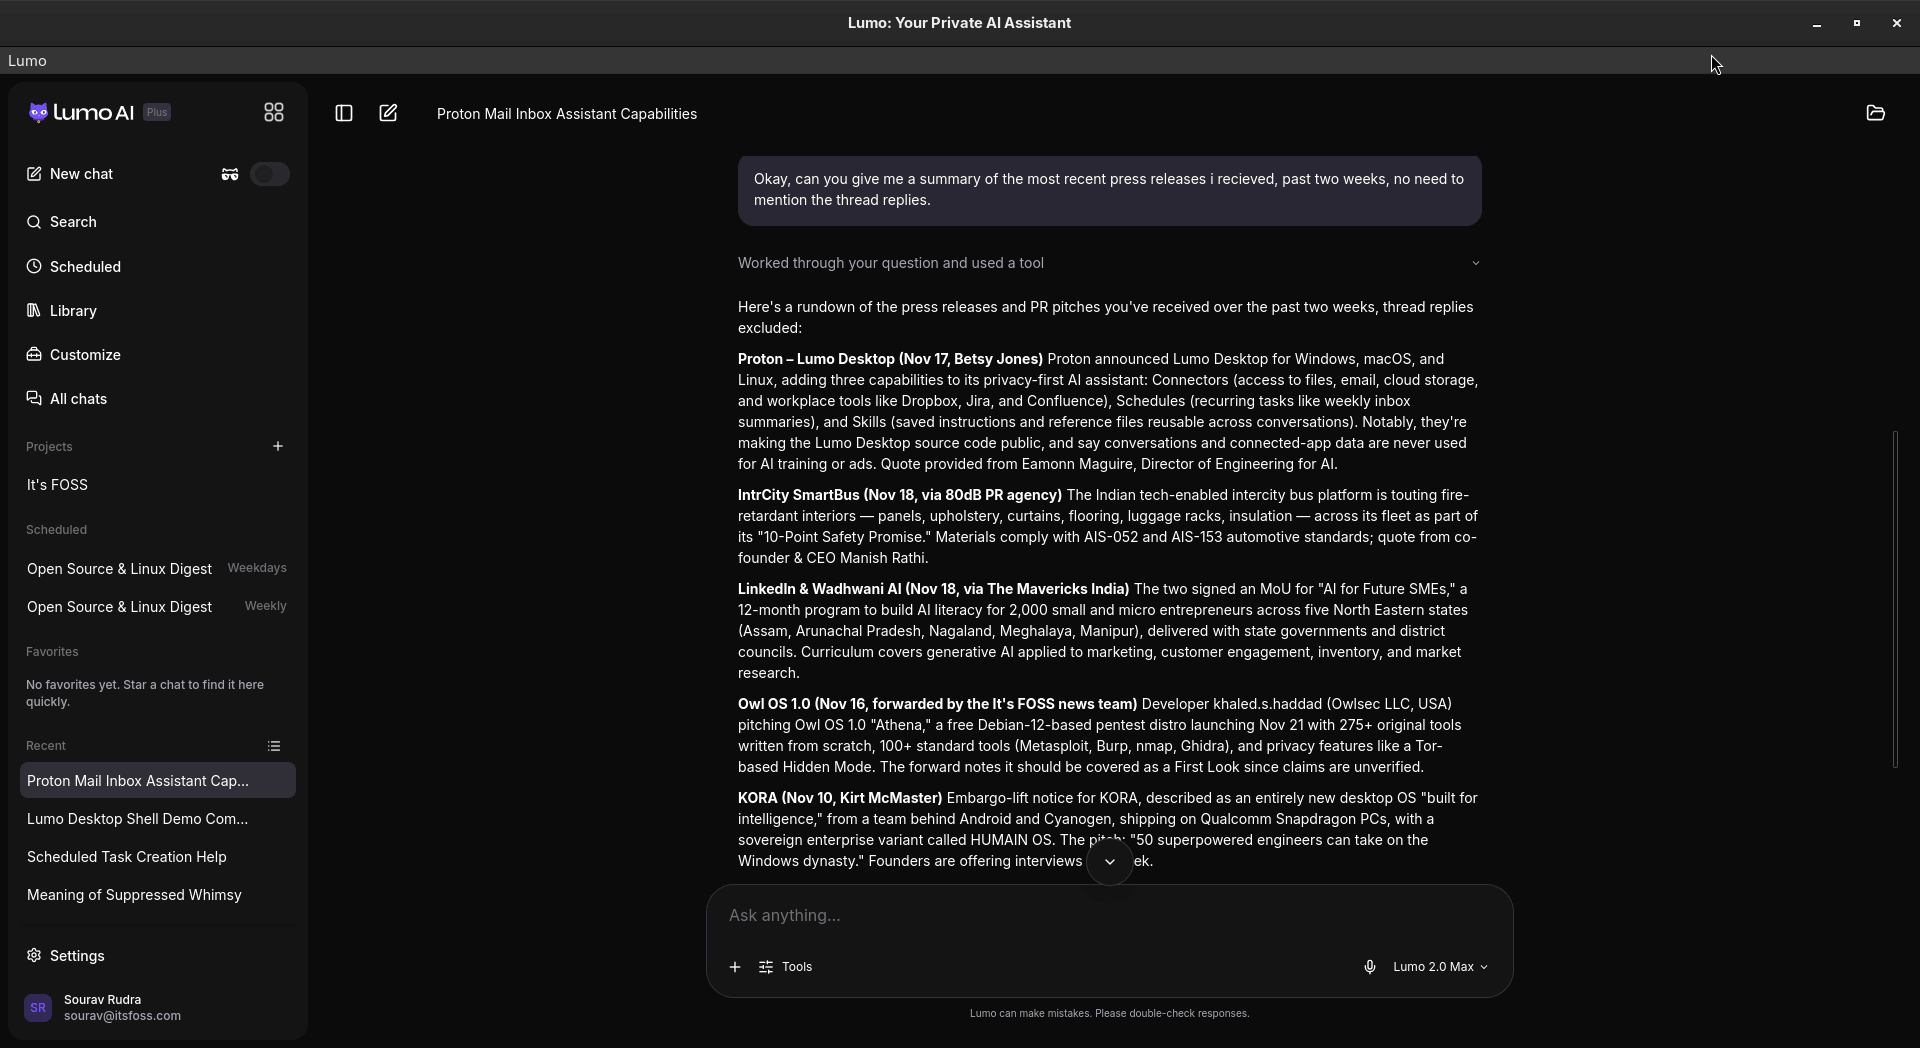
I then asked it to summarize the press releases I had received over the past two weeks, skipping thread replies. It took a while, but the rundown was good and included two pieces I had not read yet.
Setting it up
As mentioned earlier, the desktop app for Lumo is available for Linux, Windows, and macOS. If you are on Linux, then you get to choose between the .deb and .rpm packages.
On Ubuntu, installation consists of these steps:
- Download the DEB package.
- Right-click on it and execute it via the App Center.
- Then install it using the big green button and enter your account password.
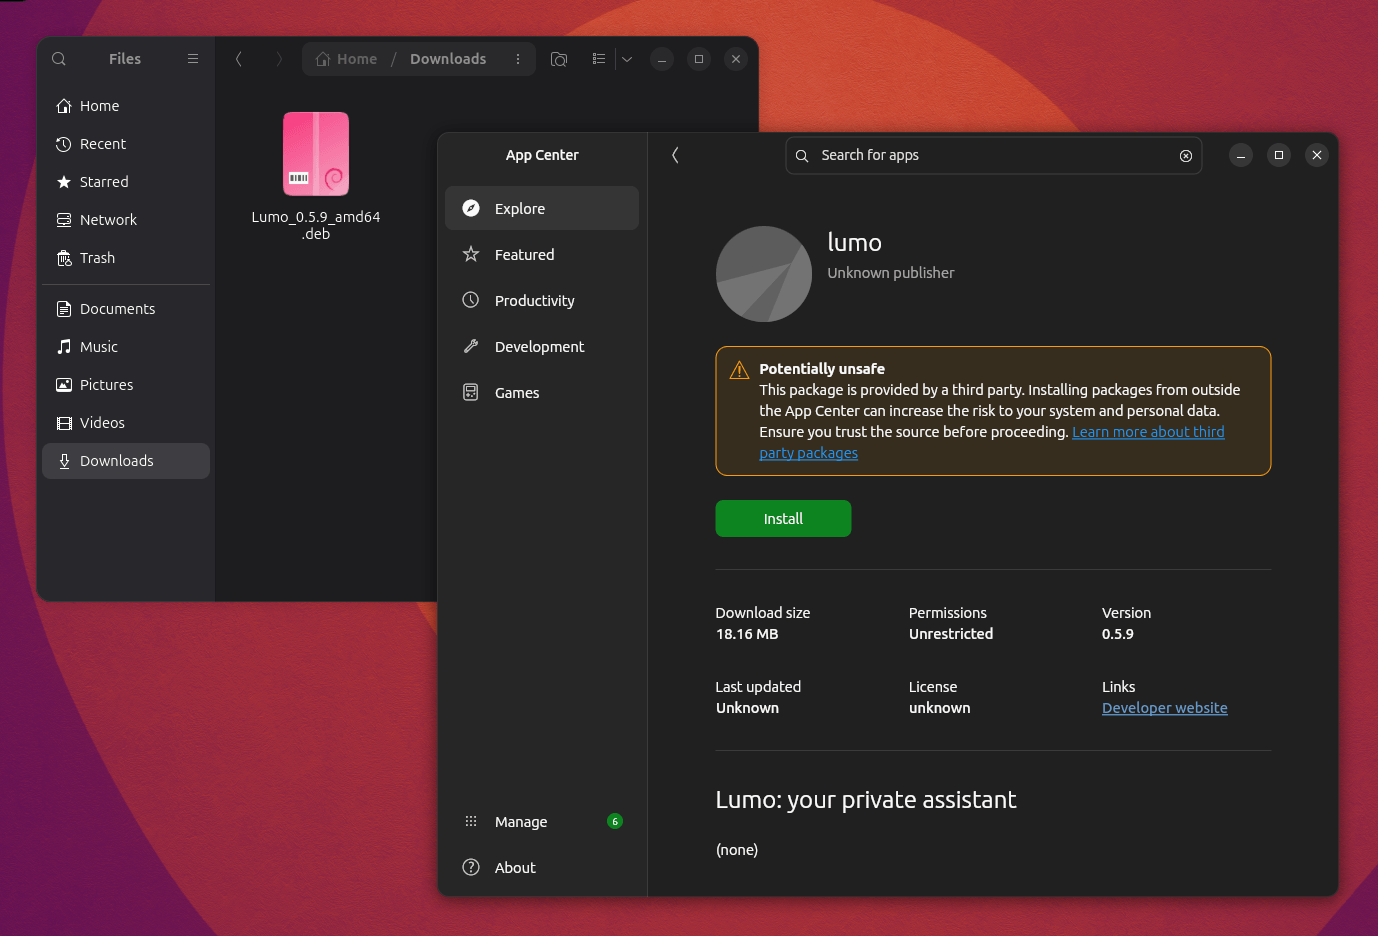
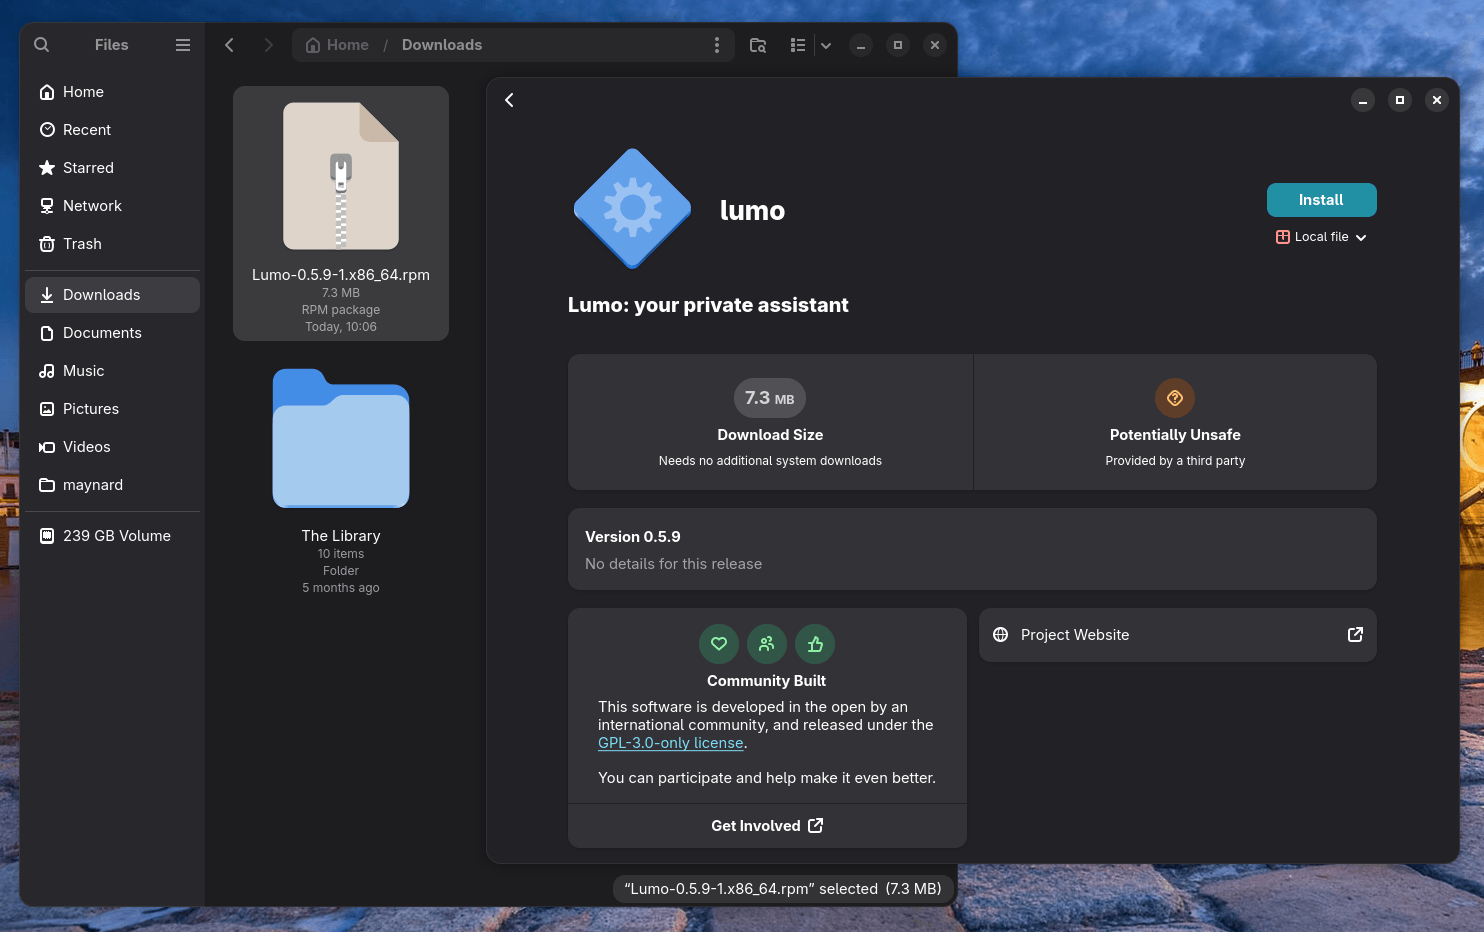
Ubuntu (left) and Fedora (right) installation.
On Fedora, installation consists of these steps:
- Download the RPM package.
- Right-click on it and execute it via the Software Install.
- Then get it installed by clicking on the “Install” button after verifying the details and entering your account password.
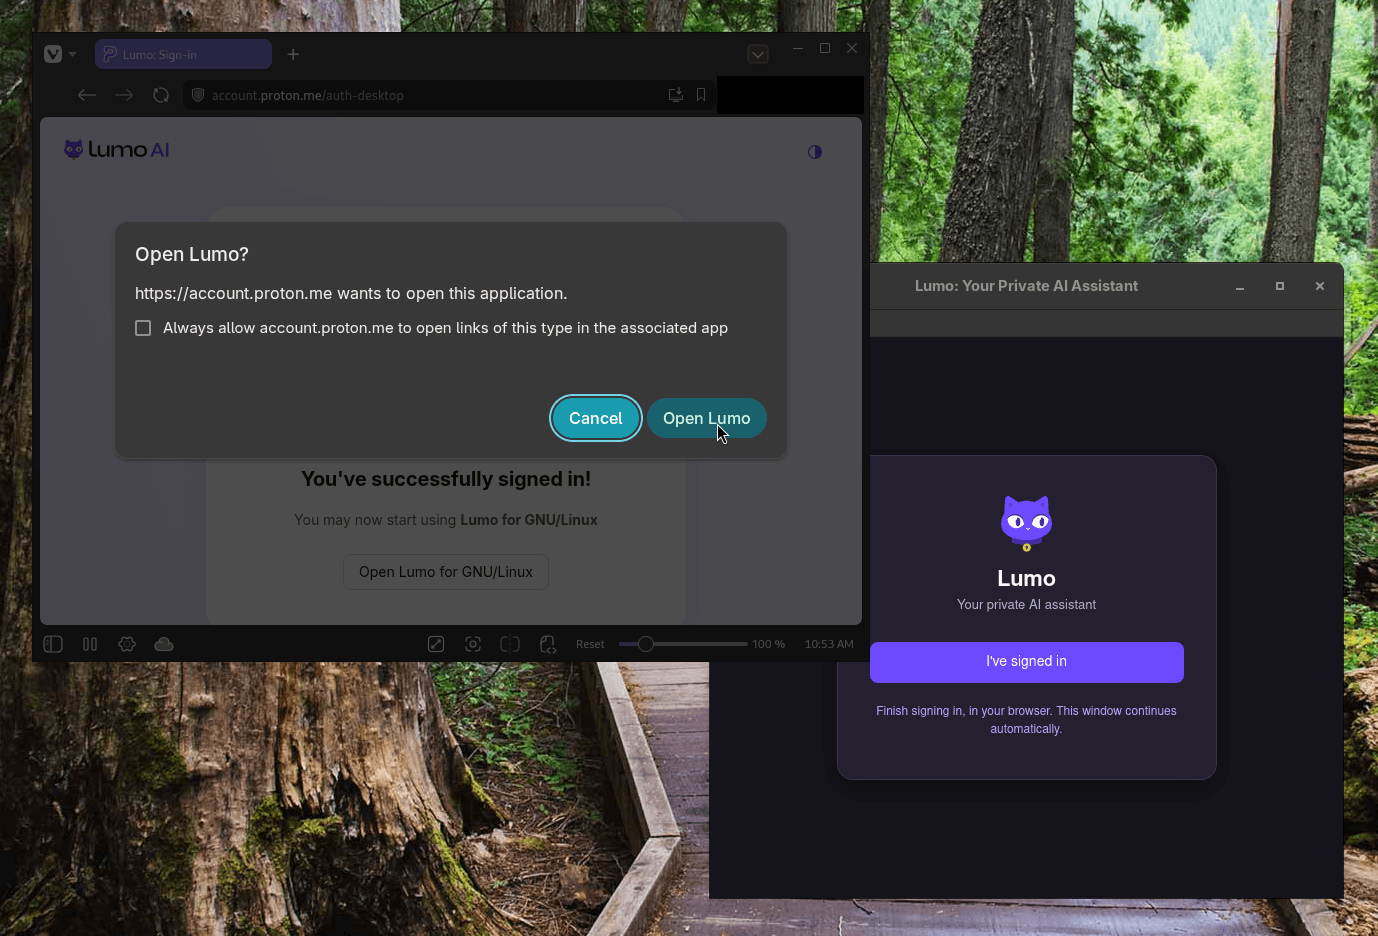
Though, keep in mind that you will need to be signed-in to your Proton account on your default web browser as authentication is carried out via that. Also, ensure that you complete the verification in time, or else the link will expire.
