How to get started with BusyBox on Linux
BusyBox is a handy utility tool that provides a collection of several stripped-down UNIX shell command-line tools and tiny Linux programs in a single executable file of approximately 2 MB. It runs in multiple environments such as Android, Linux, FreeBSD, and so many others. BusyBox was specifically created for embedded devices with very limited memory and storage space.
BusyBox is dubbed a Swiss Army knife tool and provides minimalistic replacements for shell utilities that you would find in GNU shellutils, fileutils, and coreutils. It can also be found in Linux distributions with a small footprint such as Alpine Linux.
In this guide, we will help you get started with Busybox on Linux. We will also learn how to install and use it effectively.
How to Install BusyBox on Linux
There are a number of ways of installing BusyBox on a Linux system. Starting with Debian / Ubuntu-based distributions, you can use the APT package manager as follows.
$ sudo apt update
$ sudo apt install busybox

For Other distributions such as ArchLinux, Fedora, RHEL, CentOS , Rocky and AlmaLinux, you will have to install it from a prebuilt binary file. So, first, download the Busybox 64-bit binary file as follows.
$ wget https://busybox.net/downloads/binaries/1.31.0-defconfig-multiarch-musl/busybox-x86_64
Next, give it a simpler name. In my case, I renamed it to busybox
$ mv busybox-x86_64 busybox
Then assign it execute permissions using the chmod command.
$ chmod +x busybox
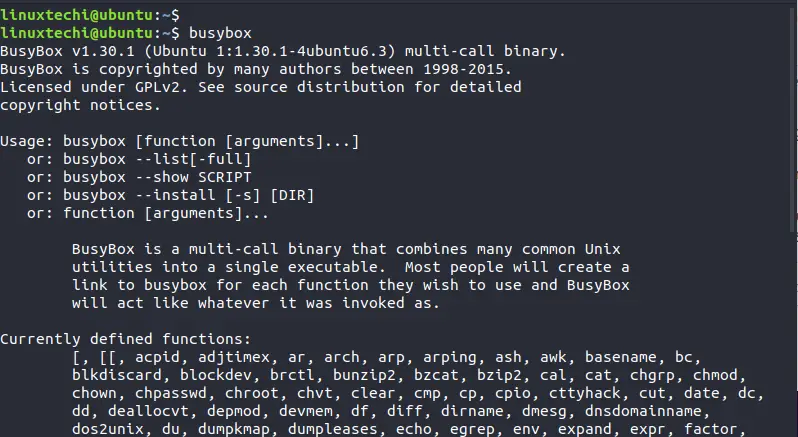
To run BusyBox and check out the version , usage and currently supported functions, run the command:
$ busybox

BusyBox is also available as a Docker container image. But first, ensure that you have already installed Docker.
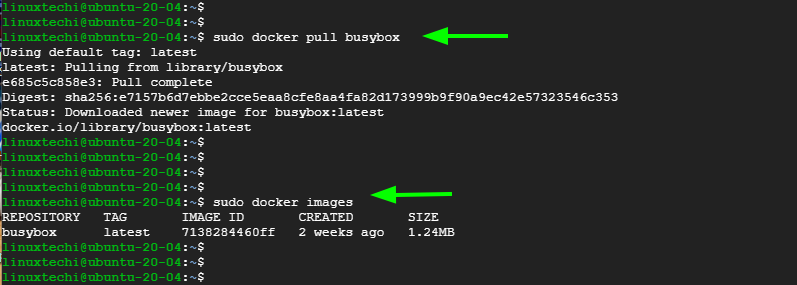
To pull the BusyBox image, run the command:
$ sudo docker pull busybox
To confirm the existence of the image, execute:
$ sudo docker images

Accessing BusyBox shell
To access the BusyBox shell from the BusyBox container image, simply run the command as follows.
$ sudo docker run -it --rm busybox
From here, you can start running basic Linux commands as you would normally do on a Linux terminal.

Alternatively, if you installed BusyBox from the binary file or using the APT package manager (In case of Debian and Ubuntu ) you can gain access to the shell as follows.
$ busybox sh

Trying out BusyBox
To start using BusyBox’s tools or applets you need to precede the commands with the busybox keyword while in the BusyBox shell. The syntax is:
$ busybox command
There are about 400 commands and programs that are available for use: You can check that using the command:
$ busybox --list | wc -l

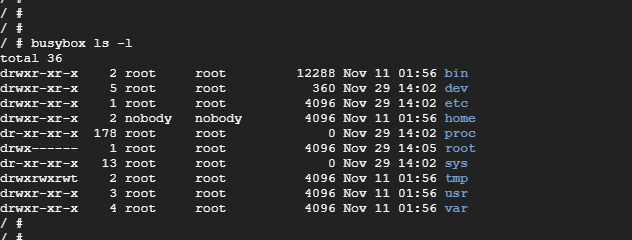
To list the files and folders in the current directory path, simple run:
$ busybox ls -l

Also, you can try pinging a domain name such as google.com
$ busybox ping -c google.com

Use HTTPD webserver on BusyBox
One of the tiny Linux programs that BusyBox provides is the httpd webserver. You can confirm this by running the command:
$ busybox --list | grep httpd

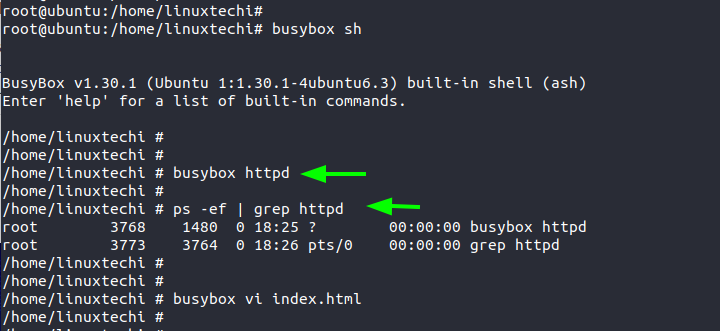
To spin up a quick webserver, access the Busybox shell as the root user:
# busybox sh
And activate the webserver as shown.
# busybox httpd
You can confirm that the webserver process is running:
# ps -ef | grep httpd

Next, we are going to create a simple HTML file that we will use to test the webserver.
# busybox vi index.html
<!DOCTYPE html>
<html>
<body>
Welcome to BusyBox !
</body>
</html>
Now, open your browser and browse your server’s localhost address. This is what you will get.

Conclusion
There’s so much more you can do with BusyBox. Hopefully, we have given you the basic knowledge that you need to get started out with BusyBox. We look forward to your feedback and queries.
Read Also: How to Create Backup with tar Command in Linux
The post How to get started with BusyBox on Linux first appeared on LinuxTechi.
