
Review: Elecrow’s All-in-one Starter Kit for Pico 2
Raspberry Pi Pico 2 starter kit from Elecrow is an educational device that integrates multiple sensors and components onto a single board for learning electronics and programming. Built around the dual-core Raspberry Pi Pico2 RP2350 chip, the kit includes 17 sensors, 20 RGB LEDs, and a 2.4-inch TFT color touchscreen in a portable case format.
The kit is designed to eliminate the need for breadboarding, wiring, and soldering, allowing users to focus on programming concepts and sensor functionality. It comes with 21 structured tutorials that progress from basic to advanced levels, using Arduino IDE as the programming environment.
In this article, I’ll share my experience with this starter kit.
Technical specification
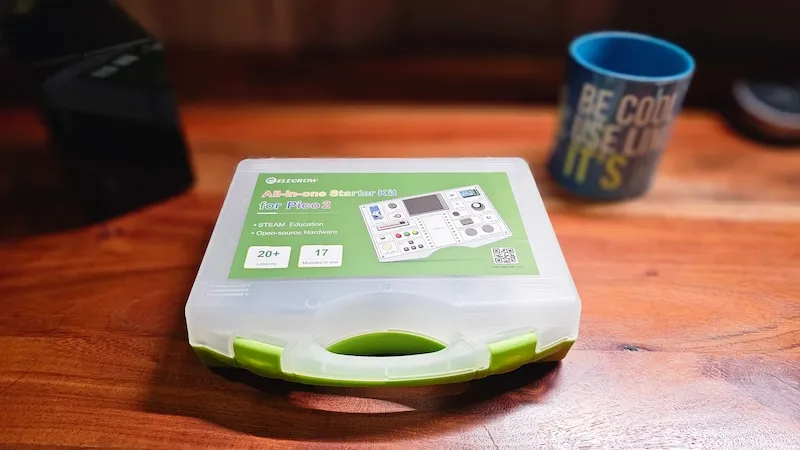
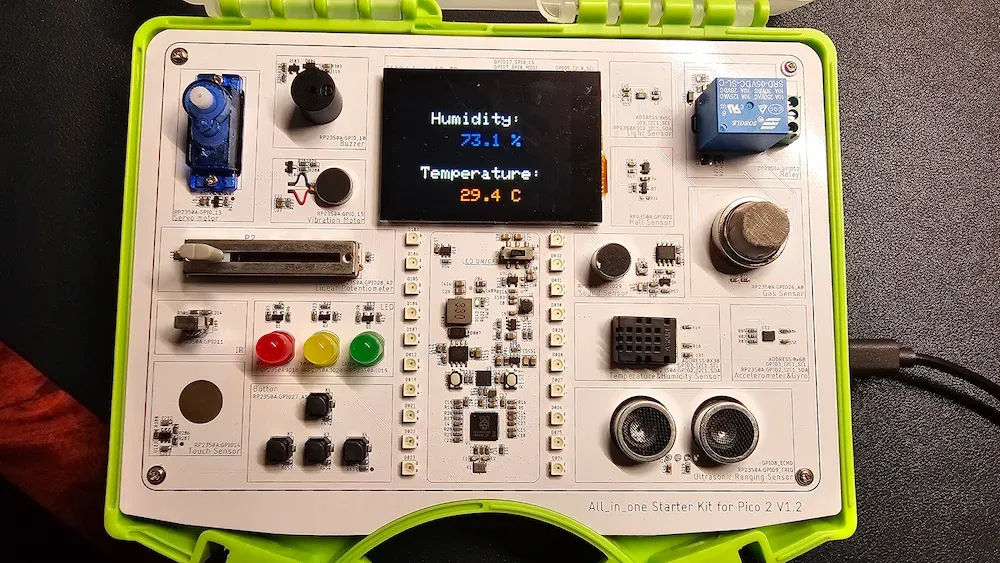
The kit comes in the form of a briefcase-styled plastic case. It weighs less than 350 gram and has a size of 19.5x17x4.6 cm.
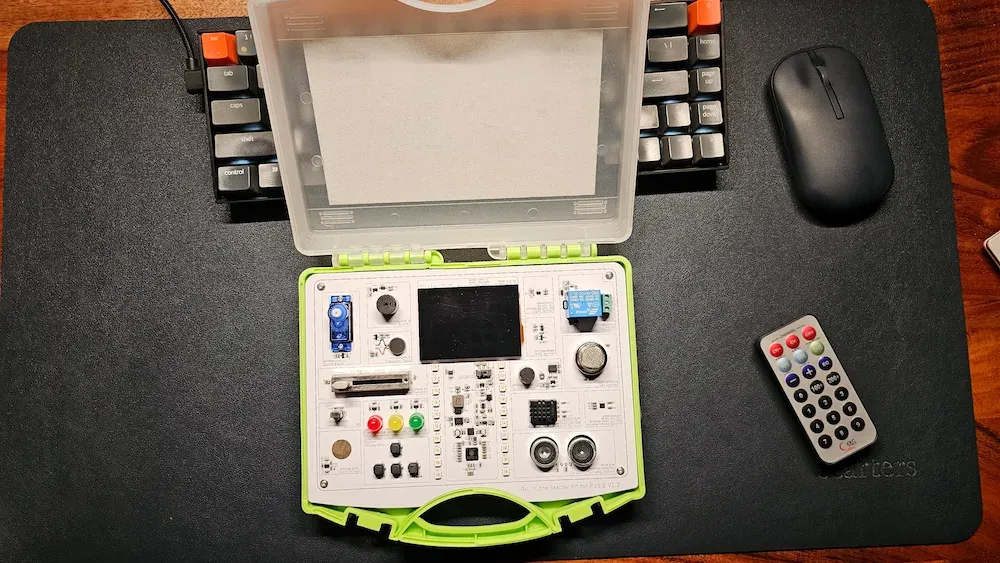
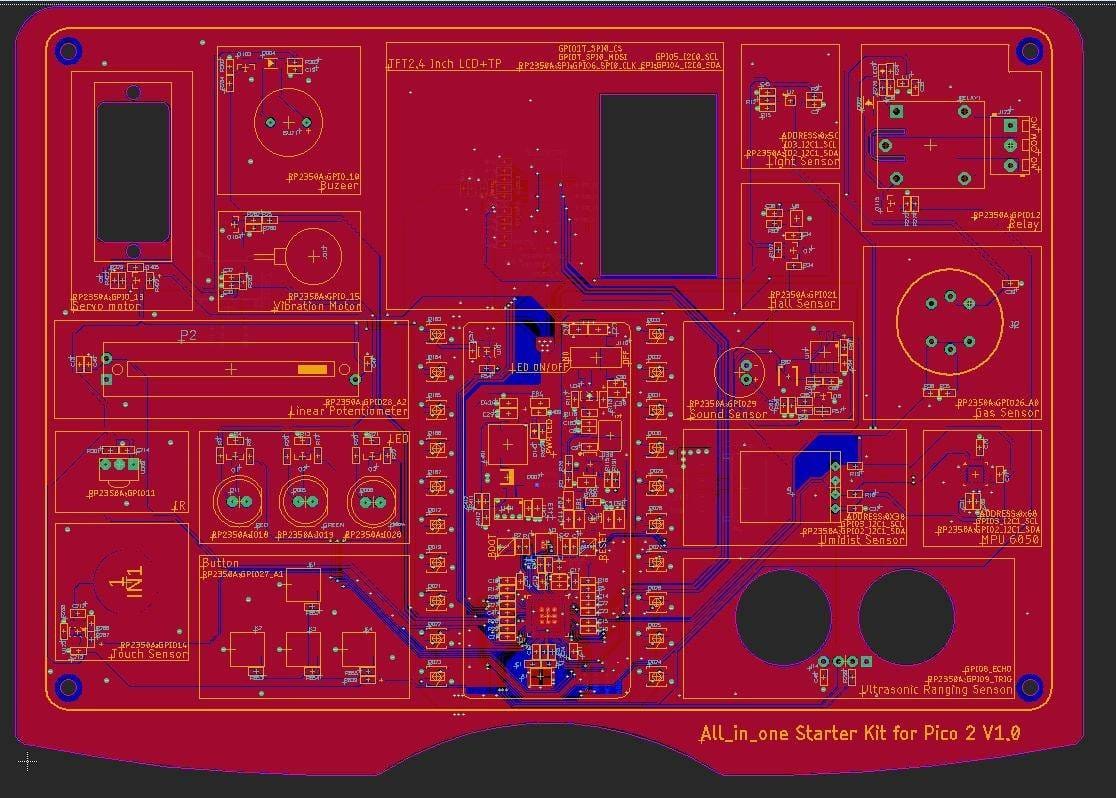
At the core of this kit lies Raspberry Pi Pico2 RP2350. There is a 2.4 inches TFT touch screen surrounded by seventeen sensors. These sensors are connected to Pico 2 already son you don’t need to do any manual connections to access them. It is powered by a type C port and the same is used for transferring the project files to the board.

| Light Sensor | Hall Sensor |
| Gas Sensor (MQ2) | Sound Sensor |
| Temperature & Humidity Sensor | MPU-6050 Accelerometer & Gyro 2.0 |
| Ultrasonic Ranging Sensor | Touch Sensor |
| Buzzer | Servo Motor |
| Vibration Motor | Relay |
| Individual LEDs | RGB LED |
| Buttons | Linear Potentiometer |
| Infrared |
My experience with Elecrow Pico 2 Starter Kit
The kit comes preloaded with a few games and a program that lets you enable the LED lights and change their patterns. The games are Dinosaur Jump (the one you see in Chrome) and Snake.
The games are not as interesting as I would want them to be. Dianousr moves way too slow in the first stage. Even my four-years old didn’t have enough patience to play this ‘slow game’. While the Snake game is better, there is a slight delay in button press and the response on screen.
But this is not what the kit is for. It is for exploring programming all those sensors on the board.
Easier if you are familiar with the Arduino ecosystem
Here’s the thing. If you are familiar with Arduino board and their ecosystem, things will be a lot easier for you. I have been using Raspberry Pi for years but never used an Arduino or other microcontroller like the Pico board here.
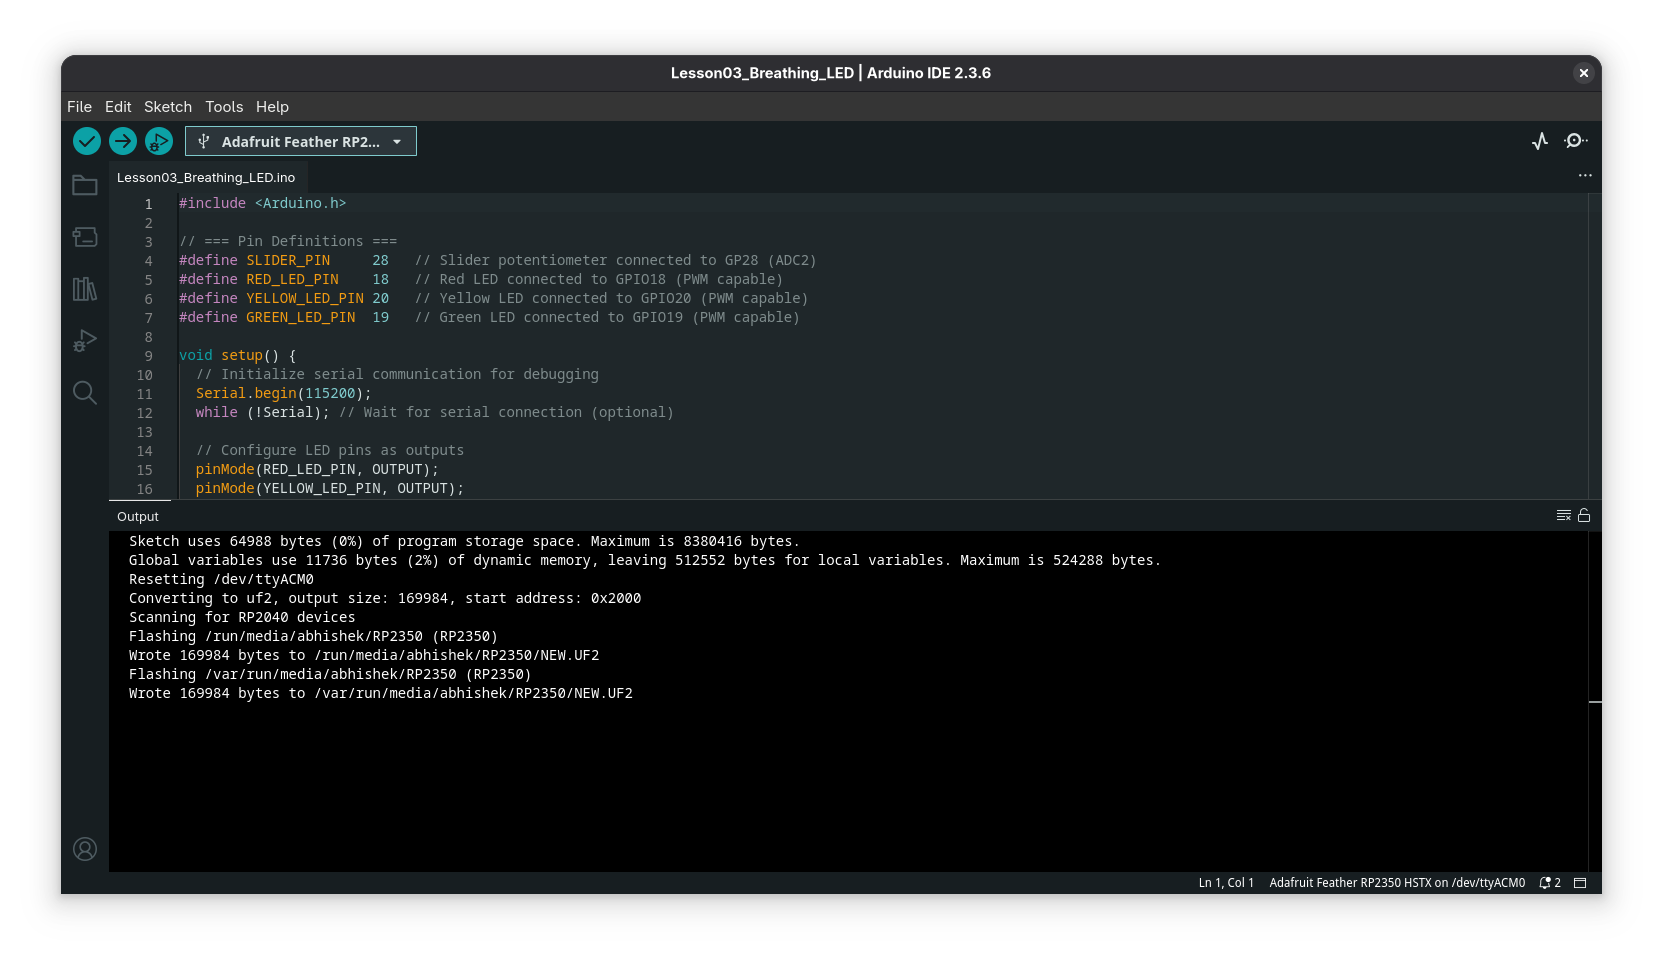
I learned a few things for sure. You have to ‘burn’ the project code on the board and you have to do it each time you have a new project. Which means if you ran a program that sounds the buzzer and next you want to try a program that interacts with the ultrasound sensor, you have to put this new code on Pico 2.
Elecrow does provide more than one documentation, but they are inconsistent with each other. The getting started guide should be improved, especially for beginners. It took me some time to figure things out based on the two documents and some web searches.
The web-based documentation does not mention that version 4.2.0 of the Raspberry Pi Pico/RP2040/RP2350 has to be explicitly added to the board manager in Arduino IDE. It is mentioned in the user manual PDF, though.
Elecrow provides source code for around 15 projects. Wiki on the web mentions a different source code link and the PDF user manual mentions the source code on GitHub.
It doesn’t end here. Most of the sample project codes on GitHub have different name for their folders and the .ino files. In the Arduino ecosystem, both .ino code file and folder that contains it must have the same name; otherwise, the sketchbook won’t be visible in Arduino IDE.
In my opinion, things would have been smoother if I were familiar with Arduino and the documentation was a bit more straightforward.
Sample projects are simple and fun
I did manage to overcome the initial hurdle and was able to run several of the provided projects.
Now, the provided user manual does an excellent job at explaining the sample projects. It explains the objective of the experiment, actions that should be performed, working principles, and key elements of the program.
Projects are mostly simple and explore various sensors present on the kit. Simple projects like LED controlling with a button, oscillating the servo motor, showing room temperature and humidity, measuring obstacle distance with an ultrasound sensor, etc.
The projects that involved an infrared receiver didn’t compile. I’ll debug the issue later and if I am unable to fix it, I’ll perhaps open a bug report on Elecrow’s GitHub repo.
To experiment, I even changed the code slightly. I can see that there is potential to modify the existing code into something else. For example, if the room temperature reaches a certain level, the servo motor starts rotating. There is potential here to explore and have fun.
Above all, exploring this device made me familiar with Arduino. New skill unlocked 💪
Conclusion
This is a suitable option for schools, as they can have a bunch of these kits in their STEM lab. Children can start working on modifying the codes for their lab projects instead of struggling with wiring and soldering. The briefcase-style case also makes it easier to store without worrying about disturbing the wire connections. Perhaps there could be a discount on bulk orders; I am just guessing.
Parents who have a little bit of Arduino experience or the willingness to learn can also get this as a present for their children. With a little guidance, they can build new things upon the existing sample projects, and that will help them explore the exciting world of electronics and programming.
To the makers, if they could improve their getting-started guide and provide code consistent with Arduino IDE requirements, it would surely flatten the learning curve.
This kit is available for $37.99, which is a fair price for what it offers. Do refer to the official manual beforfe starting, if you purchase the kit.