
NeoVim Too Complex? Try Helix as Your First Modal Editor
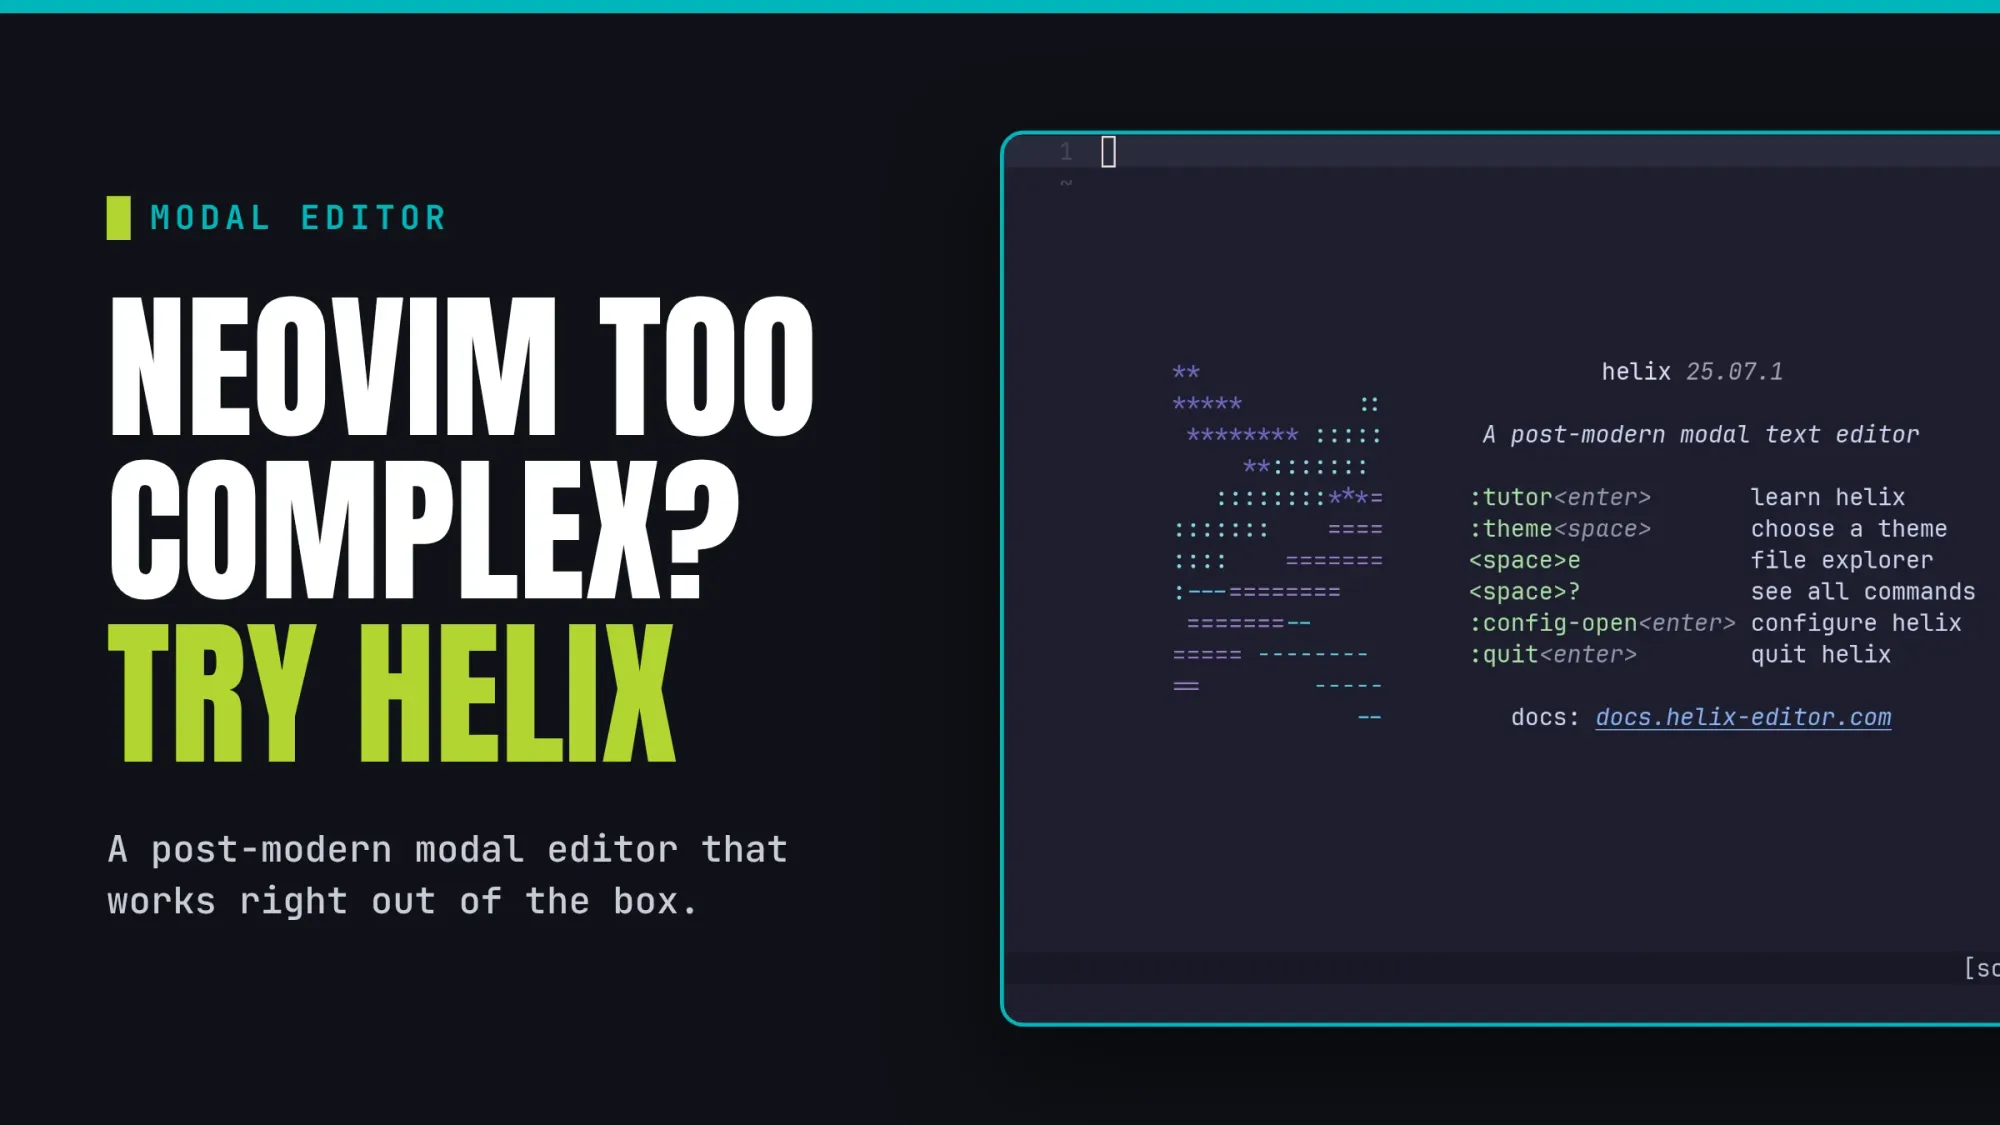
Helix is a modal text editor that operates much like Vim or Neovim. While switching from a GUI like VSCode takes some practice, mastering a terminal editor truly boosts your daily productivity.
Starting with Helix is a smooth experience if you have never used modal editors before. The default settings are intuitive, provided you are familiar with your keyboard layout.
You can avoid the hassle of learning a specific programming language just to configure your workspace. Helix delivers a complete and powerful experience right after you install it.
In my opinion, I suggest Helix if you want the Neovim vibe without the massive time investment. It includes modern tools like language server protocols and tree sitter support by default.
Let’s look at how you can get started with Helix as your very first modal text editor.
Installing Helix
Helix is available in the official repositories for several Linux distributions, like Arch Linux, Fedora, and Ubuntu. To install it on Arch Linux, use the command:
sudo pacman -S helix
If you are a Fedora user, install the editor with:
sudo dnf install helix
Ubuntu 26.04 LTS and above also includes Helix in its official repositories. You can install it using:
sudo apt install hx
hx and not helix.For all other users, pre-built binaries are available in the official Helix GitHub repository. You can follow the official documentation to complete the installation of these binaries.
Modes in Helix
Helix is a modal editor. It means Helix has different modes with dedicated purposes.
Without having an understanding of the modes, it is hard to grasp how the editor works. So, let’s see them one by one.
The Normal Mode
Normal mode is the default state in most modal text editors, where you perform all text manipulations.
Whenever you are elsewhere in the editor, simply press the ESC key to return to this home base. Unlike a traditional editor where you are always in a typing state, modal editors use this mode as a starting point.
For example, you can scroll down a couple of lines by pressing j while in normal mode. You can also remove a character under the cursor by pressing d.
You cannot type any text while you are in this Normal mode. To start typing, you must enter insert mode by pressing i while the editor is in its normal state.
The Insert Mode
Insert mode is the state where you actually type your text. Most traditional GUI editors, like VSCode, have this mode only where all text actions are carried out with the help of keyboard and mouse.
While in insert mode, you generally focus on entering text rather than deleting or copying it. You can still use the arrow keys to move the cursor around in both normal and insert modes.
Whenever you finish typing, simply press ESC to return to normal mode.
Select Mode
Select mode is the equivalent of Visual mode in Vim and is used specifically for highlighting text. You enter this mode by pressing v while in the Normal mode.
The character under your cursor is automatically selected as soon as you enter this mode. You then use navigation keys to extend that selection across your text.
For example, pressing l will extend the selection to the next character, and pressing it again adds the third. You cannot type any new text while you are in this state.
In my experience, combining this with movement shortcuts is incredibly powerful. For instance, I can press v followed by ge to instantly select everything from my cursor to the last line.
You can even press the END key to include the entire last line in your selection. This allows you to highlight massive blocks of text with just a few keystrokes.
Once your selection is finished, use the Normal mode keys to perform an action.
d, y, c on your selection. No need to press Escape first. The operator acts on the selection and drops you back into Normal mode.Pressing d will delete the entire highlighted block, while y will copy it for later use.
Other modes of purpose
The above three are the main modes in Helix. But there are some more modes that you may come across.
Command Mode
When you press : in normal mode, you enter the command mode. Here, you can enter supported commands.
Some important operations, like saving a file, quitting the editor, etc., are performed in the command mode.
To save the current file, and quit the editor:
:wq
Helix offers a lot of commands that you can use. Its official documentation on commands has listed it more efficiently.
Picker Mode
Picker mode is triggered by pressing the Space key in normal mode. It is a fuzzy finder interface, where you can invoke a file picker, buffer picker, etc.
If you know Neovim, this picker mode can be a minimal close equivalent of the Telescope plugin.
For example, we can use Space + f to open a file picker.
Also, if I select a block of text and press Space + Shift + c, then you can block comment that section, and so on.
0:00
Comment code in Helix
Helix shows the actions
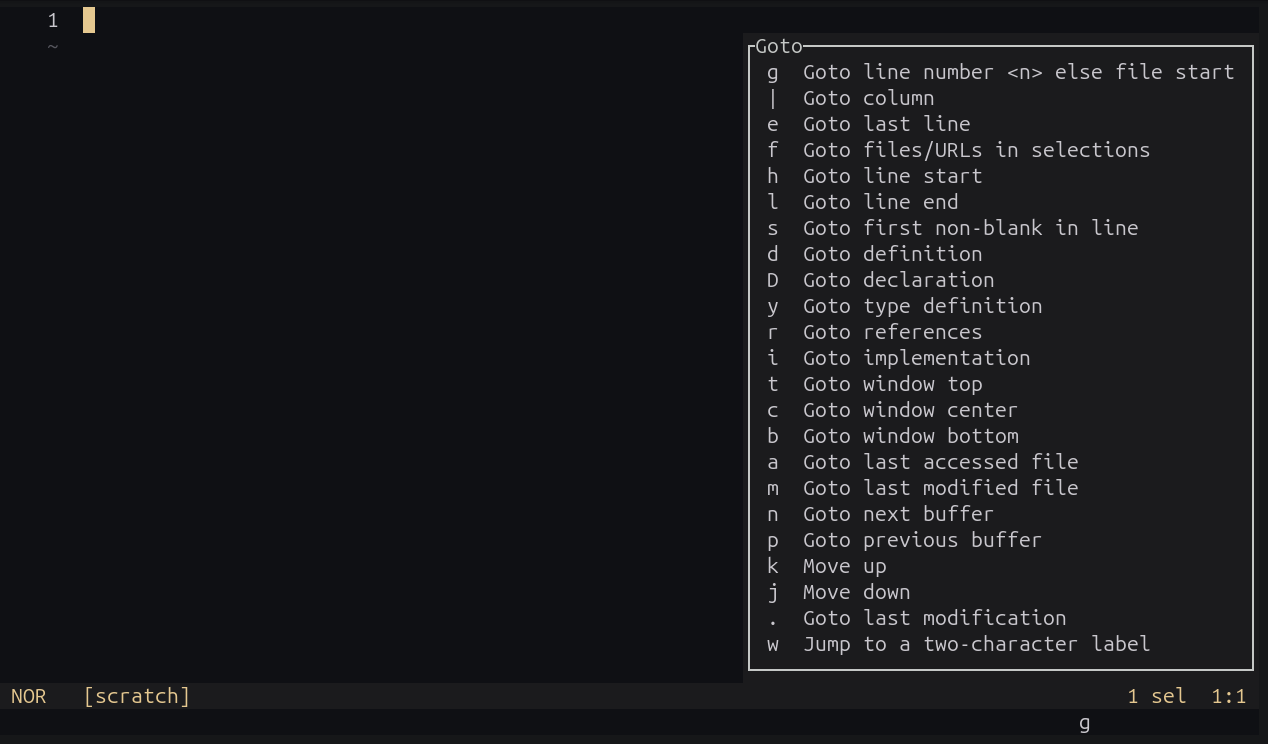
For supplementary modes like picker mode, Helix shows what to press next in a neat pop up.
When you press space, you can see that a pop-up comes up that says all keys and their uses, so that you can read and follow.
Another one I suggest you try is press the g key and read all the subkeys and their functions.
g keyAccess the tutor
Helix has an interactive tutorial available to get you started, like the Vim tutor.
Open a terminal and run the command:
helix --tutor
This will take you to a text, which you will read and perform actions as described.
A beginner should complete this tutorial since it gives you a lot of day-to-day shortcut practice inside a sample text.
Essential Keybindings
Helix works flawlessly right out of the box. You do not need any configuration files to make any part of the editor work in the beginning.
But, since it depends on keybindings, before going to other areas, let’s see some essential shortcuts to get you started.
Shortcuts to move around the text in Normal mode.
| Description | Shortcuts |
|---|---|
| Move one character left/bottom/top/right | h/j/k/l |
| Move to the start of the next word | w |
| Move to the start of the next word (punctuations included) | W |
| Move back to the start of the word | b |
| Move back to the start of the word (punctuation included) | B |
| Move to the end of the next word | e |
| Move to the end of the next word (punctuations included) | E |
| Move to the last line of the text | ge |
| Move to the first line of the text | gg |
| Move to the nth line | <n>G |
| Move to the start of the line | HOME |
| Move to the end of the line | END |
| Move page up | PgUp |
| Move page down | PgDn |
Shortcuts to change the text in Normal Mode
| Description | Shortcut |
|---|---|
| Insert before cursor (Enter insert mode) | i |
| Insert after cursor | a |
| Insert at the beginning of the line | I |
| Insert at the end of a line (append) | A |
| Open a new line below cursor and enter insert mode | o |
| Open a new line above cursor and enter insert mode | O |
| Replace character under cursor | r<character> |
| Delete/cut character under cursor (or selection) | d |
| Yank (copy) selection | y |
| Paste selection | p |
| Paste before cursor | P |
| Yank (copy) to a named register a | “<a>y |
| Paste from a named register a | “<a>p |
| Undo a change | u |
| Redo a change | U |
d actually cuts the selected word and stored. So, if you have some texts yanked, and then deleted some other text, the deleted text will be the one pasted when you press p. So, use registers for copying important text.Other routine shortcuts
| Description | Shortcut | Mode |
|---|---|---|
| Search for a pattern in the text | /<search term> | Normal |
| Select next search match | n | Selection |
| Select previous search match | Shift + n | Selection |
| Run the command in a shell | :!<command> | Normal |
| Run the command and add its output to a line | :r !<command> | Normal |
You can refer to the official keymap documentation for a lot more keyboard shortcuts across modes for specific use cases.
Create a config file
Helix doesn’t need a user-written config file to work since it comes with many usable defaults. Still, changing away from defaults needs a config file.
Helix uses the TOML configuration file, located at ~/.config/helix/config.toml.
First, create the directory if it does not exist.
mkdir -p ~/.config/helix/
Now, create a file inside this directory like:
touch ~/.config/helix/config.toml
A different theme
Helix comes with a lot of themes preinstalled, and you don’t want to create a long config for it.
Open Helix in a terminal:
helix
Inside Helix, in Normal mode, enter :theme, press a space, and press the TAB key.
You can see that themes begin to show preview. Press TAB to scroll through the live preview of themes. When you spot a theme of your choice, note the name of the theme and press Enter.
runtime folder. Make sure you placed it properly as the documentation say.Upon pressing the enter key, the theme will be applied to the current session.
To make it permanent, you need to add one line to the Helix config file.
Edit the config file with your favorite text editor.
helix ~/.config/helix/config.toml
And add the line
theme = "theme-name"
For example,
theme = "tokyonight"
Language support
Helix comes with Language Server Protocol Support preset, so there is no need to worry about configuring the LSP.
Still, you need to setup the language server though.
I am using Arch Linux in this example, and in Arch Linux, most of the language server you need are available in the official repository.
To set up CSS support, install the vscode-css-language-server
sudo pacman -S vscode-css-languageserver
Helix will spot this , and you can start working on CSS files from your next start.
0:00
CSS Language Completion in Helix
To set up Rust support, install the rust-analyzer package:
sudo pacman -S rust-analyzer
Refer to the Language support page in the official documentation to know what package needs to be setup to get the language support working.
Multiple Cursors
Helix supports multiple cursors out of the box. You can duplicate your cursor downward by pressing Shift + c in Normal mode.
0:00
Multiple Cursors in Helix
This lets you edit several lines at once. If you end up with multiple cursors by accident, press , to collapse back to a single cursor.
Wrapping Up
Helix is a decent modal editor, that offers most of the modern features you would expect in the convenience of an easier learning curve.
I won’t suggest replacing Neovim or Vim with Helix if you have mastered those editors. But, if you are into modal editing, or terminal-based text editing in general, Helix is the best place to start.
Will you use Helix for all your coding purposes? Or you have another editor that meets all your needs? Do mention in the comments.
