How to Install Ubuntu Server 22.04 LTS Step by Step
Hello Ubuntu folks, Canonical has released its latest operating system Ubuntu 22.04 (Jammy Jellyfish) for desktop and servers. This is an LTS release, means we will get support and updates till next 5 years (2027). In this guide, we will cover how to install Ubuntu Server 22.04 LTS step by step along with screenshots.
Following are updates and features included in this release,
- Best suited for enterprise-class-deployments.
- It can be installed and run on all major architectures like x86-64, ARM v7, ARM64, POWER8, POWER9, IBM s390x (LinuxONE) and RISC-V
- Long Term Kernel 5.15
- Updated OpenSSL 3.0, QEMU (v6.2), libvirt (v8.0), PHP (v8.1), Ruby (v3.0), GCC (V11.2), Python (v3.10.1), MySQL (v8.0.28), OpenLDAP (v.2.5.11) and Samba 4.15.
Minimum system requirements for Ubuntu Server 22.04 LTS
- Dual Core Processor (2 GHz)
- 4 GB Physical RAM
- 25 GB or more Disk Space
- Bootable Media
- Internet Connectivity (Optional)
Let’s deep dive into Ubuntu Server 22.04 installations steps.
1) Download Ubuntu 22.04 Server ISO File
Download the Ubuntu server 22.04 iso file from its official page,
Once ISO file is downloaded on your system, then burn it into USB stick and make it bootable.
Note: In case you have downloaded the ISO file on Windows system then use ‘Rufus’ software to create bootable media and for Linux systems refer below:
- How to Create Bootable USB Drive on Ubuntu / Linux Mint
2) Boot the System with Bootable Media
Now head to the target system on which you want to install and run Ubuntu server 22.04. Reboot it and change its boot medium from hard disk to USB from the bios settings.
When the system boots up with bootable media, we will get following screen.
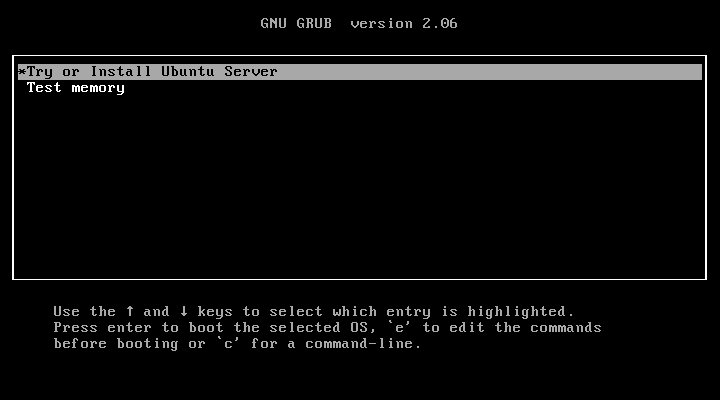
Choose ‘Try or Install Ubuntu Server’ and hit enter.
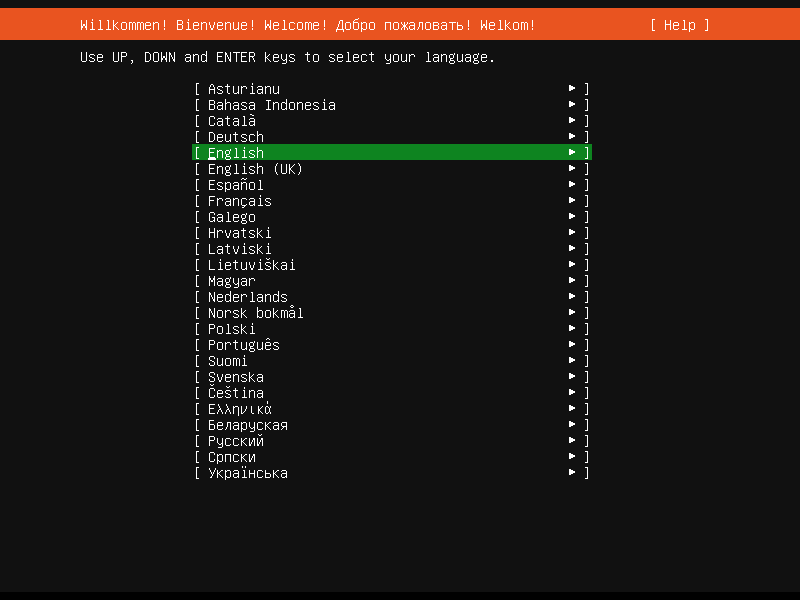
3) Select Language for Ubuntu Server Installation
Choose your preferred language and then hit enter,
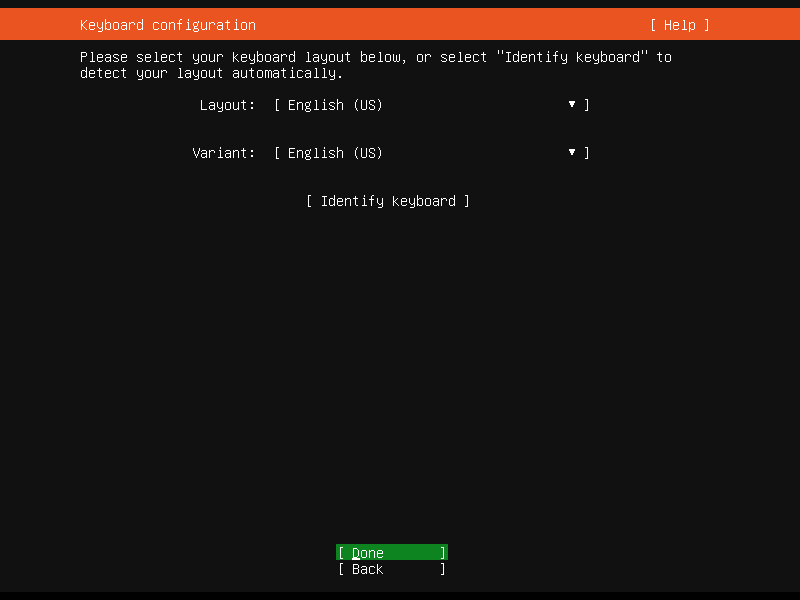
4) Choose Keyboard Layout
Select your preferred keyboard layout for Ubuntu Server installation and then enter.
5) Select Installation Type
In this step, you will be prompted to choose the base for installation. There are two options,
- Ubuntu Server – It will have all the software which are required to run and manage Ubuntu server smoothly.
- Ubuntu Server (Minimized) – As the name suggests, it will have minimum runtime footprint in environments where humans are not expected to login.
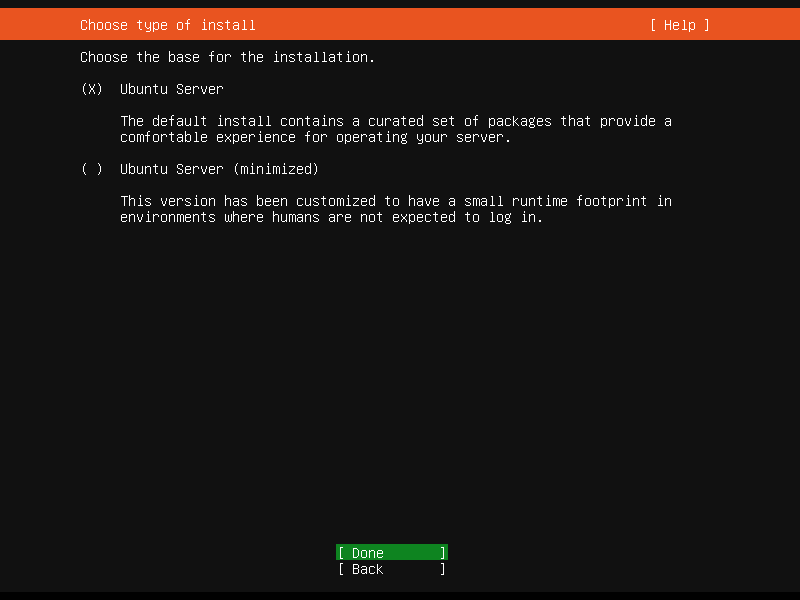
So, select the first option ‘Ubuntu Server’ and then choose Done
6) Network and Ubuntu Archive Mirror Settings
In this step, you will be presented the following screen. If your system connected to modem or may be to a switch, then it will try to get IP address via DHCP.
You can also assign IP manually in case DHCP is not enabled in your environment.
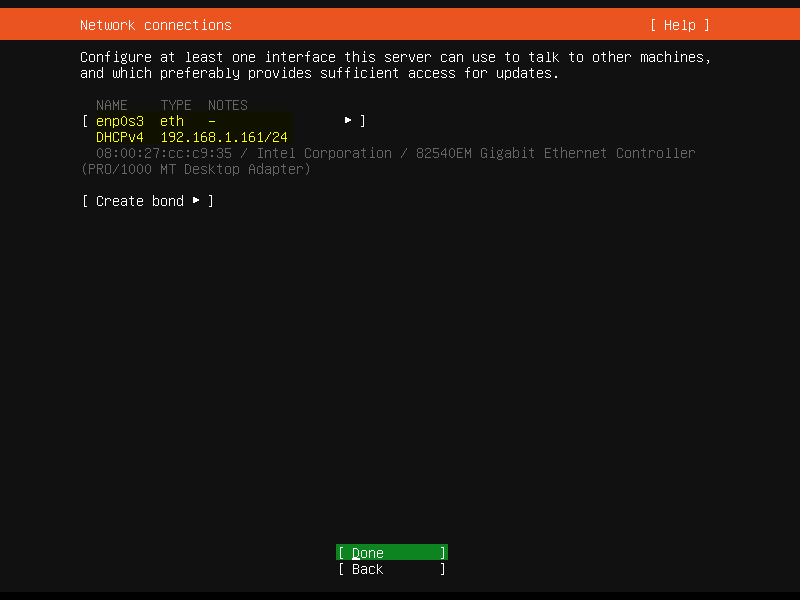
Choose Done and hit enter
If your system is running behind proxy server then specify proxy IP and port. Skip it, in case there is no proxy in your environment.
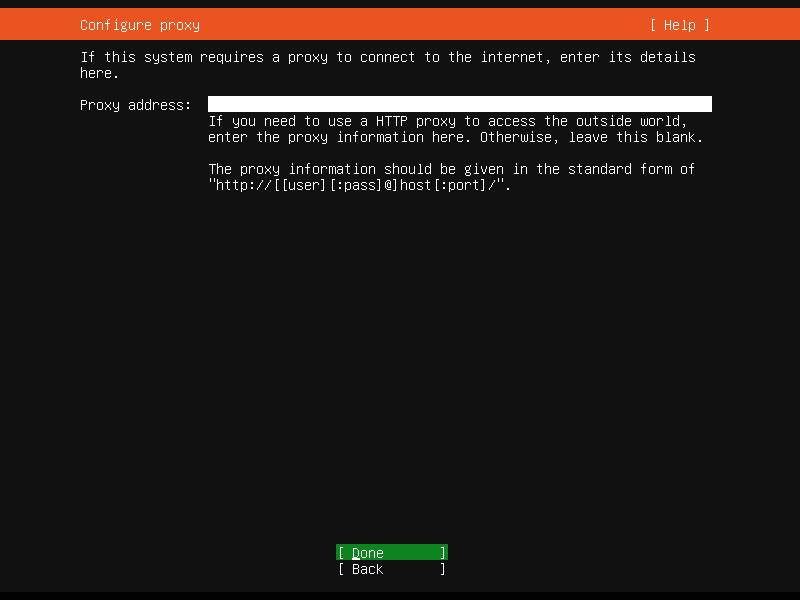
Based on current location, installer will automatically configure Ubuntu Archive Mirror.
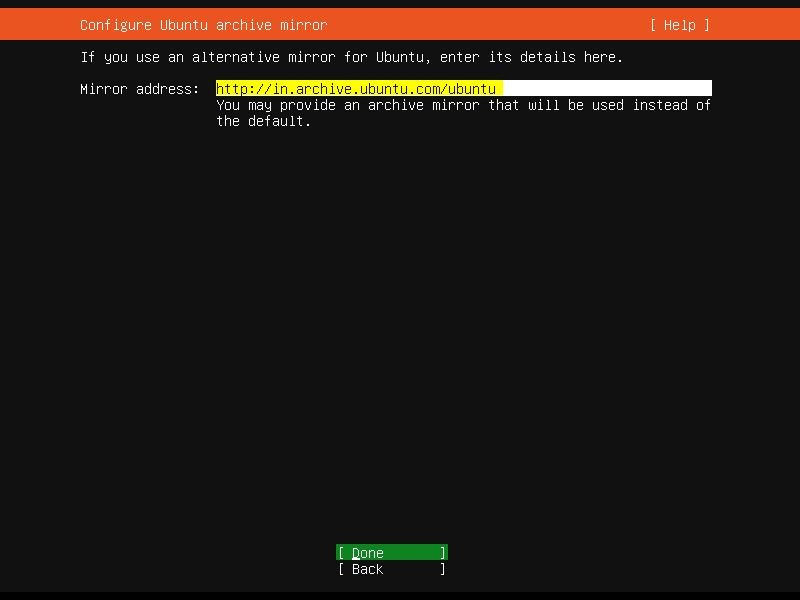
Select Done and press enter.
7) Configure Storage Layout
Here we will decide what would be partition scheme for Ubuntu server based on available disk space.
We have two options here,
- Use an entire disk – In this option, installer will automatically create partition on the entire disk.
- Custom Storage Layout – As the name suggests, here we can create custom partitions for Ubuntu server.
Note: If you are new Ubuntu then it is recommended to choose first option ‘Use an entire disk’
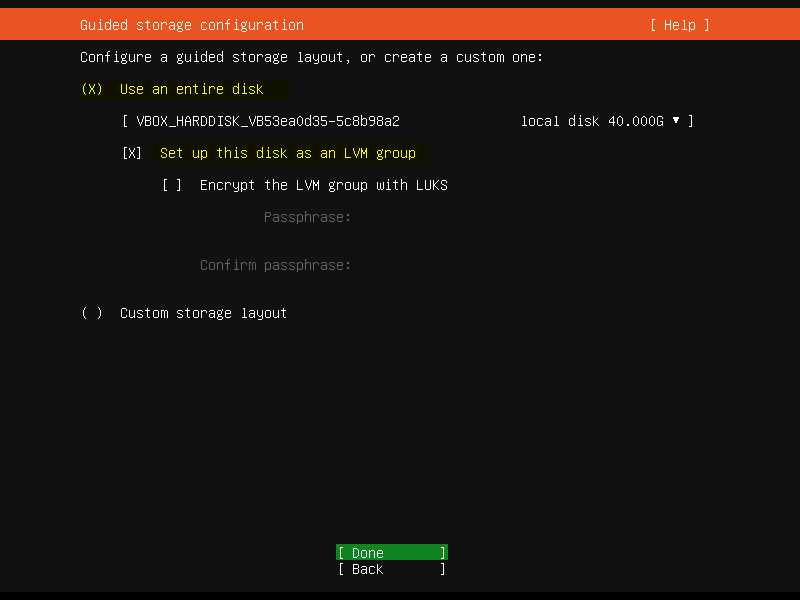
Choose ‘Done’ and hit enter,
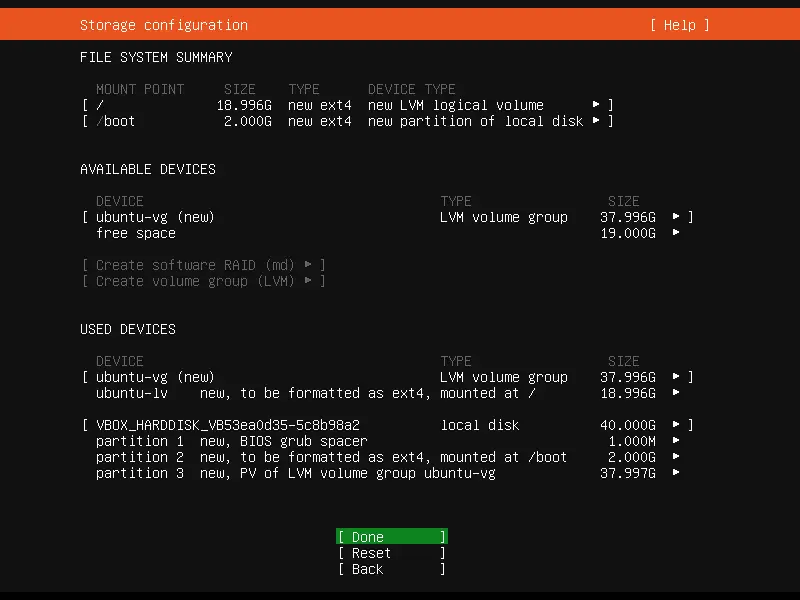
As you can see, installer has created two partitions ( / & /boot) on 40 GB hard disk. We have around 19 GB free space which we can use to create partition as per the requirement after the installation.
Select Done and press enter to proceed with installation
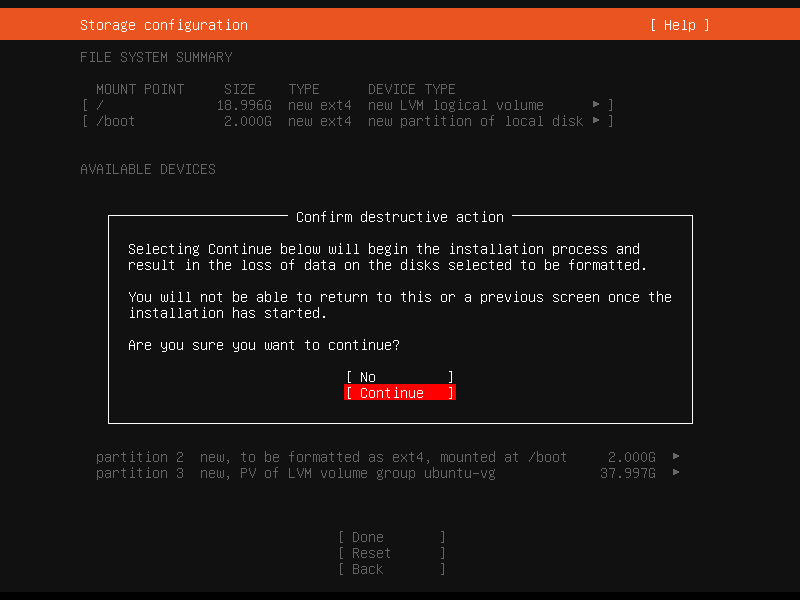
Choose ‘Continue’ to write changes to disk in the following screen.
8) Profile Setup
Mention the username, its password and system’s hostname in profile setup. In my case, I have used the followings.
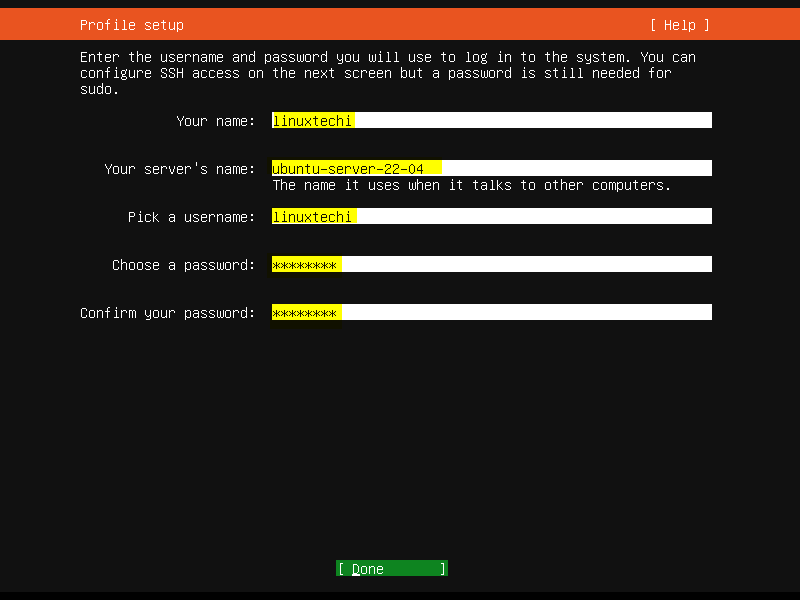
Later we will be using this user for log in to the system. This user will have sudo rights by default.
9) Install OpenSSH Server
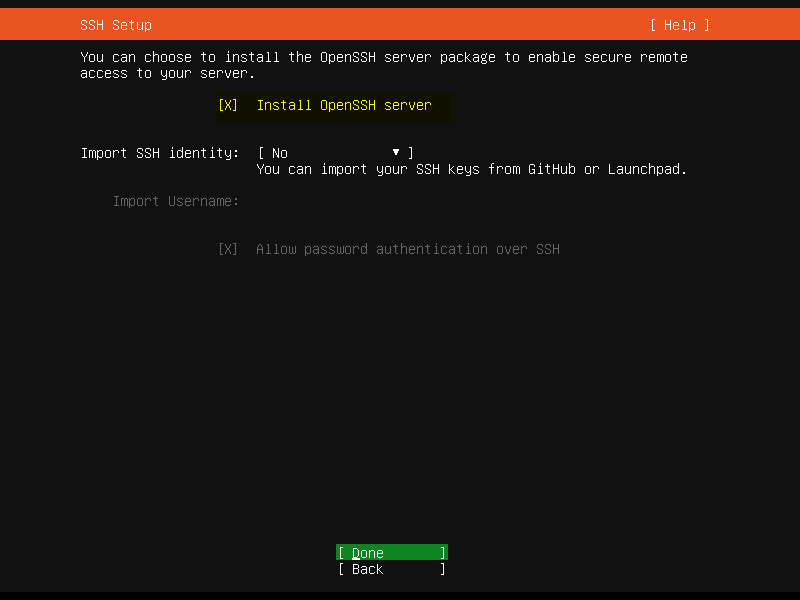
In the following screen, installer will prompt to install openssh server. So, select ‘Install OpenSSH Server’, Choose Done and hit enter to begin the installation.
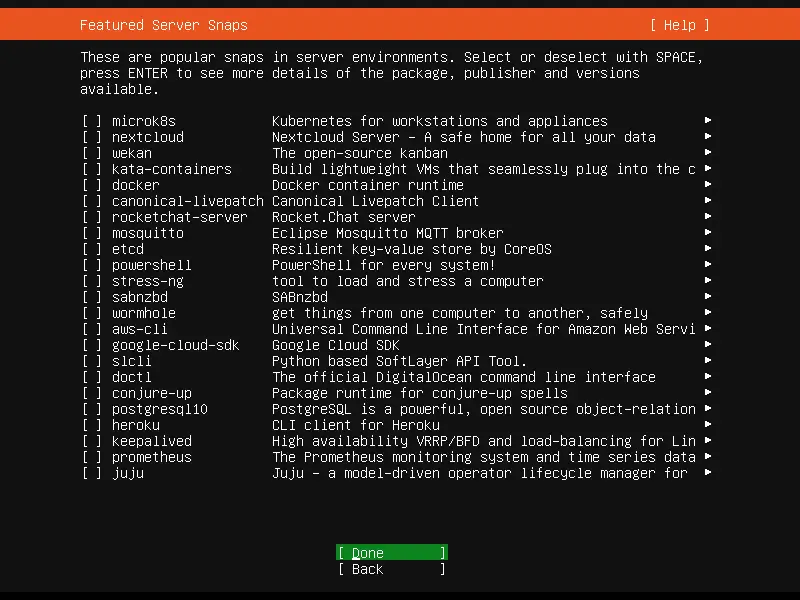
(Optional) Choose the server snaps according to the environment that you want to build during the installation.You skip this if you don’t want to configure during installation.
10) Installation Started
Actual installation got started in this step.
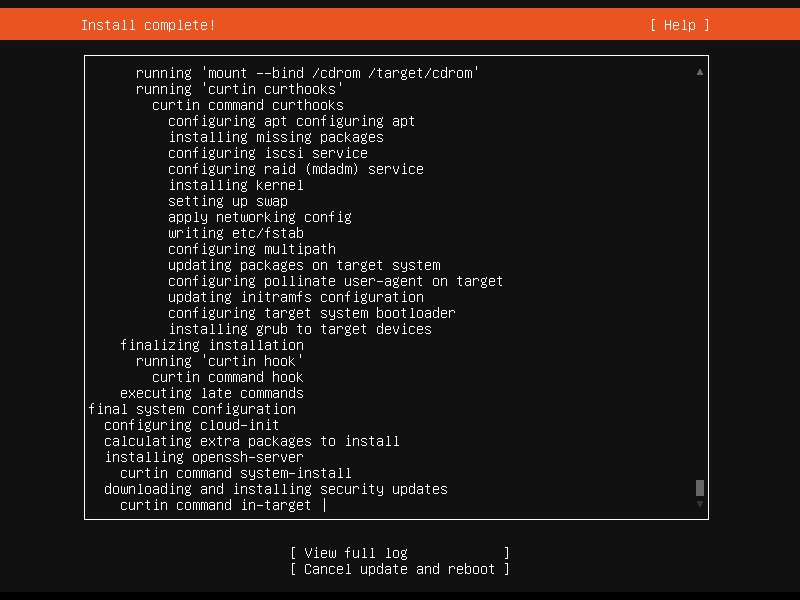
Once the installation is completed the installer will instruct to reboot the system once.
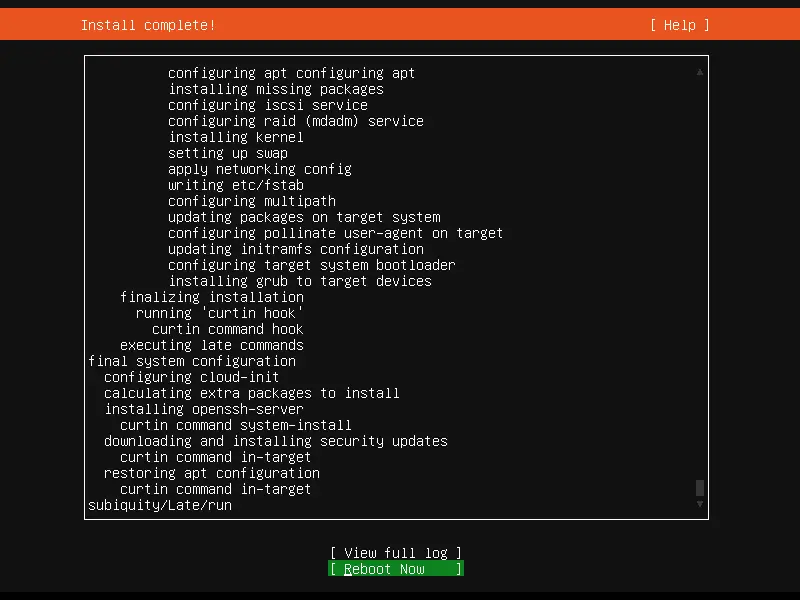
Select ‘Reboot Now’ to restart the system.
Note: Don’t forget to change the boot medium from USB to hard disk via BIOS settings.
11) Login Screen After Installation
When the system boots up after the reboot, we will get the following login screen. Use the same username and password that we have created during profile setup step.
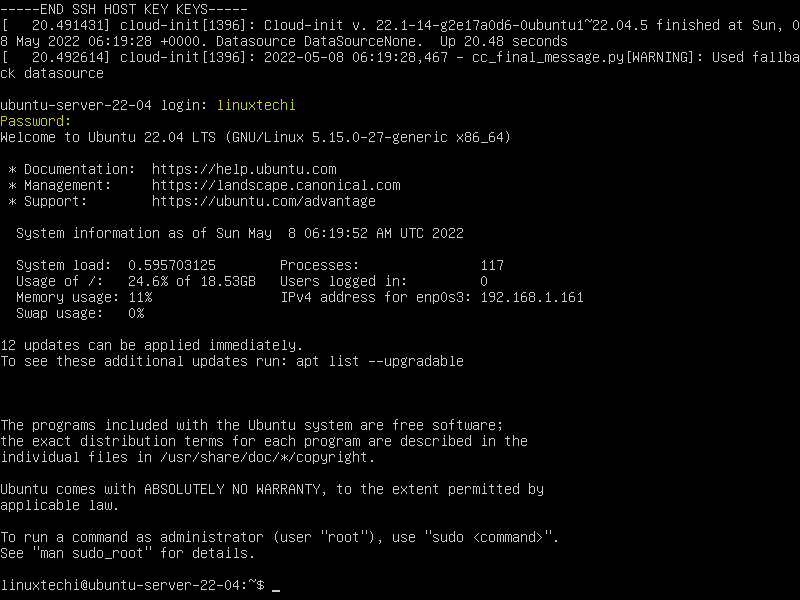
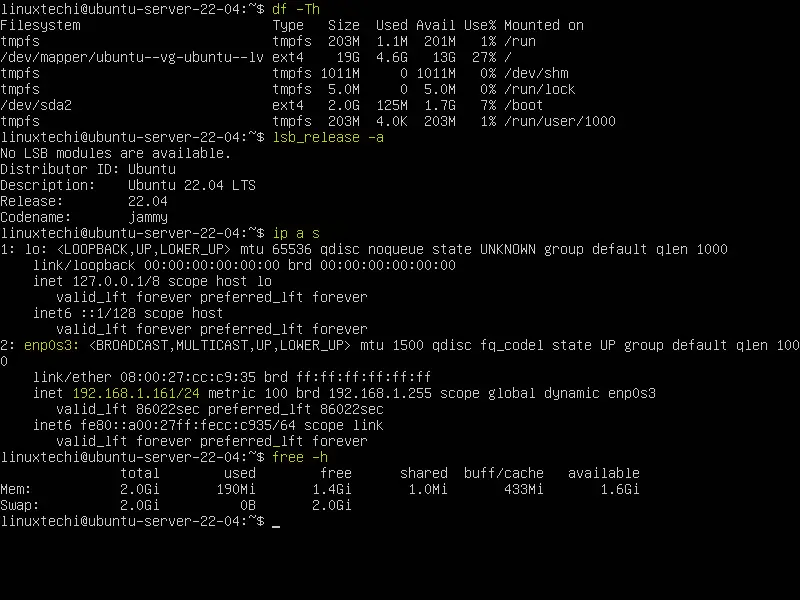
Perfect, above confirms that Ubuntu Server 22.04 LTS has been installed successfully. That’s all from this guide. Please don’t hesitate to post your queries and feedback in below comments section.
The post How to Install Ubuntu Server 22.04 LTS Step by Step first appeared on LinuxTechi.
