Linux Terminal Basics #8: Move Files and Directories (Cut-Paste Operation)

Cut, copy and paste are part of everyday computing life.
In the previous chapter, you learned about copying files and folders (directories) in the terminal.
In this part of the Terminal Basics series, you’ll learn about the cut-paste operation (moving) in the Linux terminal.
Moving or cut-paste?
Alright! Cut-paste is not the correct technical term here. It is called moving files (and folders).
Since you are new to the command line, you may find the term ‘moving’ confusing.
When you copy a file to another location using the cd command, the source file remains in the same location.
When you move a file to another location using the mv command, the source file no longer remains in the origin location.
This is the same cut-paste operation (Ctrl+X and Ctrl+V) you do in a graphical file explorer.
Moving files
Linux has a dedicated mv command (short for move) for moving files and directories to other locations.
And using the mv command is quite simple:
mv source_file destination_directoryThe role of path comes to play here as well. You can use either the absolute or relative path. Whichever suits your need.
Let’s see this with an example. You should practice along with it by replicating the example scenarios on your system.
This is the directory structure in the example:
abhishek@itsfoss:~/moving_files$ tree
.
├── dir1
│   ├── file_2
│   └── file_3
├── dir2
│   └── passwd
├── dir3
├── file_1
├── file_2
├── file_3
├── file_4
├── passwd
└── services

3 directories, 9 files
Now, let’s say I want to move the file_1 to dir3.
mv file_1 dir3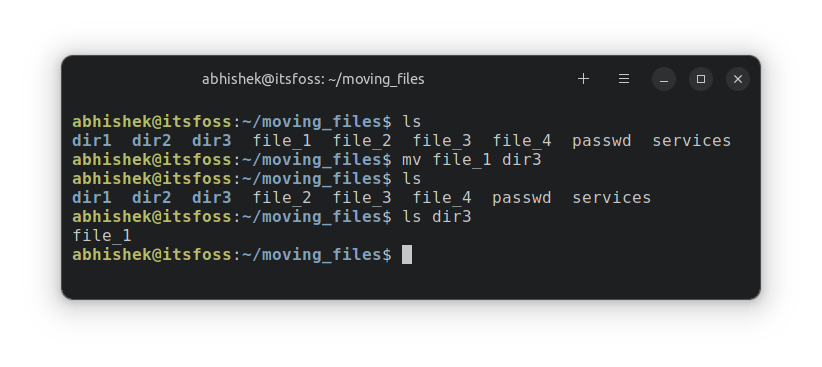
Moving multiple files
You can move multiple files to another location in the same mv command:
mv file1 file2 fileN destination_directoryLet’s continue our example scenario to move multiple files.
mv file_2 file_3 file_4 dir3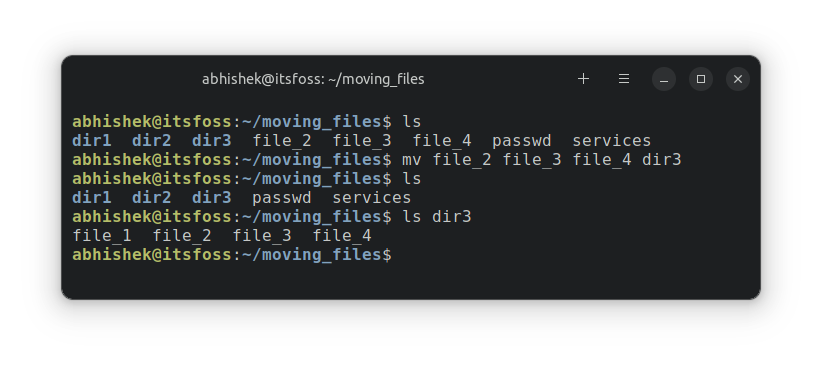
dir3. We need them in the next examples.Moving files with caution
If the destination already has files with the same name, the destination files will be replaced immediately. At times, you won’t want that.
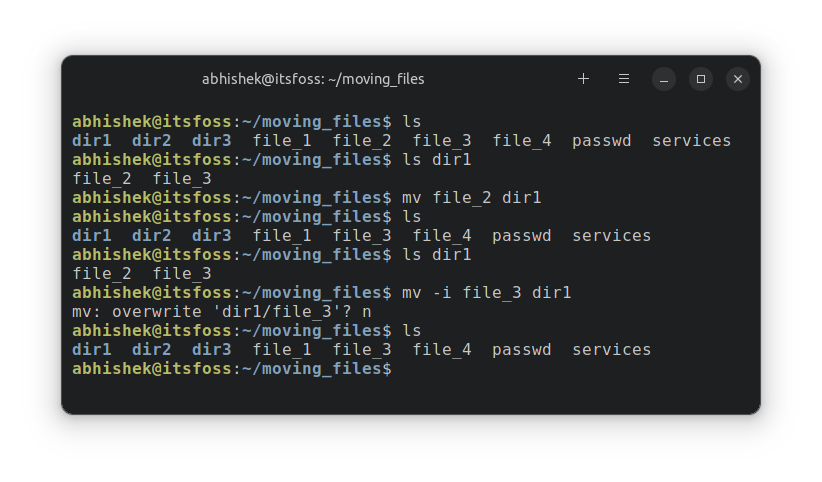
Like the cp command, the mv command also has an interactive mode with option -i.
And the purpose is the same. Ask for confirmation before replacing the files at the destination.
abhishek@itsfoss:~/moving_files$ mv -i file_3 dir1
mv: overwrite 'dir1/file_3'?
You can press N to deny replacement and Y or Enter to replace the destination file.
Move but only update
The mv command comes with some special options. One of them is the update option -u.
With this, the destination file will only be replaced if the file being moved is newer than it.
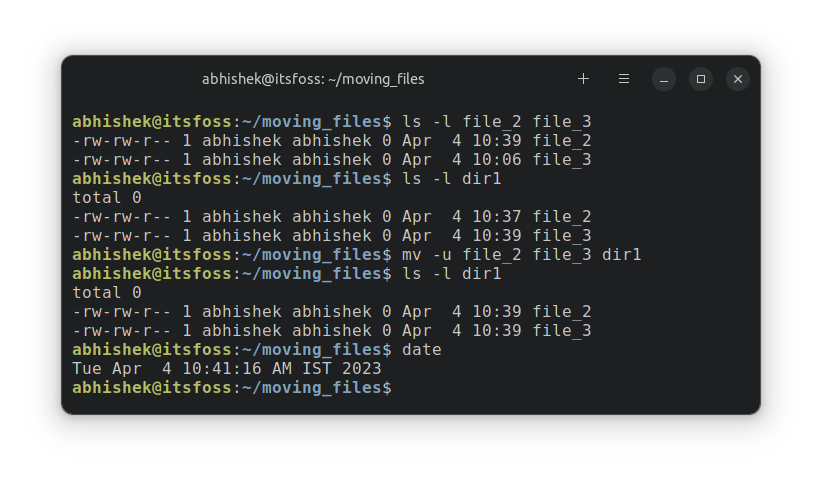
mv -u file_name destination_directoryHere’s an example. file_2 was modified at 10:39 and file_3 was modified at 10:06.
abhishek@itsfoss:~/moving_files$ ls -l file_2 file_3
-rw-rw-r-- 1 abhishek abhishek 0 Apr  4 10:39 file_2
-rw-rw-r-- 1 abhishek abhishek 0 Apr  4 10:06 file_3
In the destination directory dir1, file_2 was last modified at 10:37 and file_3 was modified at 10:39.
abhishek@itsfoss:~/moving_files$ ls -l dir1
total 0
-rw-rw-r-- 1 abhishek abhishek 0 Apr  4 10:37 file_2
-rw-rw-r-- 1 abhishek abhishek 0 Apr  4 10:39 file_3
In other words, in the destination directory, the file_2 is older and file_3 is newer than the ones being moved.
It also means that file_3 won’t me moved while as file_2 will be updated. You can verify it with the timestamps of the files in the destination directory after running the mv command.
abhishek@itsfoss:~/moving_files$ mv -u file_2 file_3 dir1
abhishek@itsfoss:~/moving_files$ ls -l dir1
total 0
-rw-rw-r-- 1 abhishek abhishek 0 Apr  4 10:39 file_2
-rw-rw-r-- 1 abhishek abhishek 0 Apr  4 10:39 file_3
abhishek@itsfoss:~/moving_files$ date
Tue Apr  4 10:41:16 AM IST 2023
abhishek@itsfoss:~/moving_files$
As you can see, the move command was executed at 10:41 and only the timestamp of file_2 has been changed.
-b. If the destination file is being replaced, it will automatically create a backup with the filename~ pattern.Troubleshoot: Target is not a directory
If you are moving multiple files, the last argument must be a directory. Otherwise, you’ll encounter this error:
target is not a directoryHere, I create a file which is named dir. The name sounds like a directory, but it is a file. And when I try to move multiple files to it, the obvious error is there:
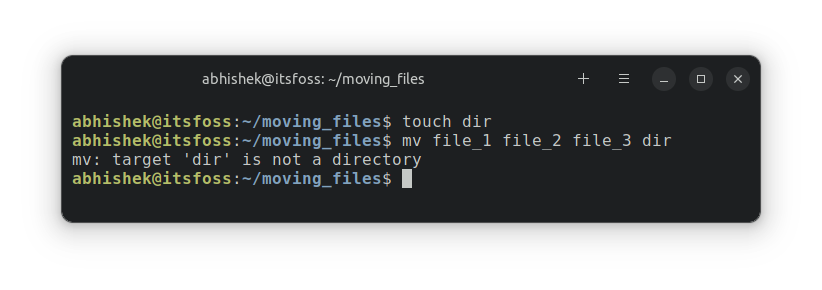
But what if you move a single file to another file? In that case, the target file is replaced by the source file’s content while the source file is renamed as the target file. More on this in later sections.
Moving directories
So far, you have seen everything about moving files. How about moving directories?
The cp and rm commands used recusrive option -r to copy and delete folders respectively.
However, there is no such requirement for the mv command. You can use the mv command as it is for moving directories.
mv dir target_directoryHere’s an example where I move the dir2 directory to dir3. And as you can see, dir2 along with its content is moved to dir3.
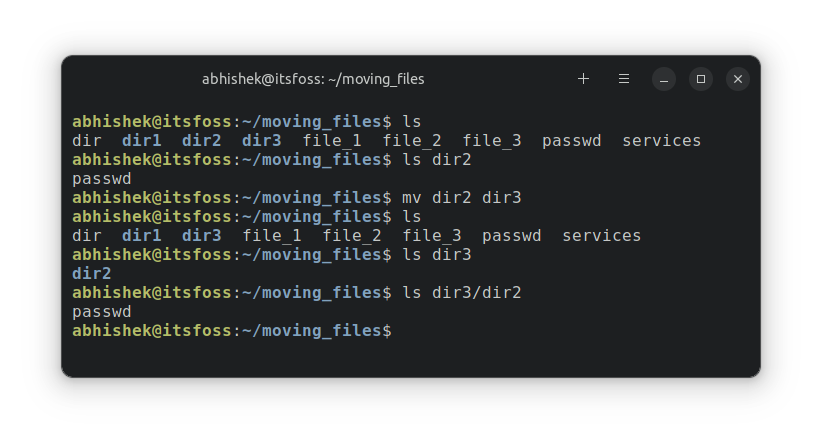
You can move multiple directories the same way.
Rename files and directories
If you want to rename a file or directory, you can use the same mv command.
mv filename new_name_in_same_or_new_locationLet’s say you want to rename a file in the same location. Here’s an example where I rename file_1 to file_one in the same directory.
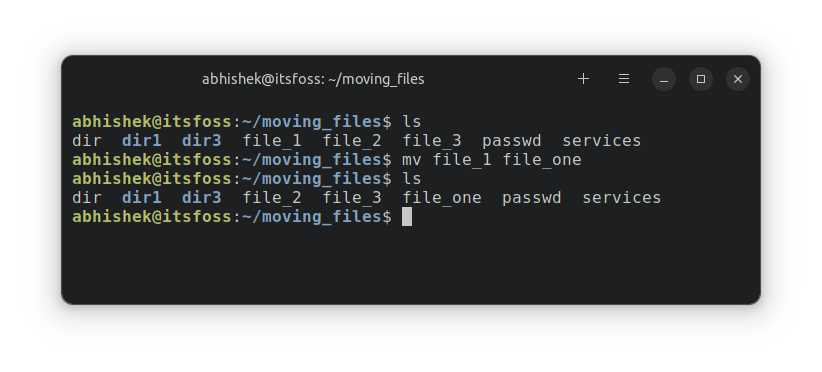
You can also move and rename the files. You just have to provide the directory path and the file name of the destination. Here, I rename services file to my_services while moving it to dir3.
abhishek@itsfoss:~/moving_files$ ls
dir  dir1  dir3  file_2  file_3  file_one  passwd  services
abhishek@itsfoss:~/moving_files$ mv services dir3/my_services
abhishek@itsfoss:~/moving_files$ ls dir3
dir2  my_services
Test your knowledge
Time to practice what you just learned.
Create a new folder to practice the exercise. In here, create a directory structure like this:
.
├── dir1
├── dir2
│   ├── dir21
│   ├── dir22
│   └── dir23
└── dir3
Copy the file /etc/passwd to the current directory. Now rename it secrets.
Make three new files named file_1, file_2 and file_3. Move all the files to dir22.
Now move the dir22 directory to dir3.
Delete all contents of dir2 now.
In the penultimate chapter of the Terminal Basics series, you’ll learn about editing files in the terminal. Stay tuned.
