
Clone Existing Raspberry Pi OS to a Bigger (or smaller) SD Card
Here’s the scenario. You bought a Raspberry Pi and used a 16 GB or 32 GB micro SD card with it. Things look good but you realize that you are going to need more space. What can you do now?
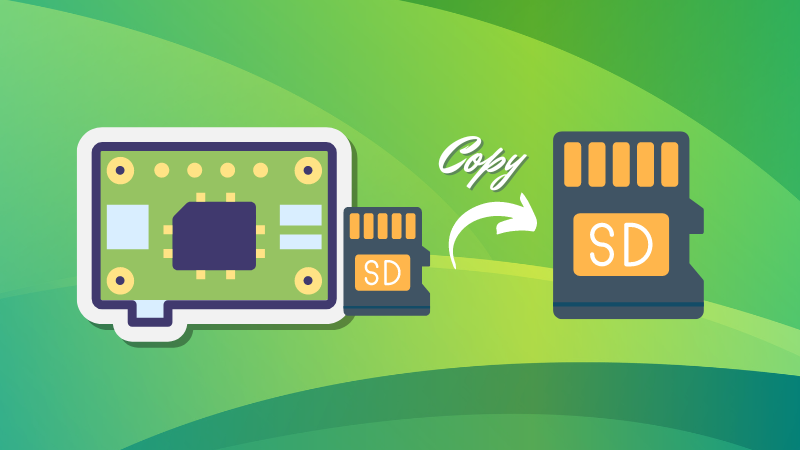
While there are several things you can do to extend the storage of your Raspberry Pi, the simplest solution I find is to clone the existing Raspberry Pi OS onto a bigger SD card.
This way, you keep your existing operating system as it is. Nothing is changed except the increased disk space.
Sounds wonderful, isn’t it? Let me show you how I extend my existing 32 GB Raspberry Pi OS setup to a 128 GB SD card.
What you need
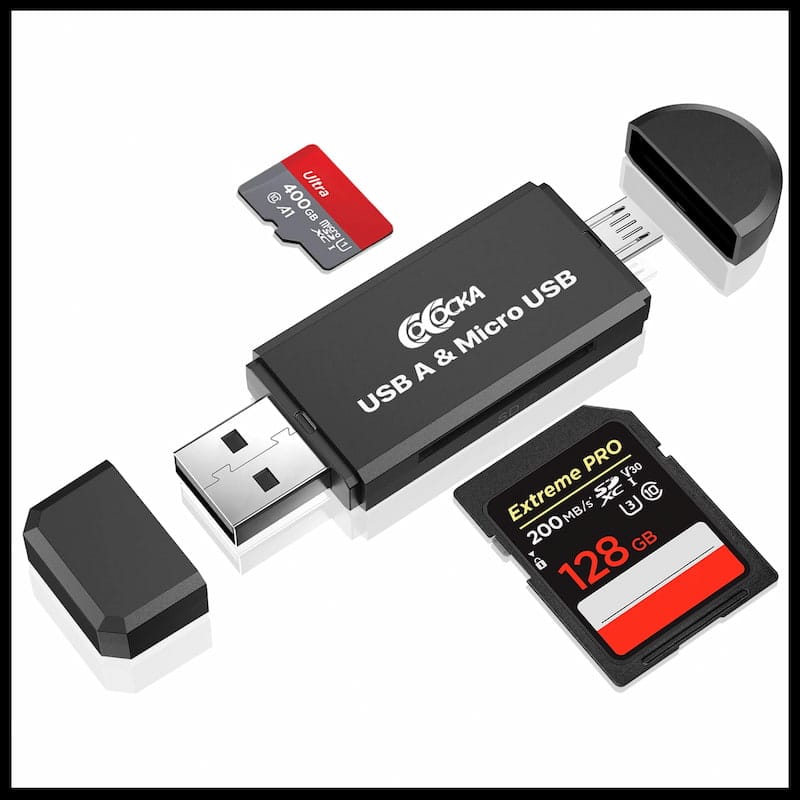
Raspberry Pi has only one micro SD card slot. So you need some other medium to copy the existing OS.
I recommend getting a USB to Micro SD adapter device. It is an inexpensive device that lets you insert the SD card in it and then plug it in another device through the USB port.
Put the new SD card in this device, plug it in the USB port of Raspberry Pi and use the SD Card Copier tool to copy the existing Raspberry Pi OS on the new card.
Once the copying is done, you can turn off the Pi, replace the old SD card with the new one and boot from it.
Step 1: Format the new SD card
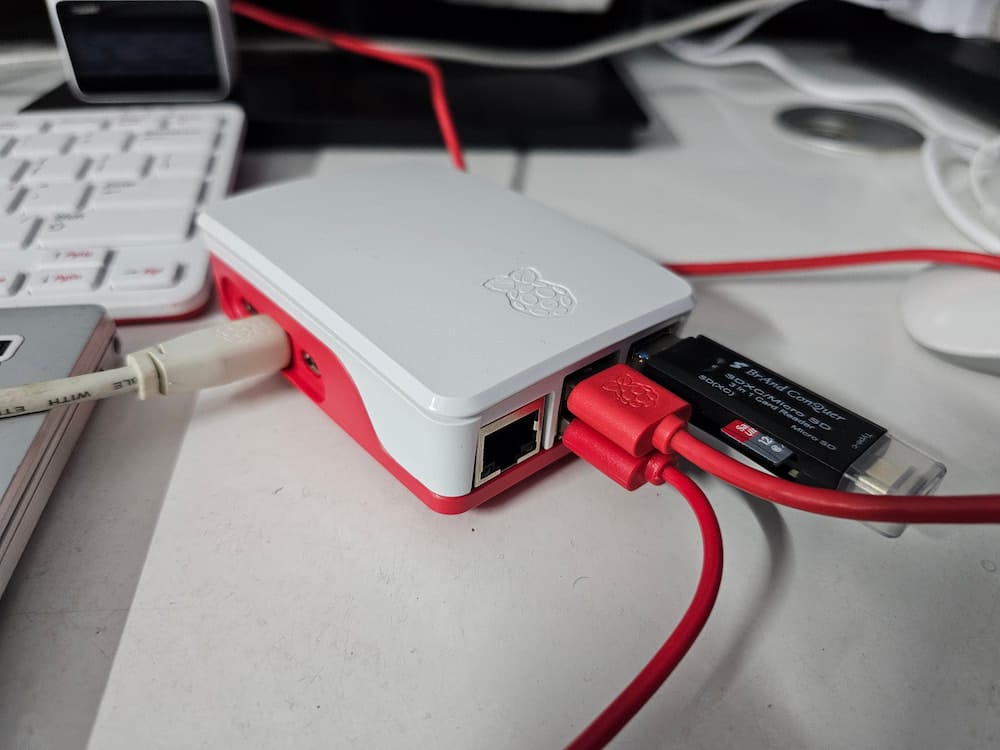
Once you have the device, insert the micro SD into it and then plug the device into the Raspberry Pi. Here’s a picture of my setup.
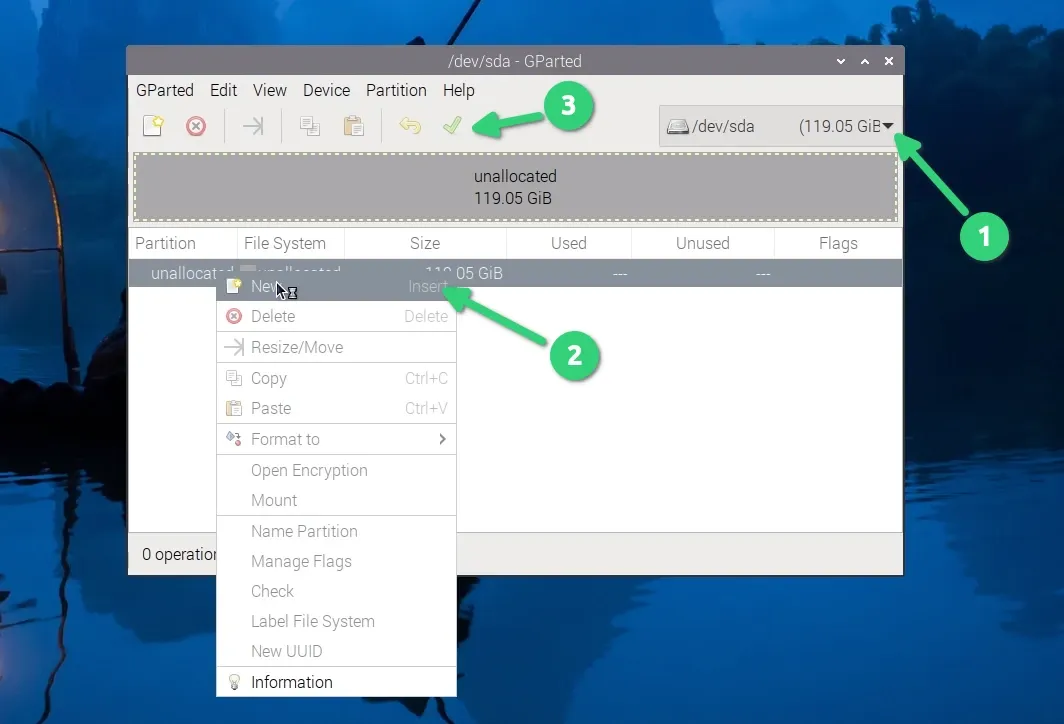
It is always a good idea to format the SD card you plan to use. For this purpose, use the gparted tool.
You need to install it first:
sudo apt install gpartedOnce installed, run the tool. Since you are using a USB adapter, the new storage is seen as USB, not SD card. Select the appropriate SD card from the top right, create a new partition on it and apply the changes.
The above process may take some time.
Step 2: Clone the SD card
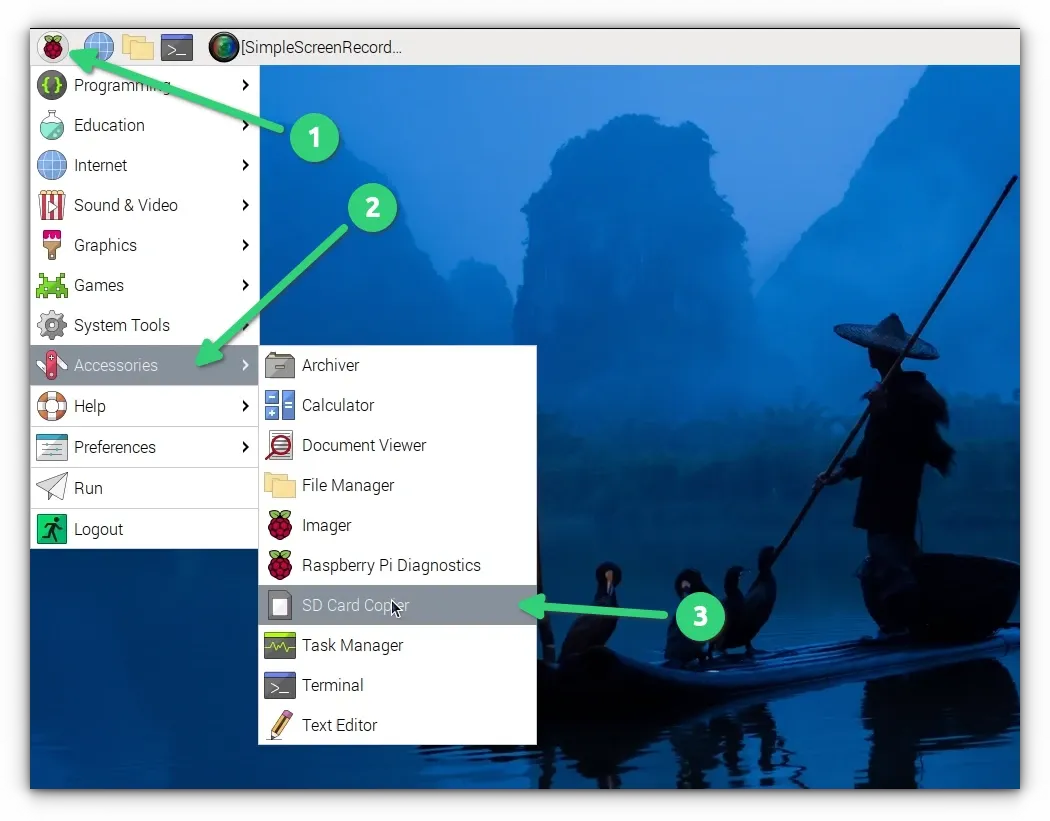
Click on the menu, go to Accessories and then click on SD Card Copier.
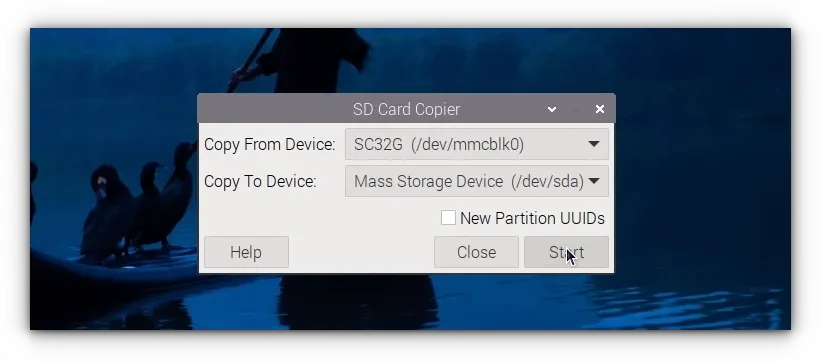
In the SD Card Copier tool, choose your original SD Card which Raspberry Pi is using in the Copy From Device field. And in the Copy to Device field, use the new SD card (which is basically seen as USB).
Once you have appropriately selected the devices, hit start.
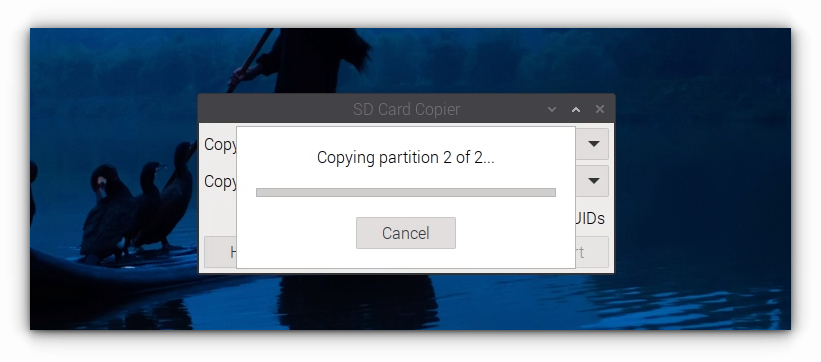
It takes some time to complete the copying.
Step 3: Using the new SD card
This is obvious. Once the process completes, power off the Raspberry Pi. Take out the existing SD card and plug in the new one.
Power it on again and you’ll notice that everything remains as it is. Your device boots into the same operating system; it has the same applications and configuration as before except that you have a bigger storage now.
Conclusion
Cloning one SD card to another is effortless in Raspberry Pi OS as long as you can connect two SD cards to the Pi simultaneously.
I copied smaller SD card to bigger but you should be able to do the opposite as well. You can copy your existing Raspberry Pi OS from bigger SD card to smaller SD card as long as your existing card is not using more space than the new one.
I hope you find this tutorial helpful in exploring the potential of your Raspberry Pi. Enjoy 😄