Handling Externally Managed Environment Error With Pip in Ubuntu 23.10

I recently upgraded to Ubuntu 23.10. Things are mostly smooth. However, recently I encountered an issue that was not present in the previous version.
I was trying to install a package using Pip, a command line based Python package manager. It works great usually but it threw an error this time:
error: externally-managed-environment
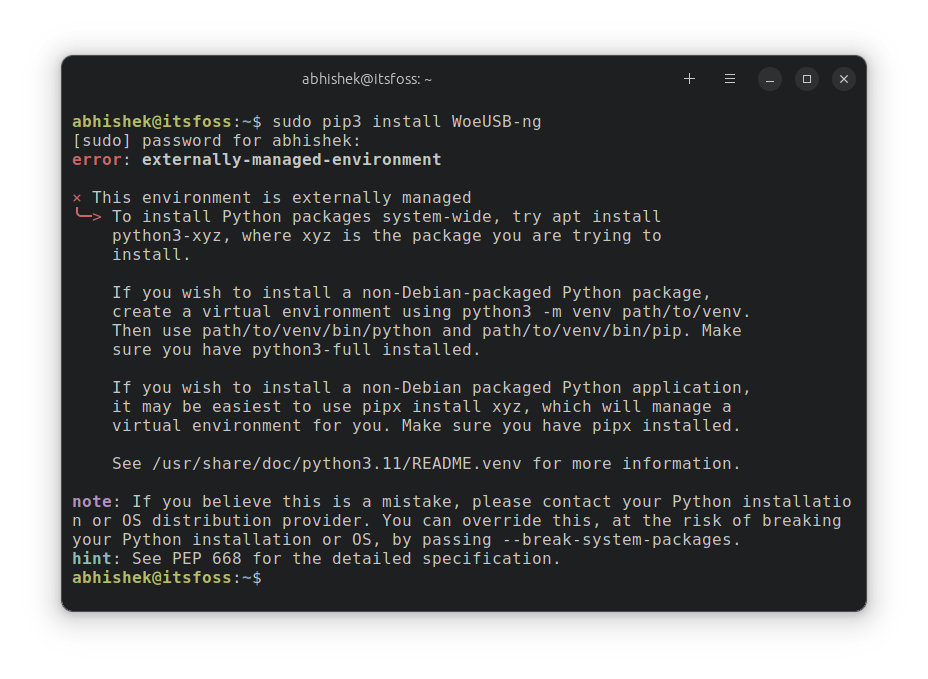
Here’s the complete error message if you want to read it:
× This environment is externally managed
╰─> To install Python packages system-wide, try apt install
    python3-xyz, where xyz is the package you are trying to
    install.

    If you wish to install a non-Debian-packaged Python package,
    create a virtual environment using python3 -m venv path/to/venv.
    Then use path/to/venv/bin/python and path/to/venv/bin/pip. Make
    sure you have python3-full installed.

    If you wish to install a non-Debian packaged Python application,
    it may be easiest to use pipx install xyz, which will manage a
    virtual environment for you. Make sure you have pipx installed.

    See /usr/share/doc/python3.11/README.venv for more information.

note: If you believe this is a mistake, please contact your Python installation or OS distribution provider. You can override this, at the risk of breaking your Python installation or OS, by passing --break-system-packages.
hint: See PEP 668 for the detailed specification.
And if you read the details, you’ll understand why you see this error.
Reason behind the ‘Externally Managed Environment’ Error
Ubuntu 23.10, Fedora 38 and probably other recent distribution versions are implementing this enhancement on the use of Python packages.
The change has been done to avoid the “conflict between OS package managers and Python-specific package management tools like pip. These conflicts include both Python-level API incompatibilities and conflicts over file ownership.”
More details can be find on this page.
What are your options?
You can do three things when you try to install a Python package and see this error.
- Install the native package
- Create virtual environments in Python
- Use Pipx (recommended)
Let’s see them one by one.
Option 1: Go for native package
I understand that Pip gives a comfortable way of installing Python packages. However, some Python applications are also packaged as APT or other native packages. Search for it in your distribution’s repositories and install it from there if it is available.
For example, I was trying to install WoeUSB-ng. If I was using Arch Linux, the same package is available from AUR.
Option 2: Use Python virtual environment
If you must use a Python package, you have to isolate it in Python virtual environment.
With the help of virtual environments, you can use different versions of package dependencies and Python. This way, you avoid any conflicts between the packages.
Let’s quickly see how you do it. Usually, Python should already have the tool for creating virtual environments.
Use the command below to create a virtual environment for your project. Replace project_name with your project’s name, of course.
python3 -m venv .venv/project_nameIf you see venv errors related, you may have to install it.
sudo apt install python3-venv
Now, you’ll see a directory named .env in your home directory and inside the .env, you’ll have the project directory.
Here’s the exciting part. Each project directory will have its own copy of Python and Pip in it.
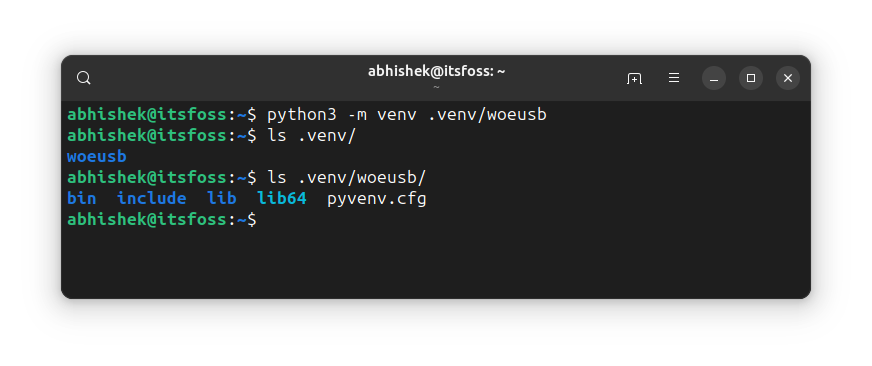
That’s your virtual Python environment. You can use this ‘local binary’ for installing Python packages using Pip inside this virtual environment like this:
.venv/project_name/bin/pip install package_name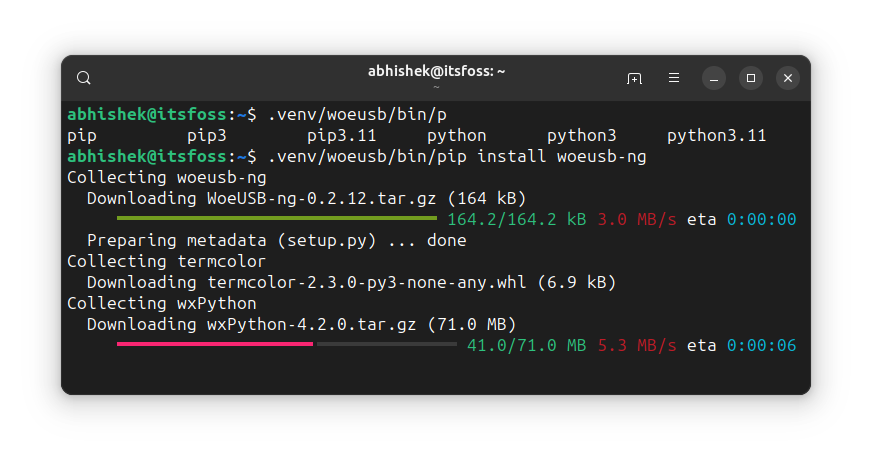
Remember that the installed Python package won’t be available system wide.
This was only a brief example of virtual environments in Python. Here’s a detailed guide if you want to learn more on it.

3. Use Pipx tool (recommended)
What you saw above involves manual work. Pipx automates it.
It automatically creates a new virtual environment for each app you install. Not only that. It also creates a link to it in .local/bin. This way, the user who installed the package can run it from anywhere in the command line.
I guess that’s what most desktop Linux users want here.
Install pipx on Ubuntu using this command:
sudo apt install pipxIt will probably install a huge number of dependencies:
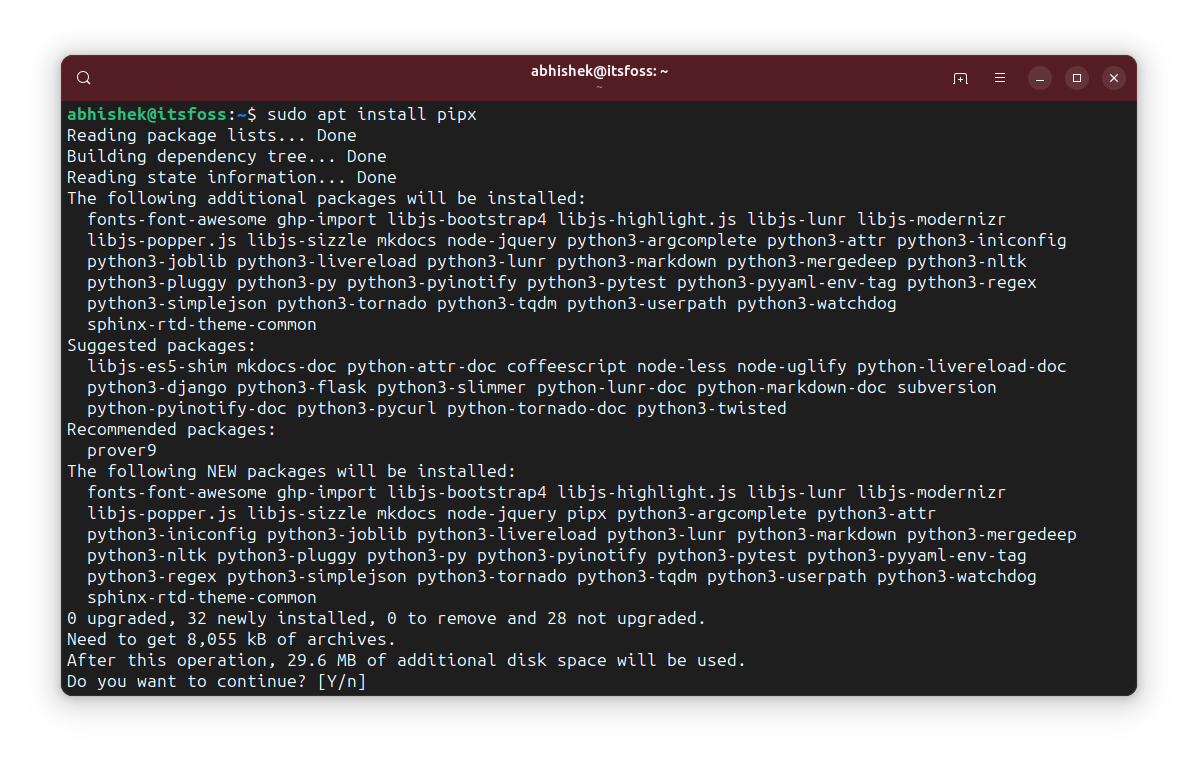
Now add it to the PATH so that you can run from anywhere.
pipx ensurepath
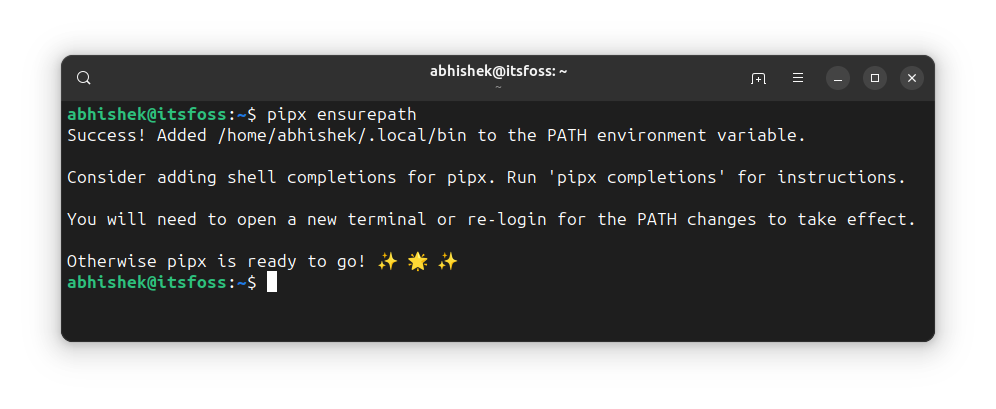
Great! Now you can install Python packages using Pipx instead of Pip:
pipx install package_nameHere’s an example.
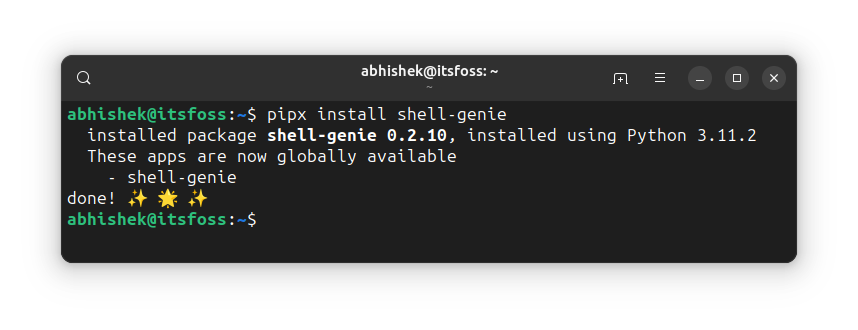
pipx uninstall package_name command.Conclusion
Pip is a good tool for getting Python packages on the system. I think it was always meant for Python programmers, not for the end users. Clearly, it cannot be used as a replacement for the native distribution packages and the Python devs have made it clear.
The good thing is that alternatives exist for both programmers and end users.
I hope this tutorial helped you understand and overcome the externally-managed-environment error with Pip in Linux.
Please let me know if you have questions or suggestions.


