
How to Install Ansible AWX on Kubernetes Cluster
In this post, we will show you how to install Ansible AWX on Kubernetes (k8s) cluster step by step.
Ansible AWX is a powerful open-source tool for managing and automating IT infrastructure. AWX provides a graphical user interface for Ansible, allowing you to easily create, schedule, and run Ansible playbooks.
Kubernetes, on the other hand, is a popular container orchestration platform that is widely used for deploying and managing containerized applications.
Prerequisites
- Kubernetes cluster
- Kubectl
- A regular user with sudo rights and cluster admin rights
- Internet connectivity
Step :1 Install helm
In case you, helm is installed on your system then run beneath commands to install,
$ curl -fsSL -o get_helm.sh https://raw.githubusercontent.com/helm/helm/main/scripts/get-helm-3
$ chmod +x get_helm.sh
$ ./get_helm.sh
$ helm version

Step 2: Install the AWX chart
The easiest way to install AWX on Kubernetes is by using the AWX Helm chart. So, to install AWX via chart, first add its repository using following helm command.
$ helm repo add awx-operator https://ansible.github.io/awx-operator/
"awx-operator" has been added to your repositories
$
Note: If you had already added this repository before, then run beneath command to get latest version of packages.
$ helm repo update
To install awx-operator via chart, run
$ helm install ansible-awx-operator awx-operator/awx-operator -n awx --create-namespace

This will download the AWX chart and install it on your Kubernetes cluster in awx namespace.The installation process may take a few minutes, so be patient.
Step 3: Verify AWX operator installation
After the successful installation, you can verify AWX operator status by running below command
$ sudo kubectl get pods -n awx
You should see something like this:

Step:4 Create PV, PVC and deploy AWX yaml file
AWX requires persistent volume for postgres pod. So, let’s first create a storage class for local volume
Note: In this post, I am using local file system as persistent volume.
$ vi local-storage-class.yaml
apiVersion: storage.k8s.io/v1
kind: StorageClass
metadata:
  name: local-storage
  namespace: awxprovisioner: kubernetes.io/no-provisioner
volumeBindingMode: WaitForFirstConsumer
Save and close the file and then run ,
$ kubectl create -f local-storage-class.yaml
$ kubectl get sc -n awx
NAME            PROVISIONER                    RECLAIMPOLICY   VOLUMEBINDINGMODE      ALLOWVOLUMEEXPANSION
local-storage   kubernetes.io/no-provisioner   Delete          WaitForFirstConsumer   false
$
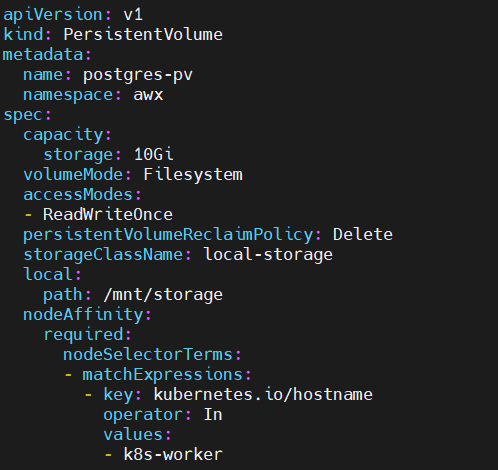
Next create persistent volume(pv) using following pv.yaml file,
$ vi pv.yaml
apiVersion: v1
kind: PersistentVolume
metadata:
  name: postgres-pv
  namespace: awx
spec:
  capacity:
    storage: 10Gi
  volumeMode: Filesystem
  accessModes:
  - ReadWriteOnce
  persistentVolumeReclaimPolicy: Delete
  storageClassName: local-storage
  local:
    path: /mnt/storage
  nodeAffinity:
    required:
      nodeSelectorTerms:
      - matchExpressions:
        - key: kubernetes.io/hostname
          operator: In
          values:
          - k8s-worker
Save & exit the file.
Important note : Make sure folder “/mnt/storage” exists on worker node, if it does not exist then create it using mkdir command on worker node. In our case worker node is “k8s-worker”
Execute the beneath command to create postgres-pv in awx namespace.
$ kubectl create -f pv.yaml
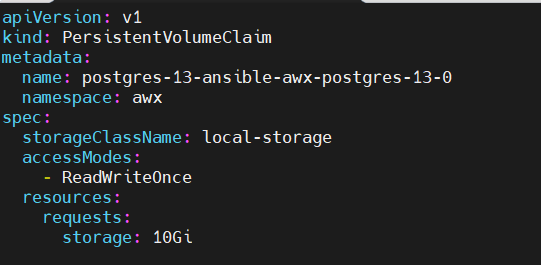
Once pv is created successfully then create persistentvolumecliam using pvc.yaml file,
$ vi  pvc.yaml
apiVersion: v1
kind: PersistentVolumeClaim
metadata:
  name: postgres-13-ansible-awx-postgres-13-0
  namespace: awx
spec:
  storageClassName: local-storage
  accessModes:
    - ReadWriteOnce
  resources:
    requests:
      storage: 10Gi
To create pvc, run following kubectl command
$ kubectl create -f pvc.yaml
Verify the status of pv and pvc using beneath command
$ kubectl get pv,pvc -n awx
Now, we are all set to deploy AWX instance. Create an ansible-awx.yaml file with following content
$ vi ansible-awx.yaml
---
apiVersion: awx.ansible.com/v1beta1
kind: AWX
metadata:
  name: ansible-awx
  namespace: awx
spec:
  service_type: nodeport
  postgres_storage_class: local-storage
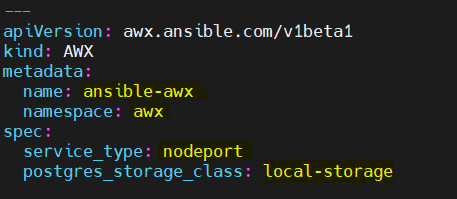
save and close the file.
Execute following kubectl command to deploy awx instance,
$ kubectl create -f ansible-awx.yaml
Wait for couple of minutes and then check pods status in awx namespace.
$ kubectl get pods -n awx

Step 5: Access AWX Web Interface
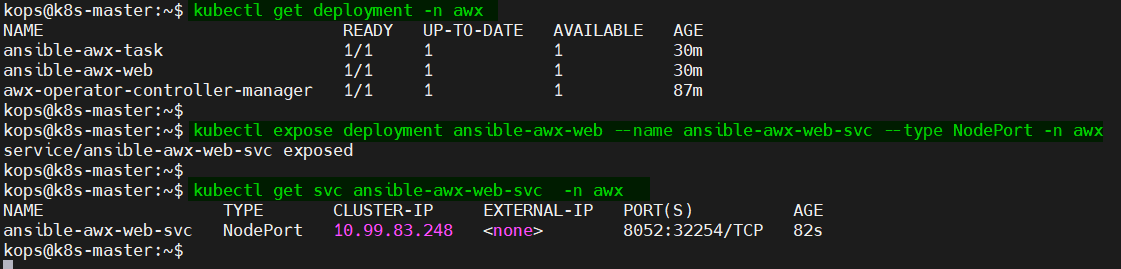
To access the AWX web interface, you need to create a service that exposes the awx-web deployment:
$ kubectl expose deployment ansible-awx-web --name ansible-awx-web-svc --type NodePort -n awx
This command will create a NodePort service that maps the AWX web container’s port to a port on the Kubernetes node. You can find the port number by running:
$ kubectl get svc ansible-awx-web-svc -n awx
This will output something like this:
NAME                 TYPE       CLUSTER-IP      EXTERNAL-IP   PORT(S)          AGE
ansible-awx-web-svc   NodePort   10.99.83.248   <none>        8052:32254/TCP   82s
In this example, the web service is available on port 32254.
By default, the admin user is admin for web interface and the password is available in the <resourcename>-admin-password secret. To retrieve the admin password, run
$ kubectl get secrets -n awx | grep -i admin-password
ansible-awx-admin-password        Opaque               1      109m
$
$ kubectl get secret ansible-awx-admin-password -o jsonpath="{.data.password}" -n awx | base64 --decode ; echo
l9mWcIOXQhSKnzZQyQQ9LZf3awDV0YMJ
$
You can now access the AWX web interface by opening a web browser and navigating to `http://<node-ip>:<node-port>/`. In the example above, the URL would be
http://192.168.1.223:3225
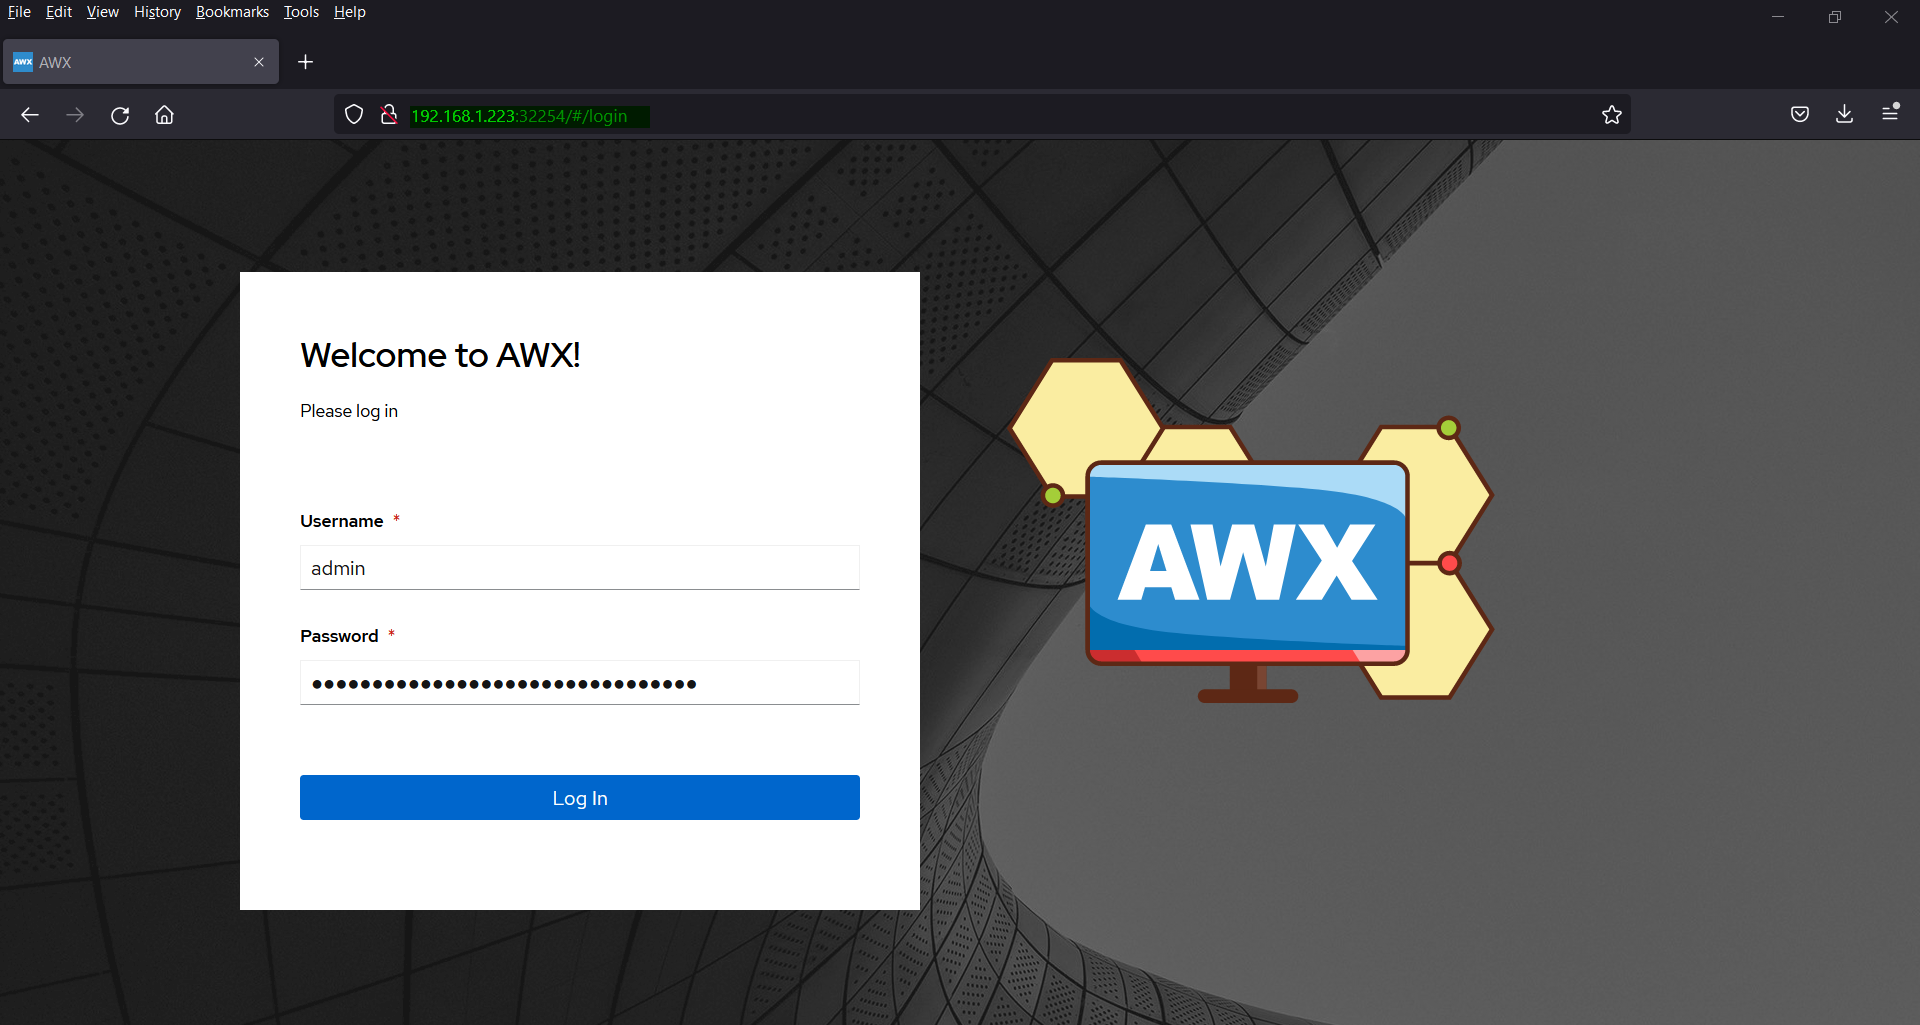
Click on Log In after entering the credentials.
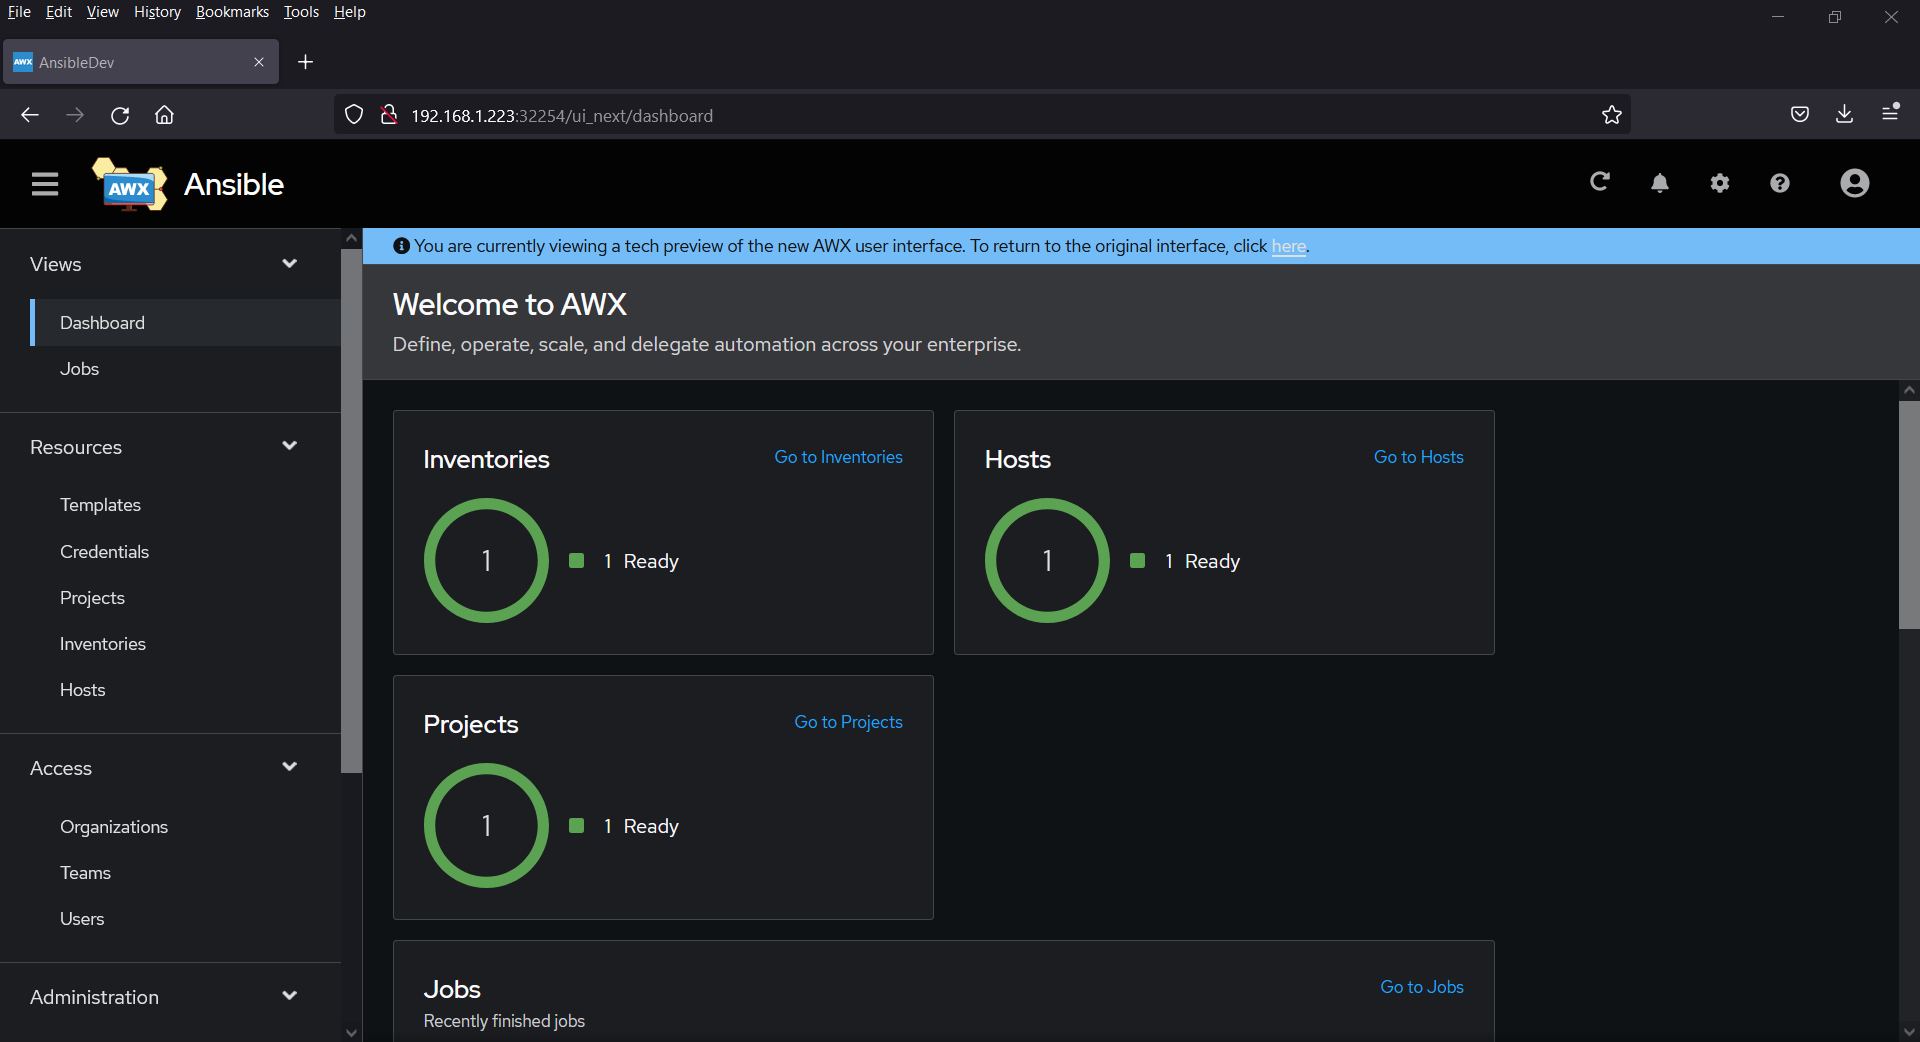
Congratulations! You have successfully installed Ansible AWX on Kubernetes. You can now use AWX to automate your IT infrastructure and make your life as a sysadmin easier.
The post How to Install Ansible AWX on Kubernetes Cluster first appeared on .