
How to Create and Manage KVM Virtual Machines via Command Line
KVM (Kernel based Virtual Machine) is an opensource virtualization technology built for Linux machines. It comprises a kernel module – kvm.ko which provides the core virtualization platform and a processor-specific module ( kvm-intel.ko for Intel processors or kvm-amd.ko for AMD processors ).
There are two ways of creating virtual machines using KVM. You can leverage the virt-manager tool which is an X11 server that provides a GUI interface for creating virtual machines. Additionally, you can use the command line to create a virtual machine by defining various parameters associated with the virtual machine you want to deploy.
We already have an elaborate guide on how to install KVM virtual machines using GUI on Ubuntu. In this guide, we take a different approach and demonstrate how you can create a KVM virtual machine from the command line interface. We are using Ubuntu 18.04, but this should work across all Linux distributions.
Step 1) Check whether Virtualization is enabled
As we get started out, we need to check if your system supports Virtualization technology. To achieve this, run the following command.
$ egrep -c '(vmx|svm)' /proc/cpuinfo
If your system supports virtualization technology, you should get an output greater than 0.

Next, confirm if your system can run KVM virtual machines.
$ kvm-ok

If you get an error on the screen, it implies that the kvm-ok utility is not yet installed. Therefore, install the following command to install the kvm-ok utility.
$ sudo apt install -y cpu-checker
Now run the kvm-ok command to confirm whether KVM virtualization is supported.
Step 2) Install KVM, Qemu, virt-manager & libvirtd daemon
The next step is to install KVM and associated packages. So, run the command:
$ sudo apt install -y qemu qemu-kvm libvirt-daemon libvirt-clients bridge-utils virt-manager
The command installs the following packages.
- qemu-kvm – This is the main KVM package that provides virtualization support.
- libvirt – Includes the libvirtd daemon which supports creation and management of virtual machines.
- libvirt-client – This package provides the virsh utility used for interacting with virtual machines.
- virt-install – A utility that helps you to create virtual machines and install OS on those virtual machines from command line.
- virt-viewer – A utility that displays the graphical view for the virtual machine.
Once installed, we need to confirm if the required kvm modules are loaded. Therefore, run the command:
$ lsmod | grep kvm

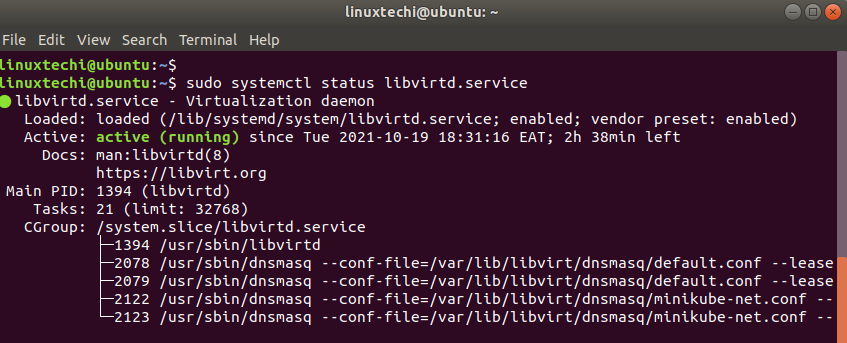
Additionally, confirm that the libvirtd daemon is running as follows.
$ sudo systemctl status libvirtd.service
Perfect! All the prerequisites are in place. Let’s now proceed and install a virtual machine.
Step 3) Create a virtual machine from the command line
We are going to install a Debian virtual machine using a Debian 11 iso image located in the Downloads folder in the home directory.
To create the new virtual machine, we will run the following command.
$ sudo virt-install --name=debian-vm
--os-type=Linux
--os-variant=debian9
--vcpu=2
--ram=2048
--disk path=/var/lib/libvirt/images/Debian.img,size=15
--graphics spice
--location=/home/james/Downloads/debian-11.1.0-amd64-DVD-1.iso
--network bridge:virbr0
Let’s take a minute and analyze this command:
- The –name attribute denotes the name of the virtual machine. Feel free to give it an arbitrary name.
- The –os-type directive specifies the type of Operating system – in this case Linux.
- The –os-variant option specifies the operating system releases.
NOTE: KVM provides predefined –os-variant options and you just cannot make up your own. To check the various variants that are supported, run the osinfo-query os command. This lists all the possible Operating systems and the supported variants. Also, note that the variants my not coincide with your latest Linux release. In this case, I’m using debian9 instead of debian11 since the latter is not provided by KVM as one of the variant options.
- Moving on, the –vcpu parameter specifies the number of CPU cores to be allocated to the virtual machine.
- The –ram option specifies the amount of RAM in Megabytes to be allocated.
- The –disk path option defines the path of the virtual machine image. The –disk directive is the disk space of the VM in Gigabytes.
- The –graphics option specifies the graphical tool for interactive installation, in this example, we are using spice.
- The –location option points to the location of the ISO image
- Lastly, the –network bridge directive specifies the interface to be used by the virtual machine.
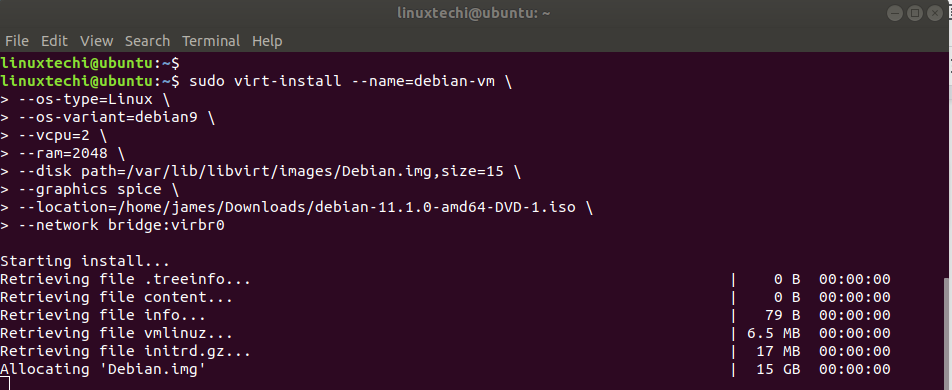
If all goes well, you should get some output as indicated in the image above followed by a virt viewer pop-up of the virtual machine awaiting installation.
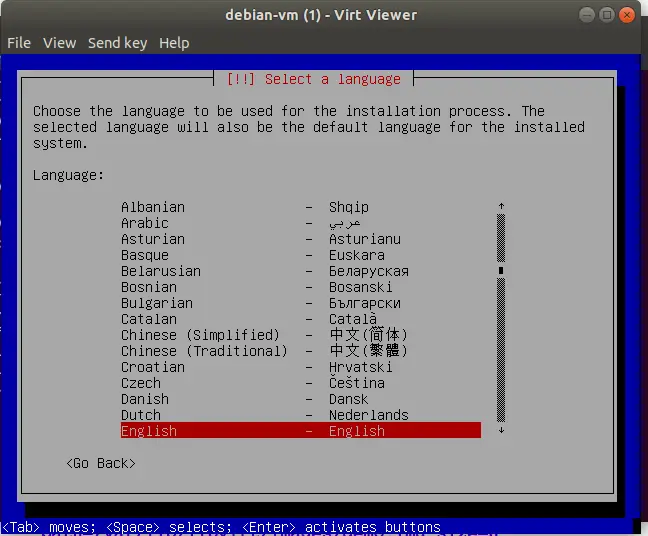
In our case, we are installing Debian 11 and this is the initial installation screen. We proceeded with the installation until the very end.
Step 4) Interacting with virtual machines
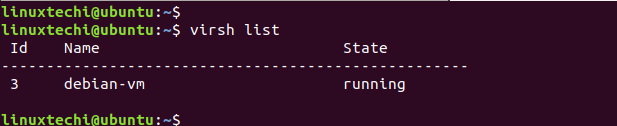
The virsh utility is a component that is used to interact with virtual machines on the command-line. For instance, to view the currently running virtual machines, execute the command:
$ virsh list
To list all the virtual machines including those that are powered off, append the –all option.
$ virsh list --all

To shut down a virtual machine use the syntax:
$ sudo virsh shutdown vm_name
For example, to turn off our virtual machine, the command will be:
$ sudo virsh shutdown debian-vm

To start or power on the virtual machine, run:
$ sudo virsh start debian-vm

To reboot the machine, run the command:
$ sudo virsh reboot debian-vm

To destroy or forcefully power off virtual machine, run:
$ sudo virsh destroy debian-vm
To delete or removing virtual machine along with its disk file, run
a) First shutdown the virtual machine
b) Delete the virtual machine along with its associated storage file, run
$ sudo virsh undefine –domain <Virtual-Machine-Name> –remove-all-storage
Example:
$ sudo virsh undefine --domain debian-vm --remove-all-storage
Closing Thoughts :
This was a guide on how to install a virtual machine using KVM on the command line. We have highlighted some of the salient options to specify to ensure the successful deployment of the virtual machine. We also went a step further and demonstrated how to interact with the virtual machine on command-line using the virsh utility. Those were just a few options, there are quite several of them.
The post How to Create and Manage KVM Virtual Machines via Command Line first appeared on LinuxTechi.