How to Install Ansible (Automation Tool) on Rocky Linux 8
Ansible is free and open-source automation tool sponsored by Red Hat. Using ansible we can manage and configure Linux and Windows system without any agent installation on them. It basically works on ssh protocol and can configure hundred plus servers at a time. In ansible terminology, system on which Ansible is installed is called control host /node and the systems which are managed by ansible are called managed hosts.
In this post, we will discuss how to install latest version of Ansible on Rocky Linux 8. Following is my Ansible lab setup details:
- Control Node – 192.168.1.170 – Minimal Rocky Linux 8
- Managed Host 1 – 192.168.1.121 – Ubuntu 20.04 LTS
- Managed Host 2 – 192.168.1.122 – Rocky Linux 8
- sysops user with admin rights
Install Ansible via dnf command
1) Update the system
To update rocky linux 8, run beneath dnf command.
$ sudo dnf update -y
Once all the updates are installed reboot your system once.
$ sudo reboot
2) Configure EPEL repository
Ansible package and its dependencies are not available in the default Rocky Linux 8 package repositories. So, to install ansible via dnf , we must configure EPEL repository first.
Run following commands,
$ sudo dnf install -y epel-release
3) Install Ansible with dnf command
Now we are all set to install ansible with dnf command, run
$ sudo dnf install ansible -y
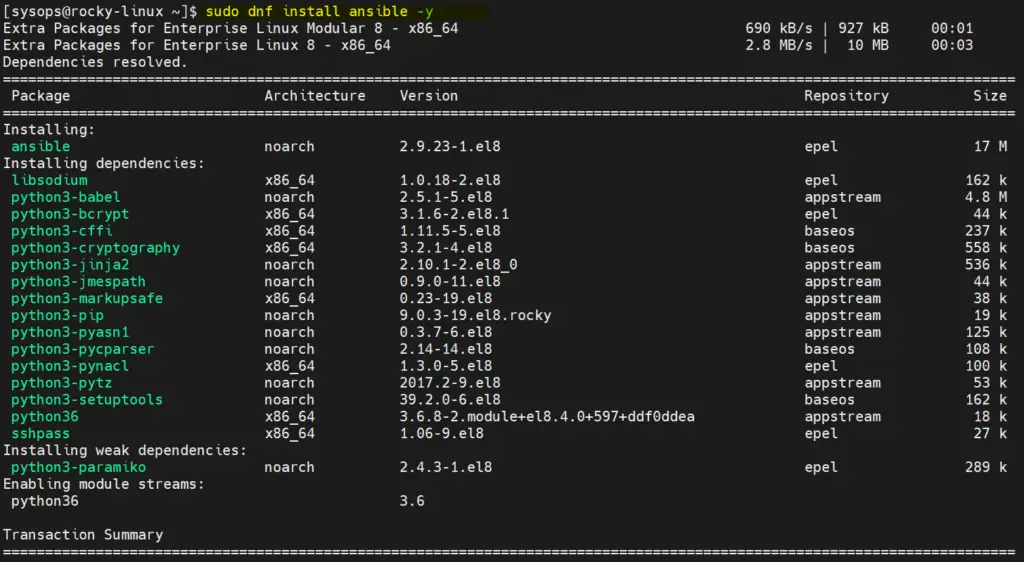
Once ansible and its dependencies are installed successfully. Verify its version by running following command,
$ ansible --version

Ansible Installation with pip
If you are looking for the latest version of Ansible then install ansible with pip. Refer the following steps.
Note: At the time of writing this post, ansible 4.3.0 is available
1) Install all updates
Install all the available updates using the beneath command,
$ sudo dnf update -y
Reboot the system once after installing the updates,
$ reboot
2) Install python 3.8 and other dependencies
Run following commands to install python 3.8 and other dependencies
$ sudo  dnf module -y install python38
$ sudo alternatives --config python
Type 3 and hit enter
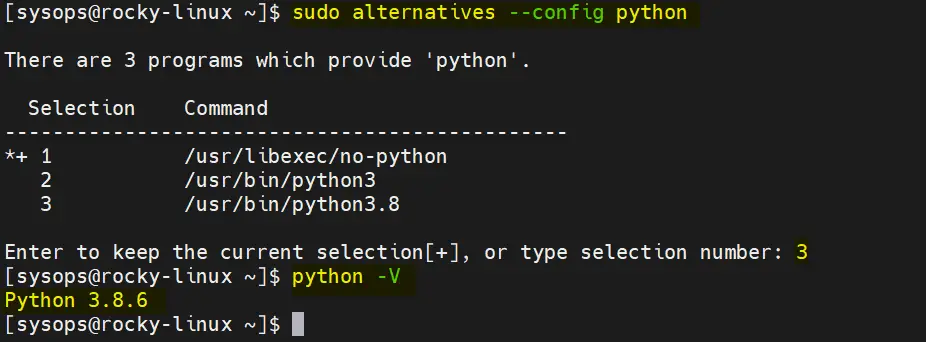
3) Install latest version of Ansible with pip
Run the following commands one after the another to install ansible,
$ sudo pip3 install setuptools-rust wheel
$ sudo pip3 install --upgrade pip
$ sudo python -m pip install ansible
Output of above python command would like below:
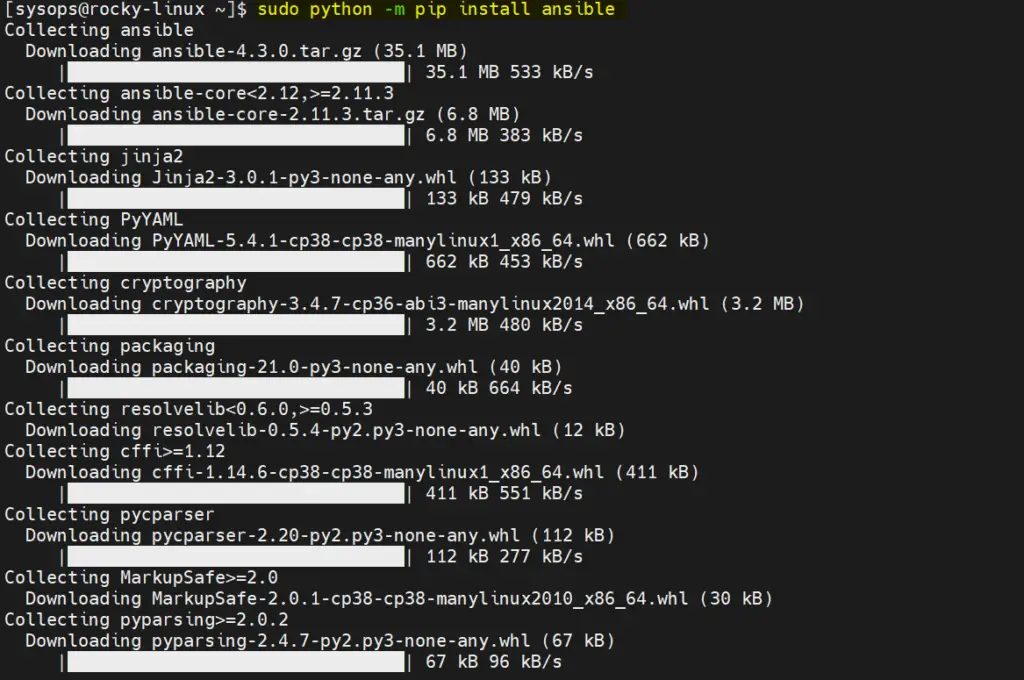

Above output confirms that Ansible has been installed successfully. Let’s verify Ansible version using following ansible command,
$ ansible --version

Verify Ansible Installation
Whenever Ansible is installed with dnf or yum command then it’s default configuration file ‘ansible.cfg’ is created automatically under ‘/etc/ansible’ folder. But when we install it with pip then we have to create its configuration file manually.
It is recommended to create ansible.cfg for each project. For the demonstration purpose, I am creating an automation project. Run following mkdir command,
$ mkdir automation
$ cd automation
Create the ansible.cfg file with the following content,
$ vi ansible.cfg
[defaults]
inventory      = /home/sysops/auotmation/inventory
remote_user = sysops
host_key_checking = False

[privilege_escalation]
become=True
become_method=sudo
become_user=root
become_ask_pass=False
Save and quit the file.
Now create a inventory file under automation project (folder) with the following content.
$ vi inventory
[prod]
192.168.1.121

[test]
192.168.1.122
Save & close the file.
If you noticed carefully ansible.cfg file, I have used remote_user as ‘sysops’. So let’s create ssh keys for sysops user and share it among the managed hosts.
$ ssh-keygen
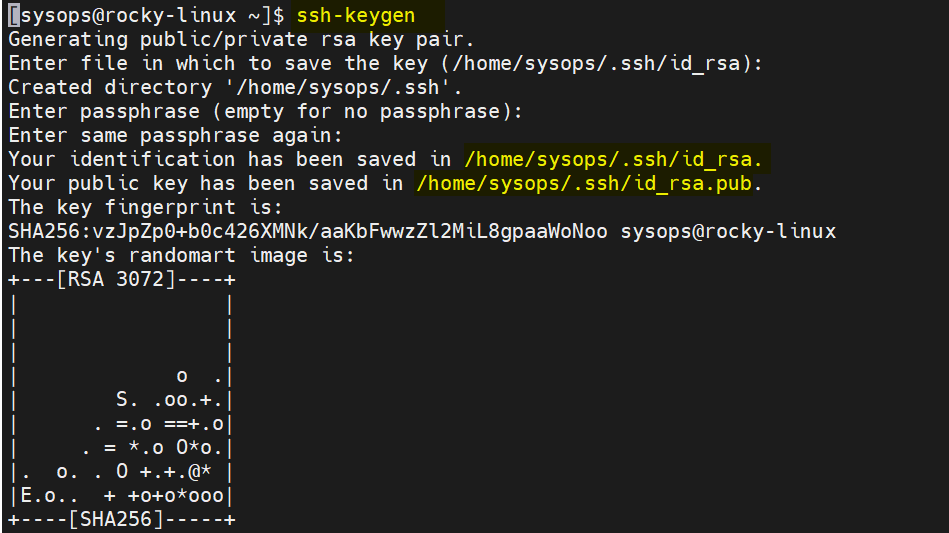
Share the SSH keys using ssh-copy-id command,
$ ssh-copy-id sysops@192.168.1.121
$ ssh-copy-id sysops@192.168.1.122
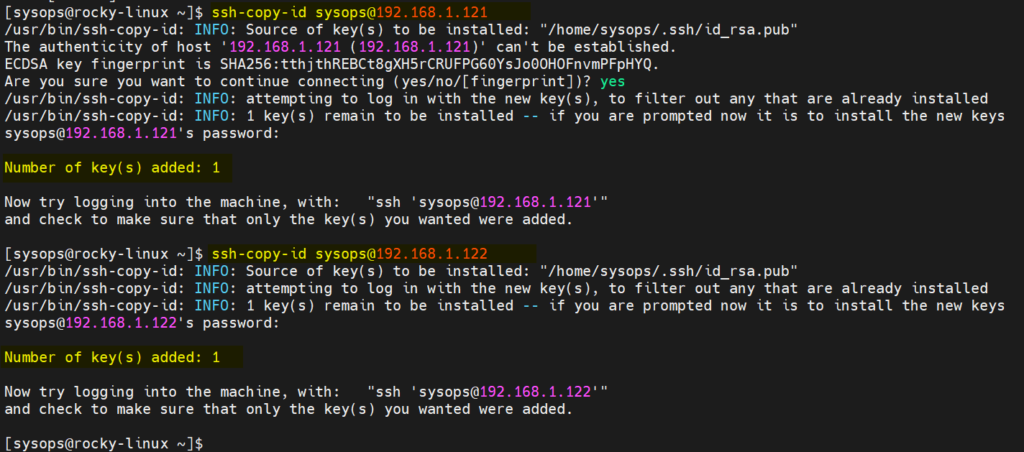
Note: Run following command on each managed host to run all the command without prompting password,
# echo "sysops ALL=(ALL) NOPASSWD:ALL" > /etc/sudoers.d/sysops
Verify the connectivity from control node to managed hosts using ping module,
$ cd automation/
$ ansible -i inventory all -m ping
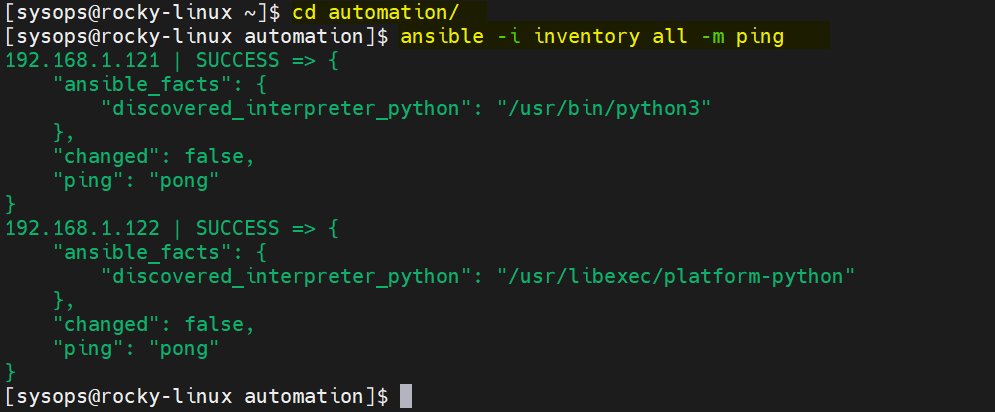
Let’s create a sample playbook (web.yaml) to install nginx and php on managed hosts,
$ vi web.yaml
---
- name: Play to Packages
  hosts:
    - test
    - prod
  tasks:
  - name: Install php and nginx
    package:
      name:
        - php
        - nginx
      state: present
Save and close the file.
Run the playbook using beneath ansible-playbook command,
$ ansible-playbook -i inventory web.yaml
Output of above command would like below

Great, above output confirms that playbook has been executed successfully and it also confirms that Ansible is installed correctly.
That’s all from this post. I believe this post helps you install and use Ansible on Rocky Linux 8. Please do share your feedback and queries in below comments section.
Recommended Read: How to Use Handlers in Ansible Playbook
The post How to Install Ansible (Automation Tool) on Rocky Linux 8 first appeared on LinuxTechi.
