
How to Install Garuda Linux Step-by-Step with Screenshots
Garuda Linux is a user-friendly and visually appealing Linux distribution that is popular among gamers. It is a rolling distribution based on Arch Linux that is designed to offer exemplary performance while focusing on offering an immersive user experience with beautiful and elegant desktop themes.
Garuda Linux offers its users a wide selection of vibrant desktop environments including Plasma KDE, GNOME, LXQt-win, Xfce, and Qtile to mention a few. Like Arch Linux, it uses Pacman as its default package manager and ships with a huge collection of software packages.
Key highlights of Garuda Linux include:
- Calameres installer for simplifying the installation process.
- BTRFS is the default filesystem with zstd compression.
- Enhanced Linux kernel for optimized multimedia and gaming.
- Elegant desktop themes with blur effects out of the box.
- Garuda Assistant GUI tool for managing various tasks along with snapper.
- Automatic snapshots using the Timeshift backup tool.
- Garuda Settings Manager for managing kernels and drivers.
- Garuda gamer for managing gaming software.
In this guide, we will demonstrate how to install Garuda Linux step-by-step with screenshots.
Step 1) Download Garuda Linux ISO
The first step in installing Garuda Linux is to download the ISO image file. Currently, there are 10 Editions of Garuda that are available. So, head over to the official Garuda Download page and download your preferred ISO file.
Once you have downloaded the Garuda Linux ISO file, grab a 16GB USB drive and create a bootable USB installation medium using Rufus, Balena Etcher or any other software for writing image files onto a USB drive.
Step 2) Boot system with installation medium
With the installation medium at hand, plug it into your PC and reboot the system. Be sure to set the bootable USB drive to have the highest boot priority and continue booting.
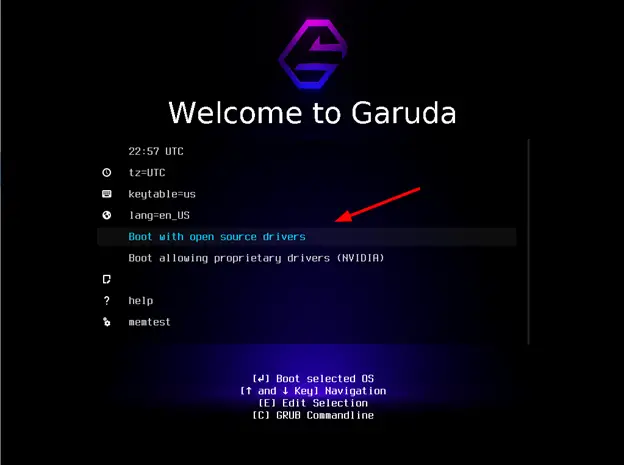
The first screen that comes to view provides you with a list of options as shown below. You can choose either the ‘Boot with opensource drivers’ or ‘Boot allowing proprietary drivers (NVIDIA)’ option.
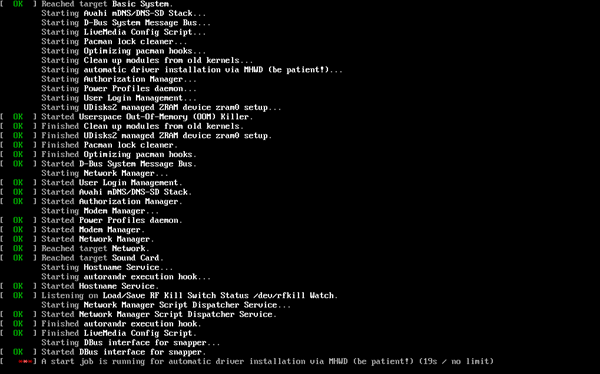
Soon afterward, you will see the boot messages splash on your screen for a minute or so.
The Garuda installer will be initialized, and you should see the Garuda Linux logo.
![]()
![]()
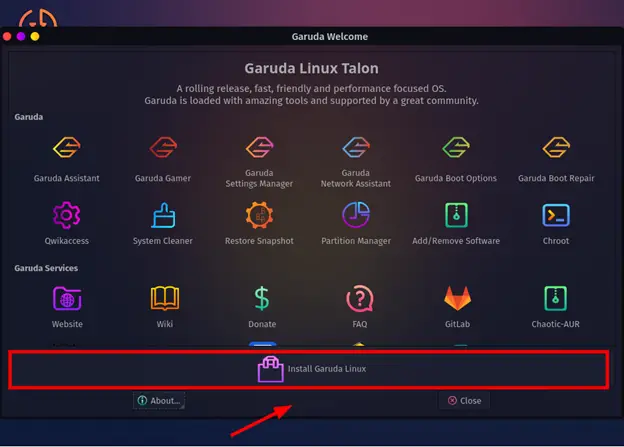
A moment later, you will land into the live Garuda Linux environment. On the welcome screen, click ‘Install Garuda Linux’ to commence the installation of Garuda Linux.
Step 3) Select Installation Language
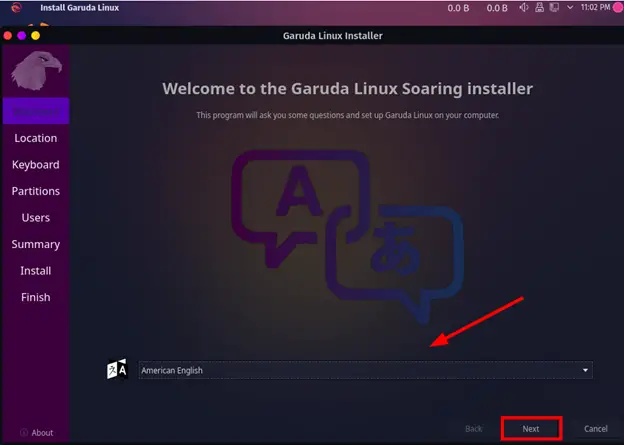
The beautiful and intuitive Calameres installer will come to view. On the left sidebar is a list of installation steps that you will be required to take.
To proceed with the installation, select the installation language and click ‘Next’.
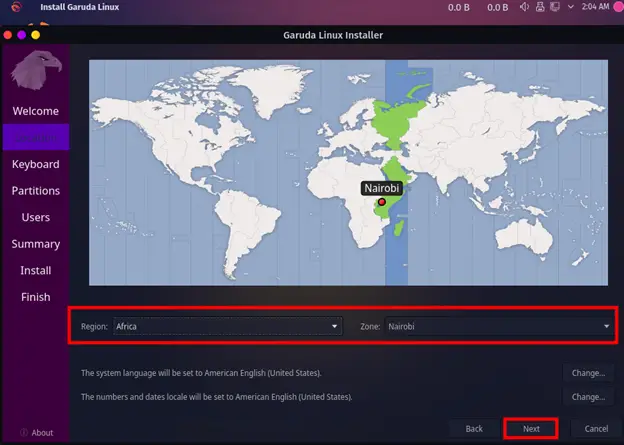
Step 4) Select Geographical Region
Next, select your current or preferred geographical location and time zone and click ‘Next’
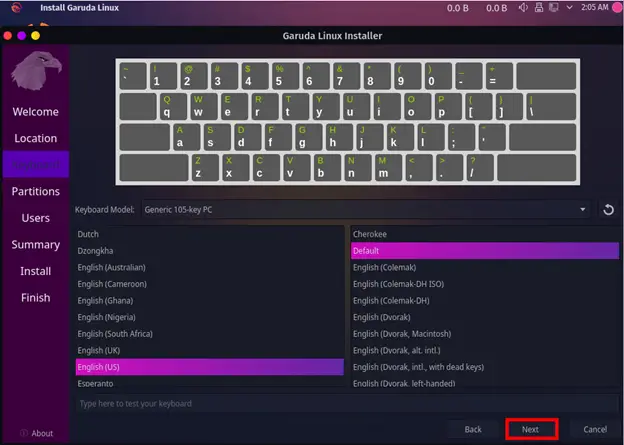
Step 5) Select Keyboard Layout
Next, select your preferred layout. Here, we will go with the default selection which works just fine. Then click ‘Next’.
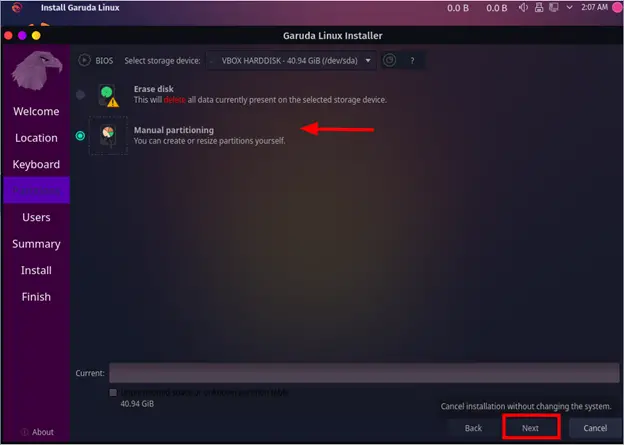
Step 6) Configure Partitioning
In this section, you will be required to partition your hard drive. You will be presented with two options as shown.
- Erase Disk: This option wipes out everything on your hard drive including the existing operating system and all the files. It’s preferred if you want to start from scratch. In addition, the option automatically partitions the hard drive and is recommended for Linux users who are not comfortable with manual partitioning.
- Manual Partitioning: This option offers the autonomy to create your disk partitions. It’s recommended if you want to have a dual boot setup.
For this guide, we will go with ‘Manual partitioning’. These are the partitions we are going to create:
- /boot/efi – 512MB
- Swap – 8GB
- / – 18GB
- /home – 14GB
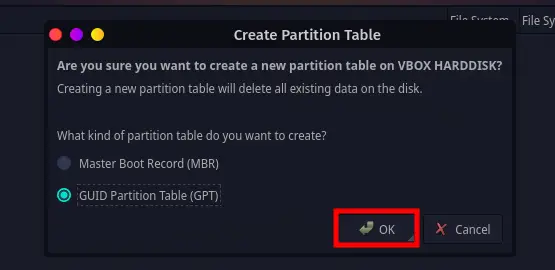
Next, click ‘New Partition Table’
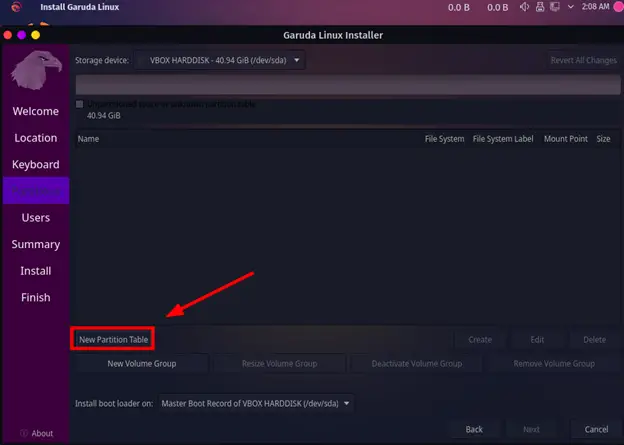
We will opt to go with the GPT (GUID Partition Table) option which is the most preferred, and click ‘Ok’.
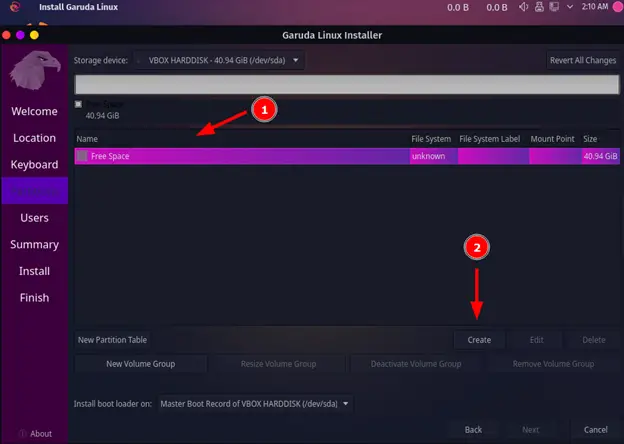
Your hard drive will be labeled as ‘Free Space’ to begin with. This is because no partitions have been created so far. To begin creating disk partitions, click ‘Create’.
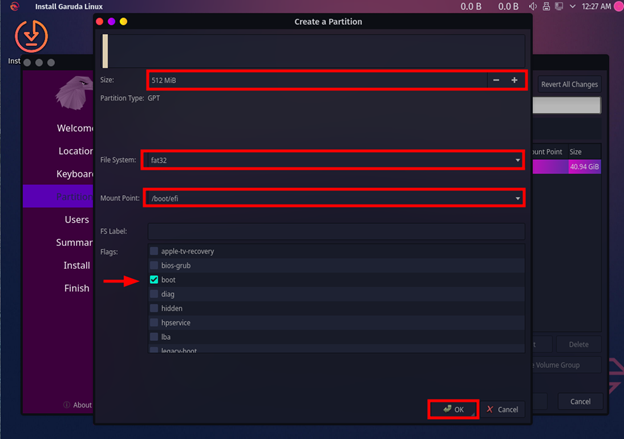
Since we are using UEFI boot mode, we will start by creating the /boot/efi partition as shown.
- Size: 512MB
- File System: FAT32
- Mount Point: /boot/efi
- Flag: boot
Once you are done, click ‘Ok’.
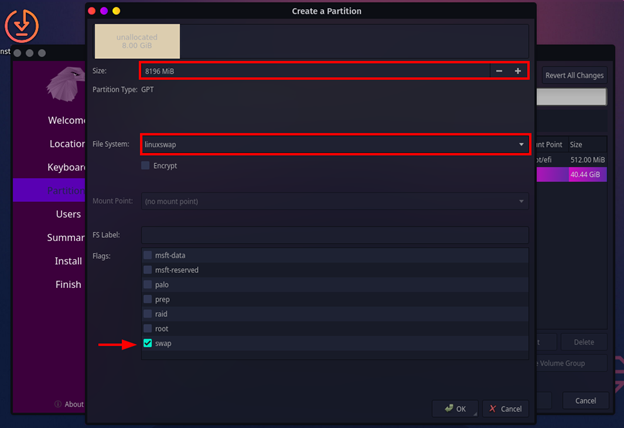
For swap space:
- Size: 512MB
- File System: linuxswap
- Flag: swap
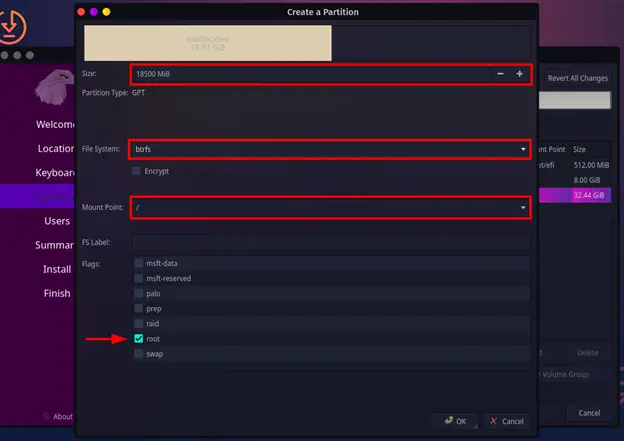
For / partition
- Size: 18500MB
- File System: btrfs
- Mount Point: /
- Flag: root
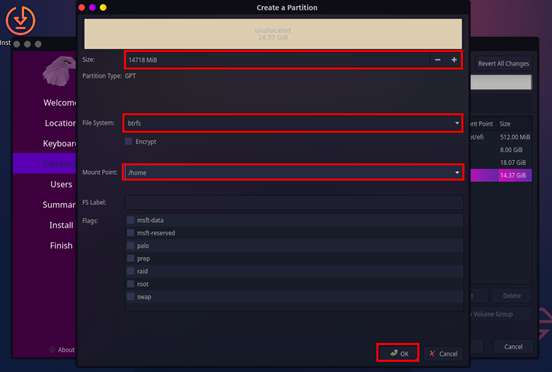
For /home partition
- Size: 14718MB
- File System: btrfs
- Mount Point: /home
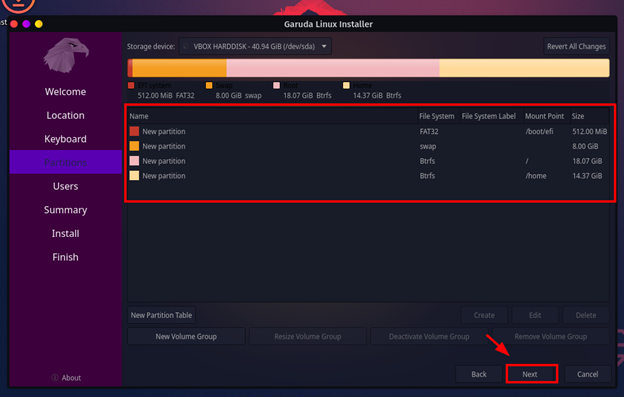
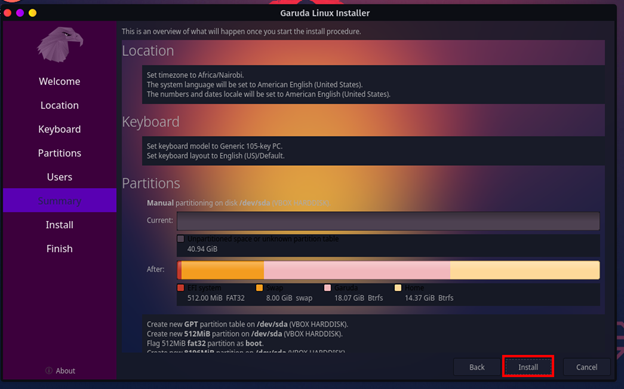
The complete partition table looks like this. To proceed, click ‘Next’.
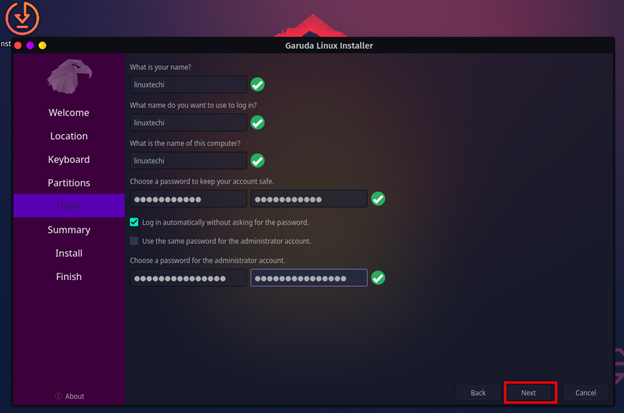
Step 7) Create a login and administrative user
Next, you will be required to create a regular login user and root account. Therefore, fill in the required details as shown below and click ‘Next’.
Step 8) Installation Summary & Start Installation of Garuda
A summary of all the settings that you have configured or selected will be displayed. So, carefully review the settings, and if all looks good, click ‘Install’.
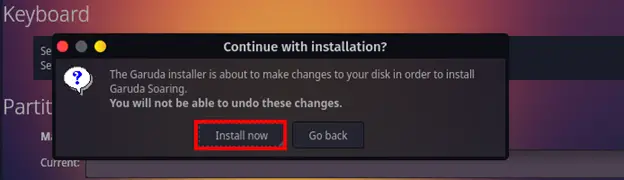
On the pop-up that appears, click ‘Install Now’ to confirm.
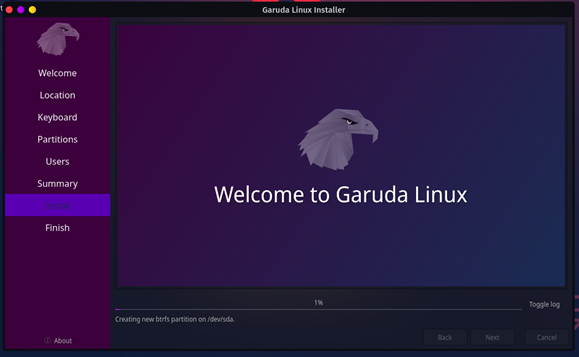
The installation of Garuda Linux will commence as the installer copies the files from the installation medium to the hard drive. This takes about 30 minutes, so you can take a breather.
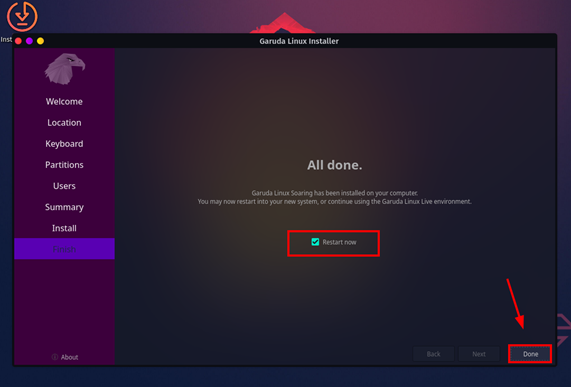
Once the installation is complete, click ‘Restart’ and then click ‘Done’ to reboot in order to log in to your new Garuda installation.
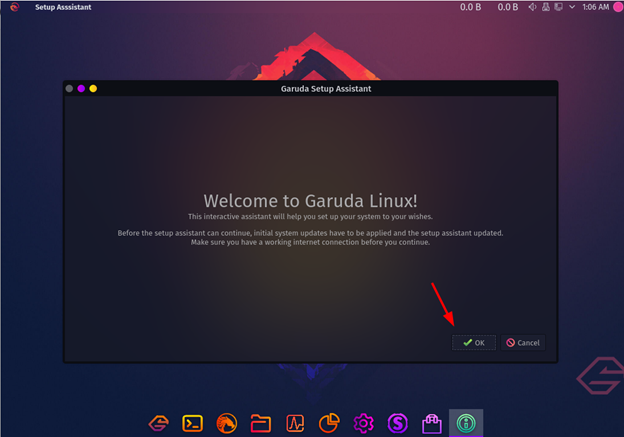
Once the system is rebooted, you will get the following Garuda assistance pop-up prompting you to apply system updates. So, click ‘Ok’.
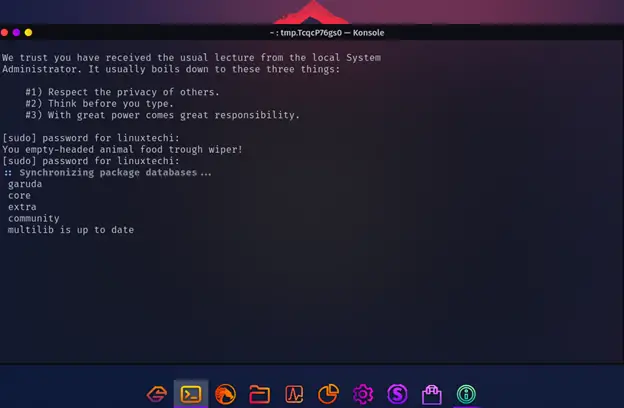
This opens a terminal on which the update of the packages will take place. Authenticate with your password and press ENTER.
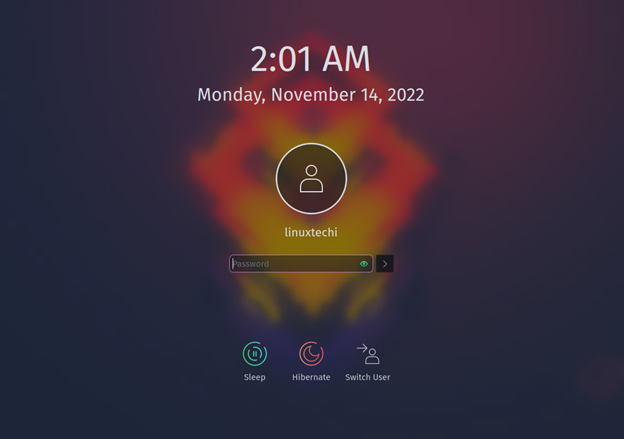
Once the update is complete, you will then be required to log in using your password.
Conclusion
This concludes this guide on the installation of Garuda Linux. All the best as you get started out with one of the most visually appealing Arch-based Linux distributions.
The post How to Install Garuda Linux Step-by-Step with Screenshots first appeared on .