
How to Install Let’s Encrypt SSL for NGINX on Rocky Linux 8
Security is one of the top-of-mind concerns for website owners, more especially, if you are running an eCommerce store or a site that accepts users’ confidential information such as usernames and passwords. The plain HTTP protocol is insecure as data is sent in plain text and hackers can eavesdrop on the communication sent to and from the web server.
To overcome this risk, it’s recommended to secure a web server using a TLS/SSL certificate. This is a cryptographic digital certificate that encrypts your web server and ensures data exchanged with the webserver is encrypted.
Let’s Encrypt SSL certificate is a digital certificate provided by Let’s Encrypt CA ( Certificate Authority) to secure a web server. It’s a free TLS/SSL certificate that is valid for only 90 days, whereupon renewal is required before expiry. It’s beneficial for startups or individuals who cannot afford a premium SSL certificate for their blogs or websites.
In this guide, we will demonstrate how you can install the Let’s Encrypt SSL/TLS certificate for NGINX on Rocky Linux 8
What you need
First, ensure you have an instance of Rocky Linux 8 server on the cloud or on premise and already configured with a sudo user.
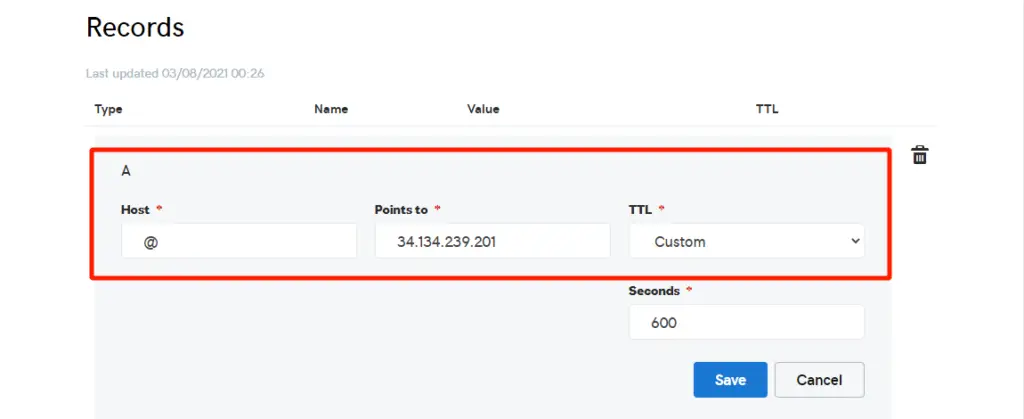
Next, ensure that you have a Fully Qualified Domain Name (FQDN ) pointing to your server’s public IP. To achieve this, head over to your domain registrar, and in the DNS settings, configure the A record to point the domain name to the server’s Public IP. Below is a snippet of my A record.
For this guide, we are using the domain name linuxtechgeek.info which is pointing to the server’s IP address 34.134.239.201.
With that out of the way, let us get started!
Step 1) Install Nginx Web Server
We start off with the installation of Nginx webserver on Rocky 8. But first, let’s upgrade the system package and update the repositories.
$ sudo dnf update
The update can take a while, so be patient until it completes.
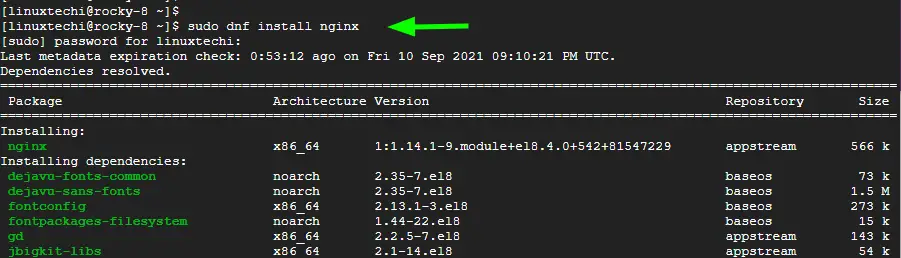
Once the upgrade is complete, reboot the system once and then install nginx webserver as follows:
$ sudo dnf install nginx
By default, nginx doesn’t start automatically. So, go the extra mile and start the nginx service.
$ sudo systemctl start nginx
Next, enable the webserver to start on boot time or upon a reboot.
$ sudo systemctl enable nginx
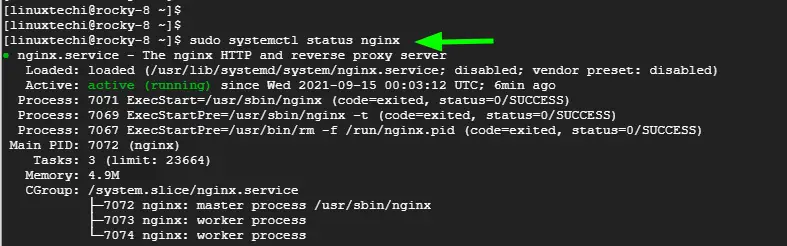
The webserver should now be running as expected and listening on port 80. You can confirm this by running the command
$ sudo systemctl status nginx
You can also verify this from a web browser. But first, allow HTTP traffic (both HTTP & HTTPS) on the firewall by running the commands shown
$ sudo firewall-cmd --add-service=http --permanent
$ sudo firewall-cmd --add-service=https --permanent
Then reload the firewall to effect the changes.
$ sudo firewall-cmd --reload
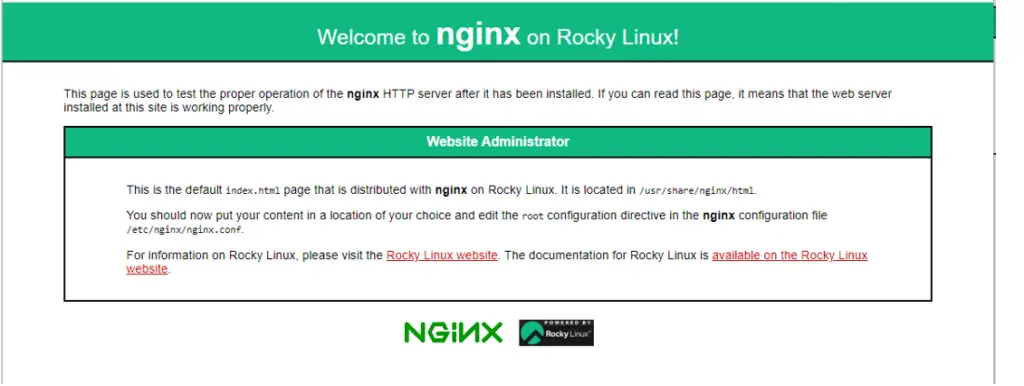
Then browse your server’s IP address or domain name
http://domain_name
Step 2) Create a Document root for the domain
We are done installing the webserver. The next step is to create a directory that will accommodate the domain’s files. We will create the domain’s directory in the linuxtechgeek.info path as shown using the mkdir command
$ sudo mkdir -p /var/www/linuxtechgeek.info/html
The domain’s document root is where you would find the website files including HTML, CSS, JavaScript, and images. For purposes of demonstration, we are going to create a simple index.html file.
$ sudo vi /var/www/linuxtechgeek.info/html/index.html
Next, paste the following sample HTML code and save the changes.
<!DOCTYPE html>
<html>
    <head>
        <title>Welcome to linuxtechgeek.info</title>
    </head>
    <body>
  <h1>Hey Guys! Our Nginx server block is working.</h1>
    </body>
</html>
Next, use chown command to set the ownership of the domain’s directory as follows to avert getting permissions problems.
$ sudo chown -R nginx /var/www/linuxtechgeek.info/
Next, set the permissions such that group and global users have read and execute rights to the domain’s files.
$ sudo chmod -R 755 /var/www/linuxtechgeek.info/
We are done configuring the document root for the domain and setting the right ownership and permissions. Let’s proceed and configure the Server block file.
Step 3) Create Nginx Server Block
A Nginx server block is the equivalent of an apache virtualhost. The server block is where you define the site’s settings and tell the nginx webserver where to locate the domain’s files.
The server block configuration file is created in the /etc/nginx/conf.d directory. We will create ours in the same directory as follows.
$ sudo vi /etc/nginx/conf.d/linuxtechgeek.info.conf
Copy and paste the following lines. Be sure to substitute the linuxtechgeek.info domain name with your own domain.
server {
    listen 80;
    server_name linuxtechgeek.info www.linuxtechgeek.info;
    root /var/www/linuxtechgeek.info/html;
    index index.php index.html index.htm;
    access_log /var/log/nginx/linuxtechgeek.info.access.log;
    error_log /var/log/nginx/linuxtechgeek.info.error.log;
}
Save the changes and exit the server block file.
Then confirm that all the Nginx configurations are okay. If all is well, you should get the output displayed.
$ sudo nginx -t

For Nginx to be aware of all the changes including the domain’s document root and the server block file, restart the webserver.
$ sudo systemctl restart nginx
Then confirm the running status of Nginx.
$ sudo systemctl status nginx
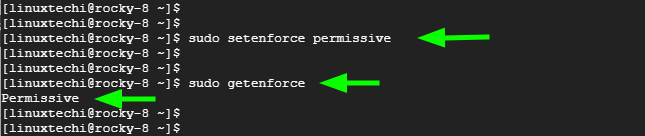
Next, set SELinux to permissive mode using the command:
$ sudo setenforce permissive
To confirm that it is set to permissive mode, run the command:
$ sudo getenforce
Run below sed command to permanently set the selinux mode as permissive.
$ sudo sed -i --follow-symlinks 's/SELINUX=enforcing/SELINUX=permissive/g' /etc/sysconfig/selinux
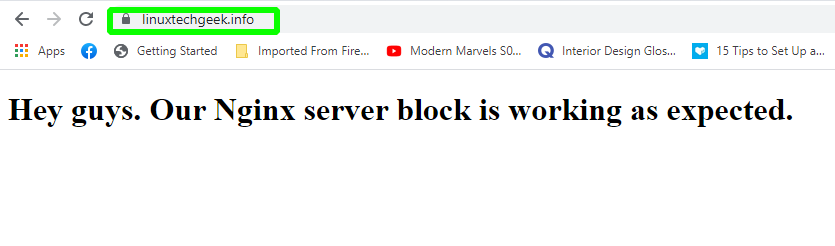
To confirm that the server block file has been correctly configured, once again, browse your domain name.
http://domain_name
You should get a positive confirmation as shown below.

Step 4) Install Certbot
The only step left is to install Let’s Encrypt and secure the Nginx webserver. However, to accomplish this, we need to install certbot. Written in Python and developed by the Electronic Frontier Foundation, Certbot is a fully featured client for the Let’s Encrypt CA. It is run on the webserver and allows you to automatically set up an SSL certificate for your webserver in a single command.
First, install the EPEL repository which provides additional and high-quality packages for RHEL-based distros.
$ sudo dnf install -y epel-release
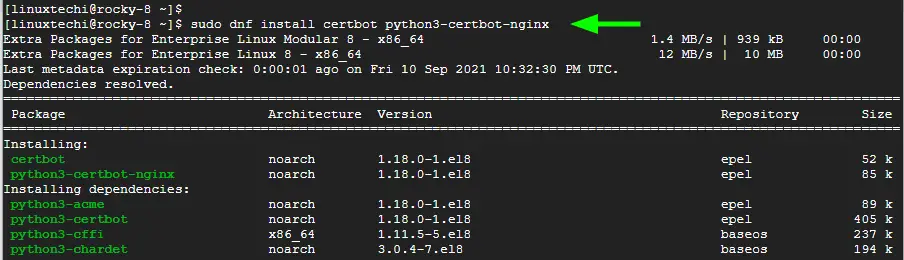
Once installed, install certbot and certbot module for Nginx.
$ sudo dnf install certbot python3-certbot-nginx
This installs certbot, certbot module for Nginx host of other packages and dependencies.
Step 4) Install Let’s Encrypt SSL/TLS certificate
Finally, run the certbot client to install the SSL certificate
$ sudo certbot --nginx
This takes you through a series of prompts. First, provide the email address that will be used by EFF to send you renewal and security updates. Then accept the Terms of service by pressing ‘Y’. If you desire, you can press ‘Y’ to allows EFF to send you regular updates concerning their efforts in securing the web, news, and campaigns. Finally, select the domain names to encrypt. In our case, we pressed the ‘ENTER’ button to select all the domain names.
Certbot will fetch the SSL/TLS certificate and deploy it for the domain names specified. This enables HTTPS protocol for your domain, in effect encrypting traffic exchanged with the webserver.

To confirm that HTTPS has been enabled, head back to your browser and reload it. This time around, you will notice a padlock icon at the URL bar – an indication that the site is encrypted.
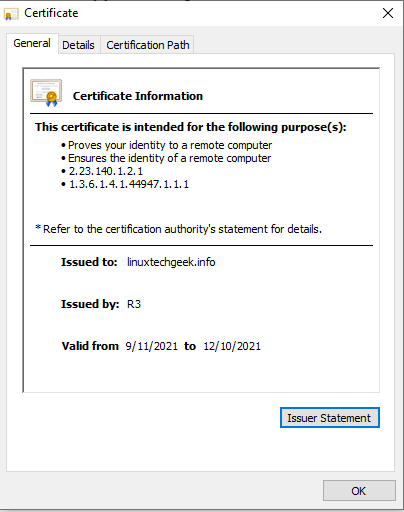
Click on the icon and then select ‘Certificate’.
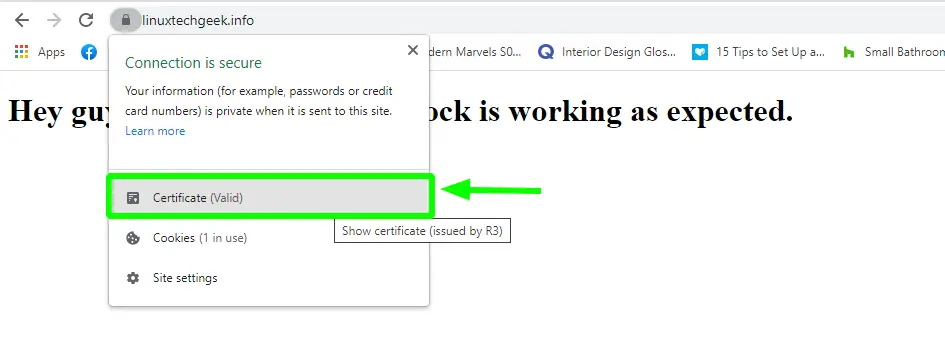
This displays the certificate details as provided
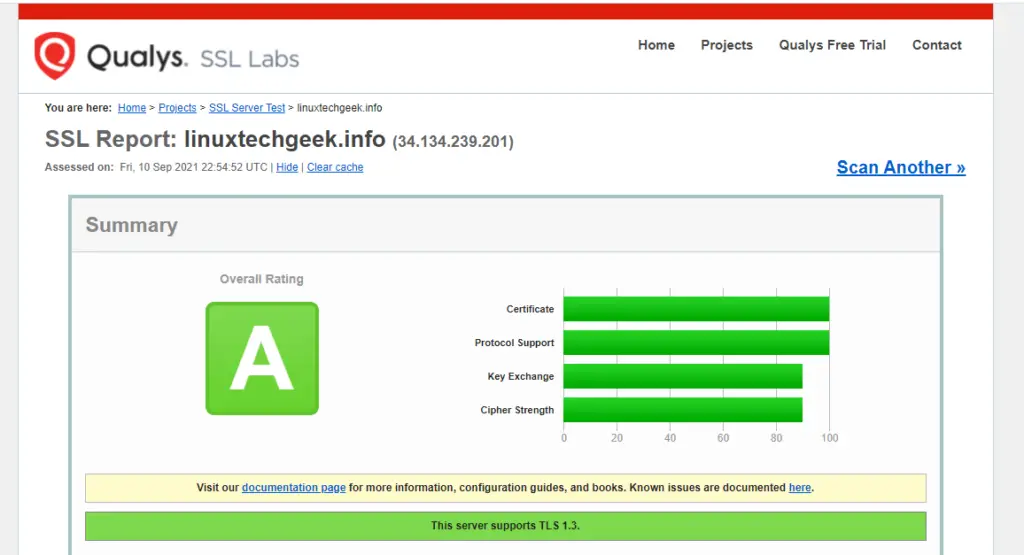
Further, you can test the status of your webserver at SSL Labs which is a site that carries out a deep analysis of a web server over the internet. You should get an A rating as shown.
Step 5) Managing the SSL certificate renewal
Let’s Encrypt certificate is valid for 90 days, however, Let’s encrypt recommends that you renew the certificate every 60 days. Email notifications will be sent to you the last 20 days to expiry with the frequency going up the last 10 days.
You can manually renew the certificate as follows.
$ sudo certbot renew
Thankfully, you can automate the renewal, by adding a new cron job. So, open the crontab file.
$ crontab -e
And add the line shown. Save the changes and exit.
0 0 * * * /usr/bin/certbot renew > /dev/null 2>&1
That’s all. Thank you for coming this far. We have demonstrated how you can install the Let’s Encrypt SSL certificate for Nginx on Rocky Linux 8.
Also Read: How to Setup Highly Available NGINX with KeepAlived in Linux
The post How to Install Let’s Encrypt SSL for NGINX on Rocky Linux 8 first appeared on LinuxTechi.