
How to Install Node.js on RHEL 9
In this post, we will explain how to install Node.js on RHEL 9 system step-by-step.
Built on Google’s V8 Javascript engine, Node.js is a free and opensource, cross-platform JavaScript runtime that is mostly used for building server-side applications. It uses an event-driven and asynchronous model that helps developers build highly scalable, data-intensive real-time applications (RTAs ). You can use NodeJS to build both front-end and back-end applications.
Node.js is commonly used in building the following applications:
- Chat applications
- Streaming applications
- Browser games
- Command-line tools
- Embedded systems
Top companies that use NodeJS in their tech stacks include PayPal, Netflix, and Uber to mention a few.
There are three main ways of installing Node.JS:
- Installing Node.JS from the NodeSource repository
- Installing Node.JS from the distribution’s Official repository
- Installing Node.JS using NVM
Let us check out how to install Node.JS on RHEL 9 using each of these methods.
Prerequisites
- Minimal Installed RHEL 9 System
- Sudo User with admin rights
- Internet Connectivity
- Red Hat Subscription or locally configured repository
Installing Node.js from NodeSource Repository
NodeSource is a technology company that seeks to help organizations run production-ready Node.Js applications with more focus on resource usage and enhanced security and application performance. It provides the latest versions of Node.JS and NPM.
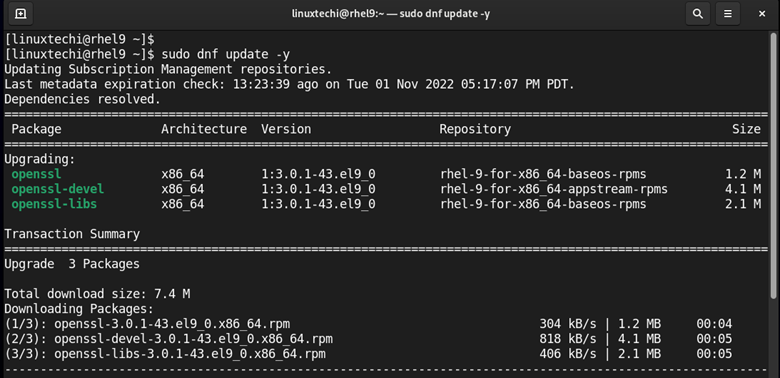
To install Node.SJ from Nodesource, first, update the system packages as shown.
$ sudo dnf update -y
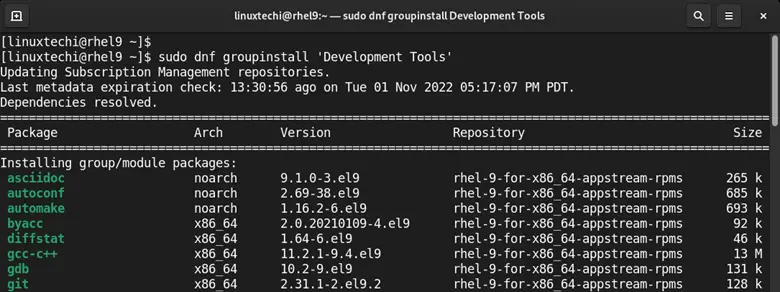
Next, install the required build tools which will be required during the installation of Node.JS. These include the GCC c/c++ compiler, Perl, and Python debuggers to mention a few.
$ sudo dnf groupinstall 'Development Tools' -y
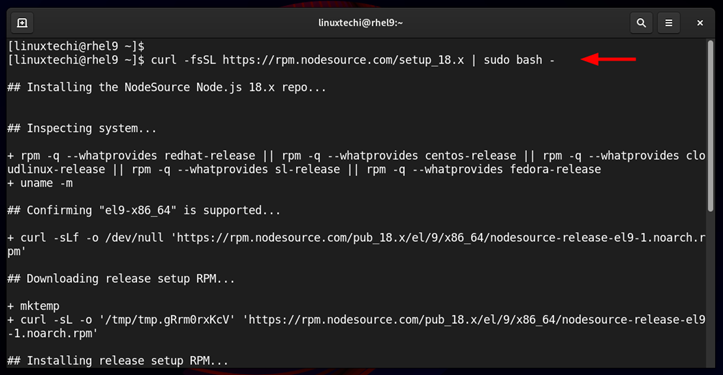
Next, we are going to install Node.JS 18.x from Nodesource. To do this, download and run the NodeSource setup script as follows.
$ curl -fsSL https://rpm.nodesource.com/setup_18.x | sudo bash -
The script adds the Nodesource repository to your system among other tasks
At the tail end of the output, you will see some additional instructions provided on how to install Node.JS and npm.
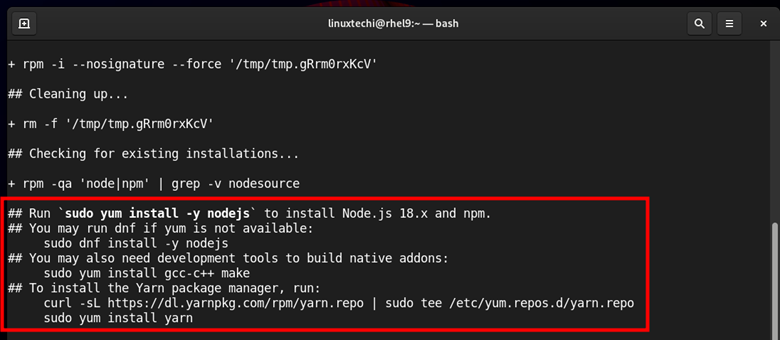
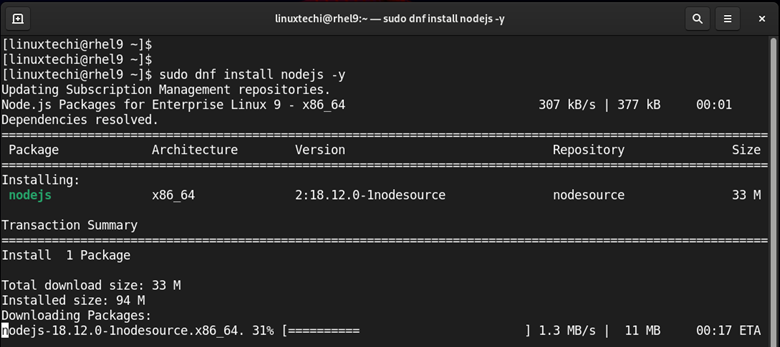
Therefore, to install Node.JS and npm (Node Package Manager), run the command:
$ sudo dnf install nodejs -y
Once the installation is complete, verify the version of Node.JS and NPM as shown.
$ node -v
$ npm -v
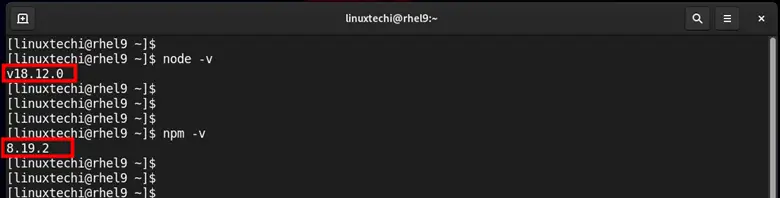
The output shows that we are running Node v18.12 which is the latest LTS release and NPM 8.19.2.
Installing Node.js from the official RHEL repositories
The other way of installing NodeJS and NPM is by installing them from your distribution’s official repository. However, this approach does not provide the latest versions.
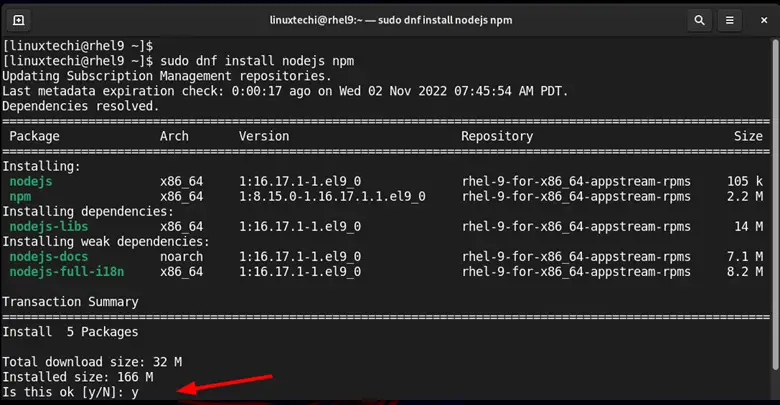
If you don’t mind not installing the latest versions of Node and NPM. , then run the following command on the command line.
$ sudo dnf update -y
$ sudo dnf install nodejs npm -y
Installing Node.js using NVM
Lastly, you can install Node.JS using NVM ( Node Version Manager) which is a tool for managing Node versions on your system. The tool helps developers work efficiently on different projects which require different versions of Node.JS
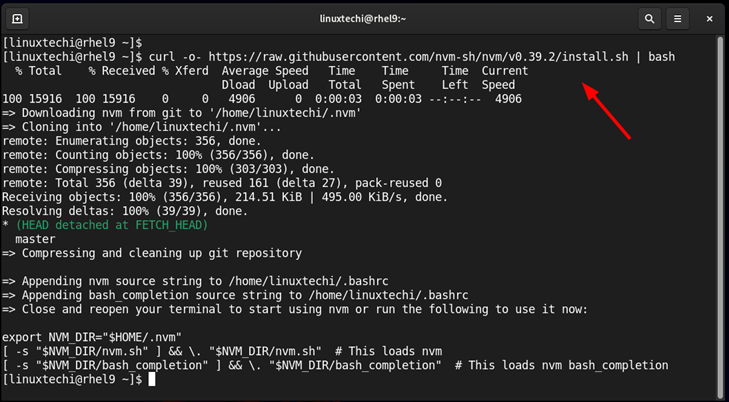
NVM is not installed by default You need to install it by running the Shell script which is available on the Official GitHub Page.
$ curl -o- https://raw.githubusercontent.com/nvm-sh/nvm/v0.39.2/install.sh | bash
This downloads and saves nvm in the .nvm directory in your home directory.
Once installed, close your terminal sessions and open a new terminal. Then run the following command to confirm that NVM has been installed.
$ command -v nvm

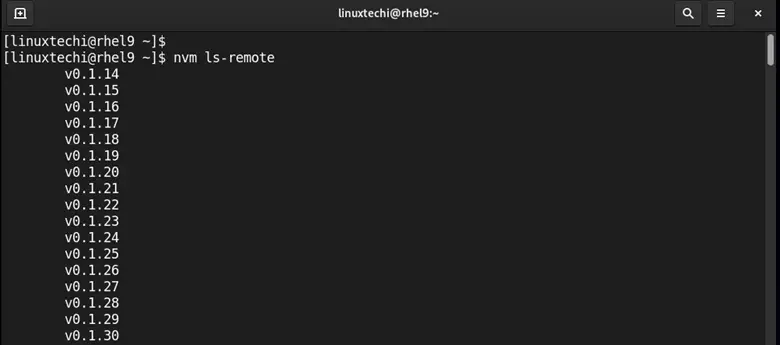
Next, you can list all the available versions of Node.JS using the following command:
$ nvm ls-remote
Alternatively, you can list all the latest LTS releases for Node.JS versions as shown.
$ nvm ls-remote | grep -i latest

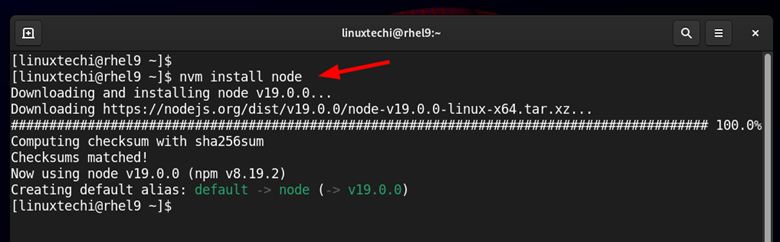
To install the very latest version of Node.JS (currently v19.0.0 ), run the command:
$ nvm install node
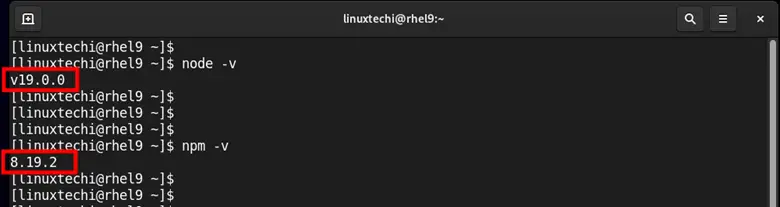
You can then verify the version of Node installed as shown.
$ node -v
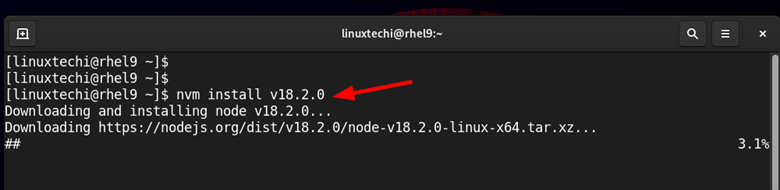
In addition, you can install a specific version of Node. JS. For example, to install v18.2.0, run the command:
$ nvm install v18.12.0
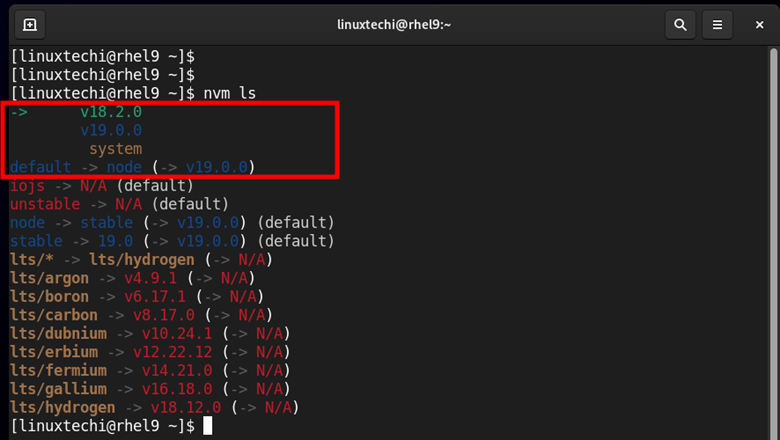
To list all the installed versions of NodeJS on your system, run the command:
$ nvm ls
The first entry with the sign ( – > ) points to the version of Node.JS that is currently in use. This is then followed by other versions as indicated below
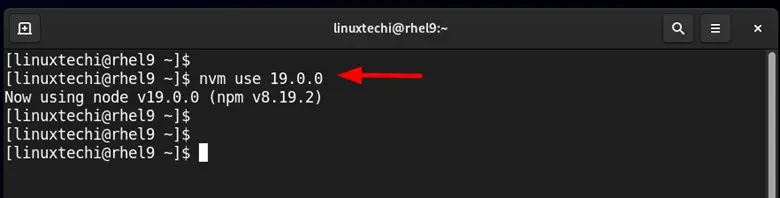
To switch to another version of Node.JS, use the syntax:
$ nvm use <version>
For example, to use Node version 19.0.0, run the command:
$ nvm use 19.0.0
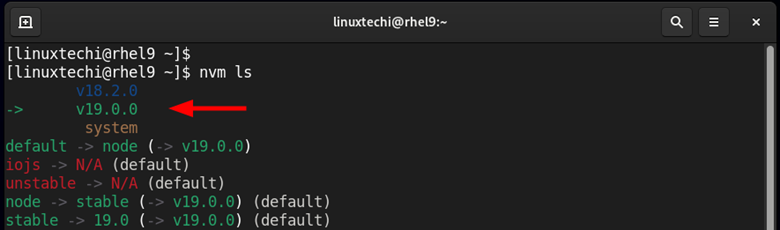
Again, check the installed versions of Node.JS, and this time the ( – > ) sign will point to v19.0.0
Conclusion
In this guide, we have demonstrated how to install Node.js using three different methods. In addition, we have provided a few ways in which you can manage the Node versions using NVM. We hope that you can now comfortably install NodeJS on RHEL and choose the version that you want to work with on your project.
The post How to Install Node.js on RHEL 9 first appeared on .