
How to Secure Apache Web Server with Let’s Encrypt on RHEL 8
In an online world that is constantly awash with security threats, securing your web server should be foremost in one’s mind. One of the ways of securing your web server is implementing the HTTPS protocol on your site using an SSL/TLS certificate. An SSL/TLS certificate not only secures your site by encrypting information exchanged between the web server and users’ browsers but also helps in Google ranking.
In this guide, you will learn how to secure Apache (http) web server with Let’s Encrypt SSL/TLS on RHEL 8.
Prerequisites
Here is what you need before proceeding:
- An instance of RHEL 8 server with a sudo user configured.
- A Fully Qualified Domain Name (FQDN) pointing to your server’s Public IP address. Throughout this guide, we will use the domain name linuxtechgeek.info.
Step 1) Install Apache on RHEL 8
The first step is to install the Apache web server. Since Apache already exists in Red Hat’s AppStream repository, you can install it using the DNF package manager as follows.
$ sudo dnf install -y httpd
Once installed, start the Apache web server and enable it to start on boot time.
$ sudo systemctl start httpd
$ sudo systemctl enable httpd
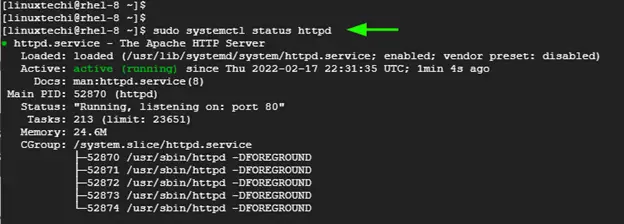
To verify that Apache is running, execute the command:
$ sudo systemctl status httpd
Note: In case, firewall is running then allow following Apache ports in firewall, run
$ sudo firewall-cmd --add-port=80/tcp --permanent
$ sudo firewall-cmd --add-port=443/tcp –permanent
$ sudo firewall-cmd --realod
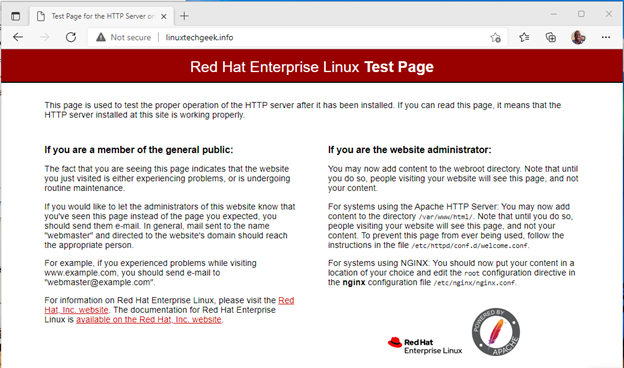
Now, you can head over to your web browser and browse your domain in the URL bar.
Step 2) Install Certbot
Certbot is an easy-to-use opensource client that is maintained by EFF (Electronic Frontier Foundation). It fetches the TLS certificate from Lets Encrypt and deploys it to the web server. By doing so, it eliminates the hassle and pain of implementing the HTTPS protocol using the TLS certificate.
To install Certbot and associated packages, first enable EPEL (Extra Packages for Enterprise Linux).
$ sudo dnf install https://dl.fedoraproject.org/pub/epel/epel-release-latest-8.noarch.rpm -y
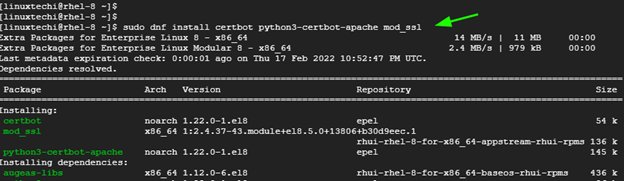
Next, install certbot and mod_ssl package as follows.
$ sudo dnf install certbot python3-certbot-apache mod_ssl
Step 3) Create an Apache virtual host file
Virtual hosts make it possible to host multiple domains on a single web server.
The first step is to create a directory inside the Document root where all the website files will go into.
$ sudo mkdir -p /var/www/linuxtechgeek.info/html
Set the directory ownership to the Apache user.
$ sudo chown -R apache:apache /var/www/linuxtechgeek.info/html
Be sure to set the directory permissions as shown.
$ sudo chmod -R 755 /var/www
With the domain’s directory in place with all the ownership and permissions set, we will create a virtual host file in the /etc/httpd/conf.d/ directory.
$ sudo vi /etc/httpd/conf.d/linuxtechgeek.info.conf
Paste the following lines and be cautious to use your own domain name.
<virtualhost *:80>
ServerName linuxtechgeek.info
ServerAlias www.linuxtechgeek.info
DocumentRoot /var/www/linuxtechgeek.info/html
ErrorLog /var/log/httpd/linuxtechgeek.info-error.log
CustomLog /var/log/httpd/linuxtechgeek.info-access.log combined
</virtualhost>
Save and exit the virtualhost file.
To test if the virtual host is working, we will create a sample HTML file in the website directory.
$ sudo vi /var/www/linuxtechgeek.info/html/index.html
Paste the following sample content. Feel free to modify it to your preference.
<!DOCTYPE html>
<html>
     <body>
         <h1> Welcome to Linuxtechi virtualhost </h1>
      </body>
</html>
Save and exit the HTML file. To save all the changes made, restart the Apache web server.
$ sudo systemctl restart httpd
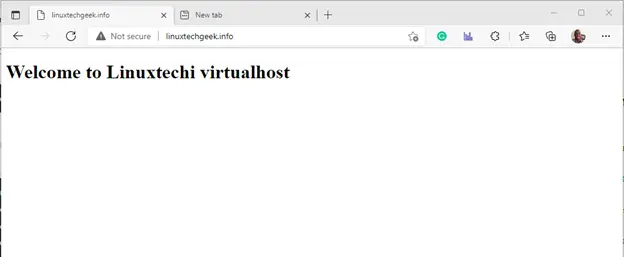
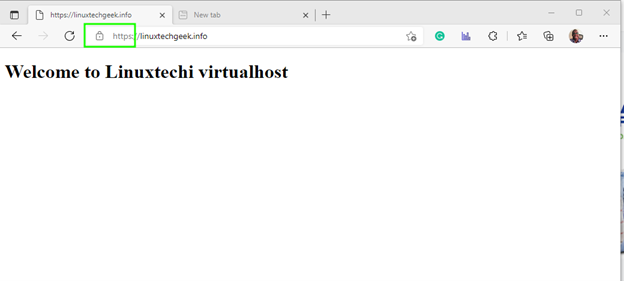
Now, browse your domain once more, and this time around, instead of the default Apache welcome page, you should see the custom HTML page that you just configured. This is proof that the virtual host file is working.
Step 4) Secure Apache with Let’s Encrypt Certificate
The last step is to fetch and deploy the Let’s Encrypt certificate. To do this, simply run the command:
$ sudo certbot --apache
When the command is executed, certbot will walk you through a series of prompts. You will be prompted for your email address and be required to agree to the Terms and conditions. You will also be asked whether you would like to receive periodic emails about EFF news, and campaigns about digital freedom.
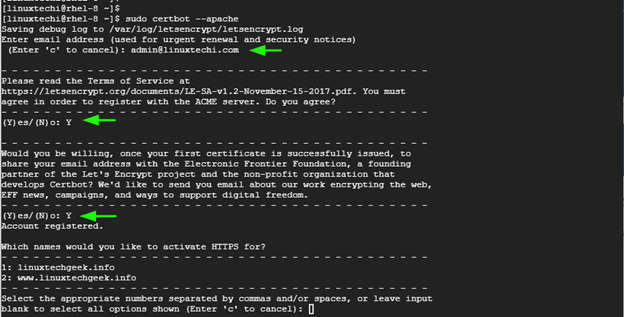
When prompted about the names to activate HTTPS for, just press ENTER to apply the certificate to all the provided domains.
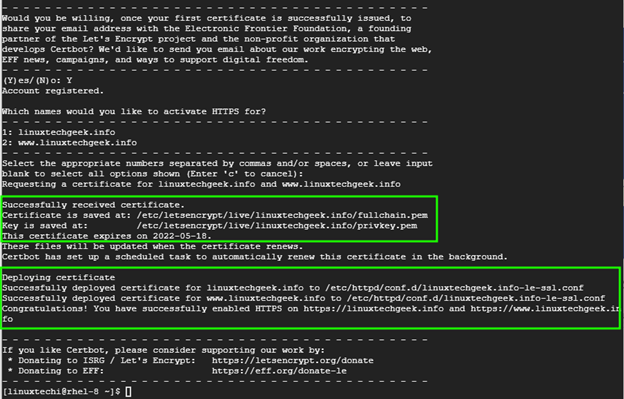
Certbot will proceed to fetch the TLS certificate from Let’s Encrypt and implement it on your web server. Certbot will then print the path where the certificate and key have been saved as well as the deployment path of the certificate for your domains.
To verify that Let’s encrypt was successfully deployed, refresh your browser. This time around, you will notice a padlock icon at the start of the URL bar indicating that the site has been successfully encrypted.
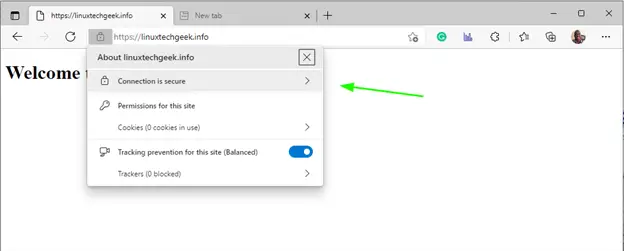
You can click on the padlock icon for additional details
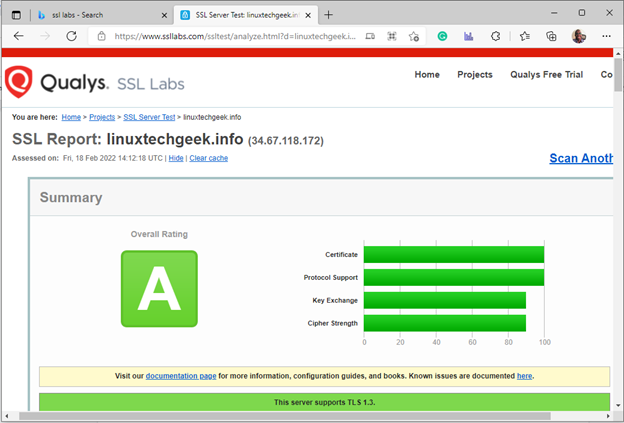
Additionally, you can carry out a ssl test on ssl labs to digitally verify your certificate. If all went well, you should get an A grade.
Step 5) Let’s Encrypt Certificate Renewal
The Let’s Encrypt certificate is valid for only 90 days. A few weeks before expiry, you will usually get a notification from EFF about the impending certificate expiry and the need to renew your certificate.
You can manually renew the certificate by running the command:
$ sudo certbot renew
To simulate certificate renewal, run the command:
$ sudo certbot renew --dry-run
This merely mimics the actual certificate renewal and does not perform any action.

To automate certificate renewal, open the crontab file
$ crontab -e
Specify the cron job below which will run every midnight.
0 0 * * * /usr/bin/certbot renew > /dev/null 2>&1
Conclusion
We hope that you can now seamlessly deploy Let’s Encrypt certificate on RHEL to secure Apache web server.
Read Also : How to Harden and Secure NGINX Web Server in Linux
The post How to Secure Apache Web Server with Let’s Encrypt on RHEL 8 first appeared on LinuxTechi.