
How to Setup Rsyslog Server on Debian 11 (Bullseye)
Log files are crucial in probing and troubleshooting errors. They are the first files that system administrators scrutinize in order to narrow down to the probable cause of an error and by so doing, come up with resolutions to resolve the problem. In an infrastructure with tens or hundreds of servers, and other devices, managing log files can be a challenge. And this is where rsyslog comes in.
Rsyslog is an opensource logging program that facilitates the forwarding of log files to a centralized log server in an IP network. With centralized logging, administrators can easily keep tabs on log files of multiple systems from a central point. In this post, we will walk you through the installation and configuration of Rsyslog Server on Debian 11.
Lab Setup
To demonstrate how Rsyslog can be used to send log files from a client system to the Rsyslog server, we are going to have a simple Lab setup as shown
- Rsyslog server: Debian 11 IP: 192.168.1.151
- Rsyslog client: Ubuntu 20.04 IP: 10.20.0.170
Step 1) Configure Rsyslog on the server
As mentioned earlier, Rsyslog works in a client-server model and we will start off by configuring Rsyslog on the Debian 11 server. On Debian 11, Rsyslog comes installed by default. If for some reason Rsyslog is not present, you can install it using the command:
$ sudo apt install -y rsyslog
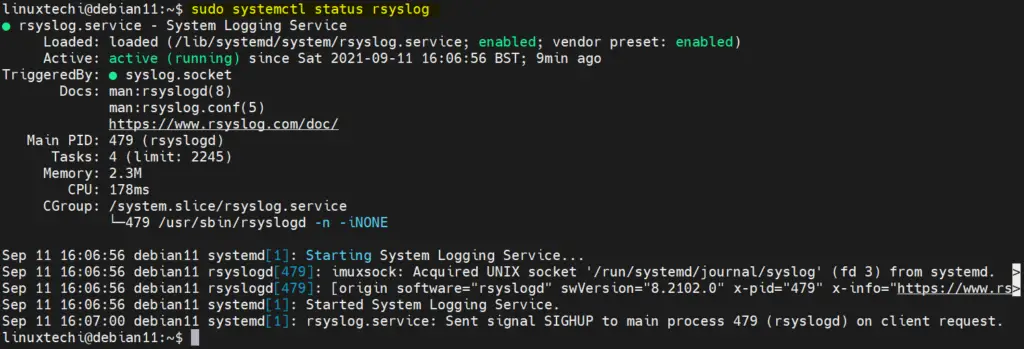
Upon installation you can check its running status as follows:
$ sudo systemctl status rsyslog
Next, we shall configure rsyslog to run in server mode. The configuration file is the /etc/rsyslog.conf file. So, edit it using your preferred text editor.
$ sudo vi /etc/rsyslog.conf
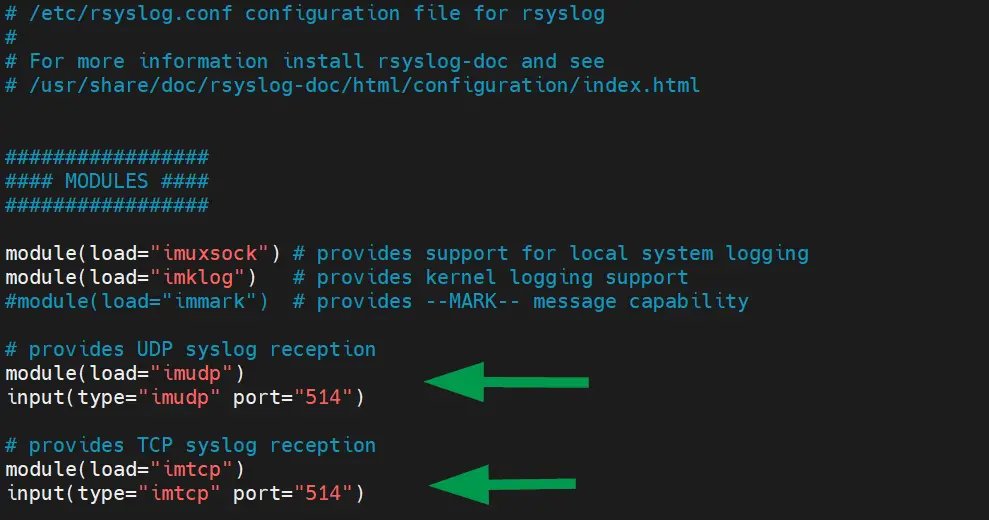
Proceed and uncomment the following lines that allow for UDP and TCP syslog reception from remote clients.
# provides UDP syslog reception
module(load="imudp")
input(type="imudp" port="514")

# provides TCP syslog reception
module(load="imtcp")
input(type="imtcp" port="514")
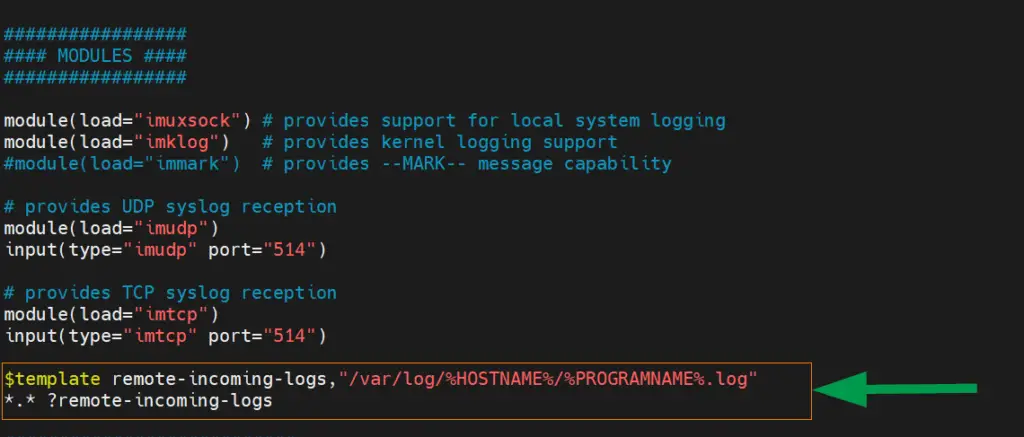
Thereafter, paste the following lines to define the template that the Rsyslog daemon will use to store incoming logs from client systems.
$template remote-incoming-logs,"/var/log/%HOSTNAME%/%PROGRAMNAME%.log"
*.* ?remote-incoming-logs
The log files will use the following naming convention:
- /%HOSTNAME%/ – This is the hostname of the client system.
- /%PROGRAMNAME%/ – This identifies the client program that created the log file.
To apply the changes, restart the rsyslog daemon.
$ sudo systemctl restart rsyslog
By default, rsyslog listens to port 514. You can confirm that this is the port that the rsyslog daemon is listening to by executing the ss command.
$ sudo ss -tunlp | grep 514

Step 2) Configure firewall rules for rsyslog
Rsyslog daemon is running on the server as expected. If you are running a UFW firewall, be sure to allow port 514 so as to allow incoming incoming log messages.
$ sudo ufw allow 514/tcp
$ sudo ufw allow 514/udp
Then reload the firewall to apply the firewall rule as follows.
$ sudo ufw reload
The next step will be to configure the client Ubuntu system to send log files to the rsyslog server.
Step 3) Configure the rsyslog client system
The final step is to configure the client system to send log files to the rsyslog server. Login to the client and once again, ensure that the rsyslog daemon is installed and running.
Next, edit the rsyslog configuration file.
$ sudo vi /etc/rsyslog.conf
Navigate to the very end of the file and add these lines.
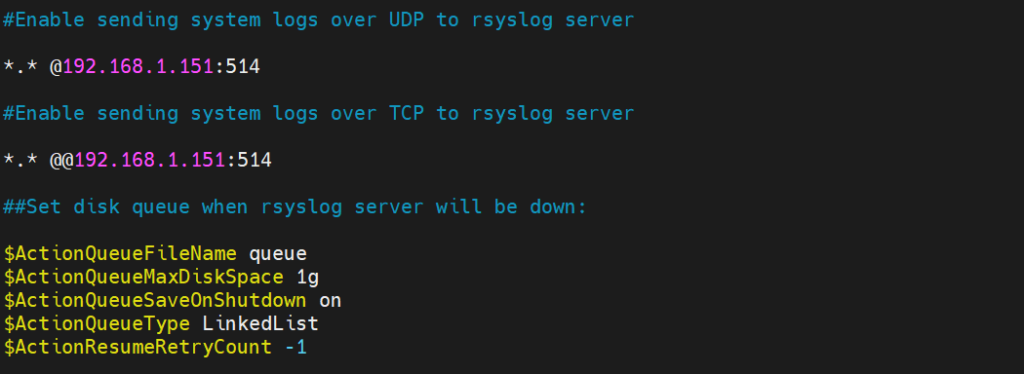
#Enable sending system logs over UDP to rsyslog server
*.* @rsyslog-ip-address:514

#Enable sending system logs over TCP to rsyslog server
*.* @@rsyslog-ip-address:514
These lines instruct the client to send the log files over both UDP and TCP protocols to the rsyslog server. Note that the first line has a single @ symbol which signifies UDP and the second line has two @@ symbols to signify TCP protocol.
Should the remote server experience any downtime and you want to preserve your logs, you can set the disk queue buffer by appending the lines shown.
##Set disk queue when rsyslog server will be down:
$ActionQueueFileName queue
$ActionQueueMaxDiskSpace 1g
$ActionQueueSaveOnShutdown on
$ActionQueueType LinkedList
$ActionResumeRetryCount -1
Below is a summary of all the modifications to the client configuration.
Save and exit the file. Now restart the rsyslog service for the changes to take effect.
$ sudo systemctl restart rsyslog
At this point, the client system should be sending the log files over to the rsyslog server. Let’s head back to the server and find out.
Step 4) View Client’s log files
All the log files (including the servers) are stored in the /var/log/ directory. To view the client’s logs, run the following command:
$ ls /var/log/
The client’s log files will be saved in a directory that corresponds to the hostname of the client system as demonstrated below.

You can further view the log files contained in the main log directory.
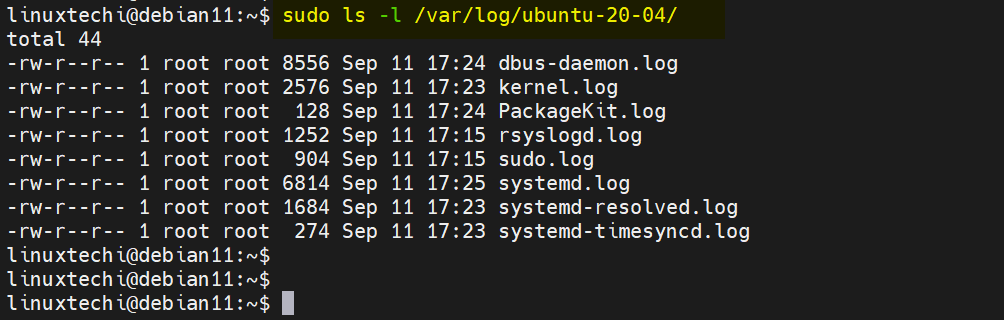
$ sudo ls -l /var/log/ubuntu-20-04/
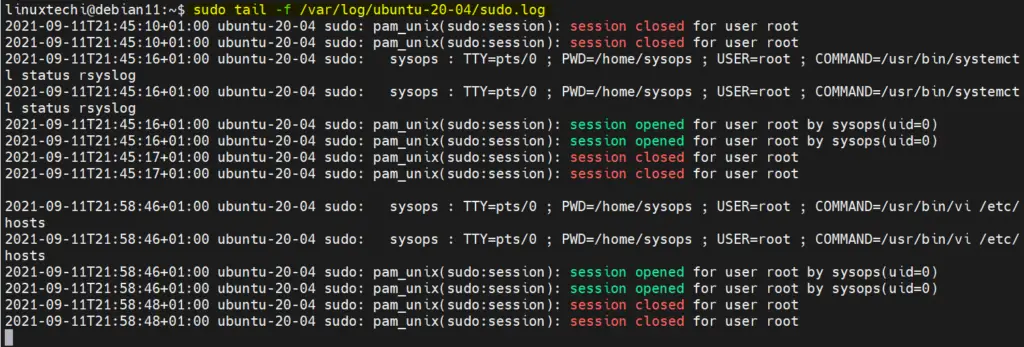
To view logs in real-time, use the tail command as shown. Here, we are viewing the sudo user’s logs.
$ sudo tail -f /var/log/ubuntu-20-04/sudo.log
We have successfully installed rsyslog and configured it to allow the sending of log files to the rsyslog server from the client system. You can now configure as many client systems as you wish to send logs to rsyslog server in order to achieve a centralized log management structure.
That’s all from this post, I hope you have found it informative. Please do share your queries and feedback in comments section below.
Read Also : How to Rotate and Compress Log Files in Linux with Logrotate
The post How to Setup Rsyslog Server on Debian 11 (Bullseye) first appeared on LinuxTechi.