Install raspi-config in Ubuntu on Raspberry Pi
If you are a Raspberry Pi enthusiast like me, you’ve probably enjoyed the convenience of tools designed specifically for Pi devices. One such tool is raspi-config, a configuration utility that comes pre-installed with the Raspberry Pi OS.
It is a handy interface to configure core settings like hostname, locale, device updates, resolution, and even enabling or disabling SSH and VNC, all with just a few keystrokes.

However, when I switched to Ubuntu on my Raspberry Pi, I missed this little tool.
Having raspi-config on Ubuntu brings these conveniences to your Pi’s Ubuntu environment, letting you manage it similarly to the Raspberry Pi OS.
Let’s see how to install raspi-config on Ubuntu and use it.
Step 1: Prepare your Ubuntu installation:
Make sure you’re running a compatible version of Ubuntu on your Raspberry Pi.
If you’re starting from scratch, you can download and install an official Ubuntu image onto your SD card using the Raspberry Pi Imager.
You can refer to our article on installing Ubuntu server on Raspberry Pi for help.
Step 2: Add the Raspberry Pi Debian repository to your sources list
Since raspi-config is not directly available in the default Ubuntu repositories, we need to add the official Raspberry Pi repository.
This allows us to access and install raspi-config and other related packages.
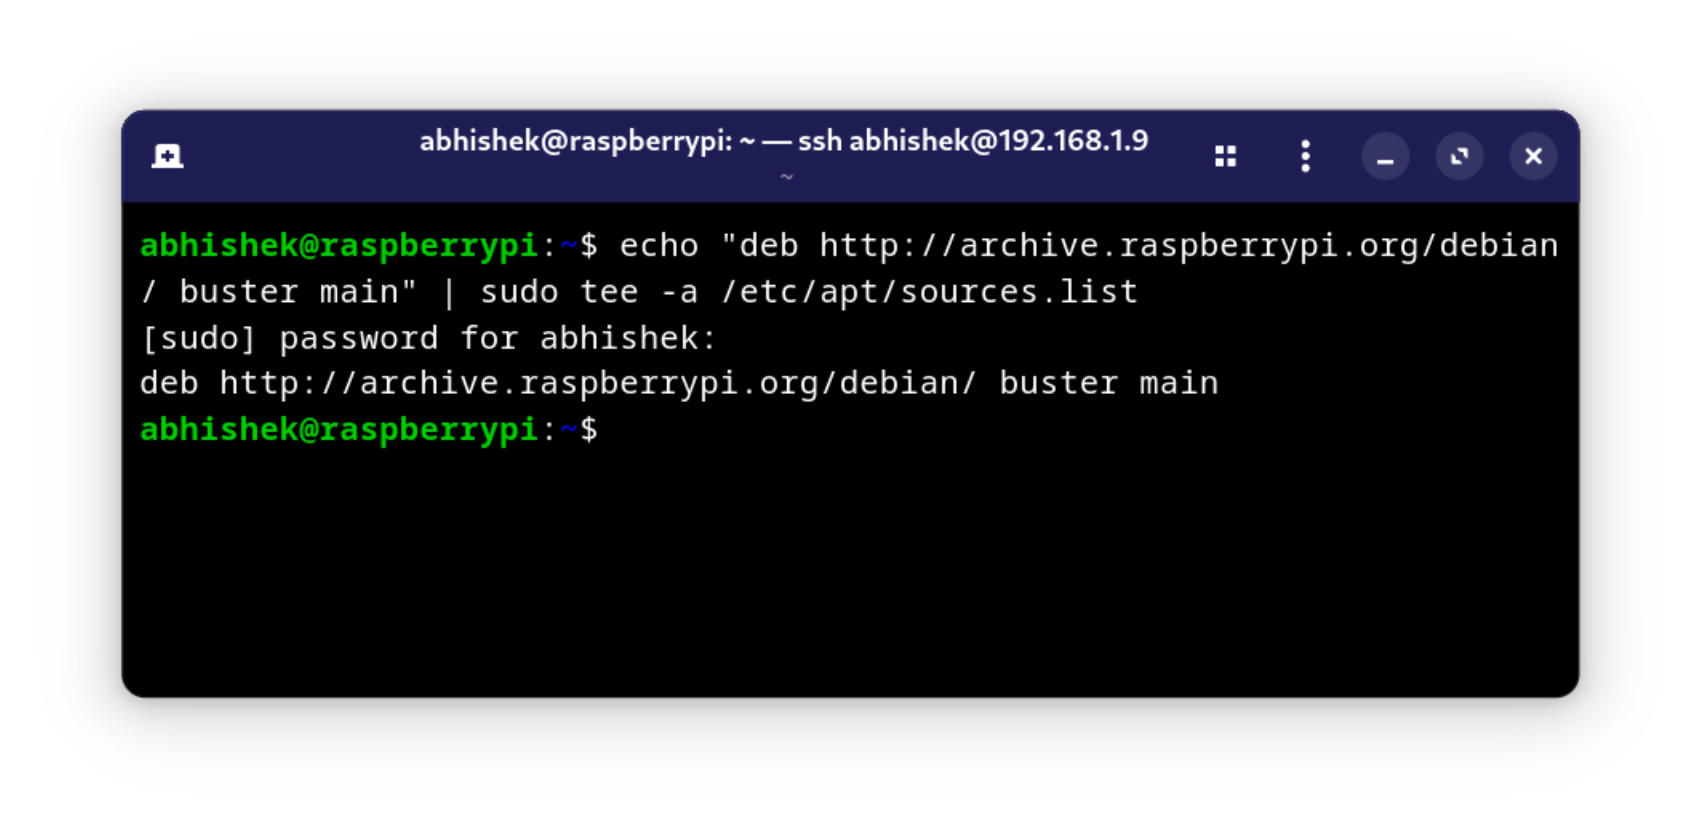
Open a terminal and enter the following command, this is for the Buster release:
echo "deb http://archive.raspberrypi.org/debian/ buster main" | sudo tee -a /etc/apt/sources.list
For adding the Bullseye repository:
echo "deb http://archive.raspberrypi.org/debian/ bullseye main" | sudo tee /etc/apt/sources.list.d/raspi-bullseye.list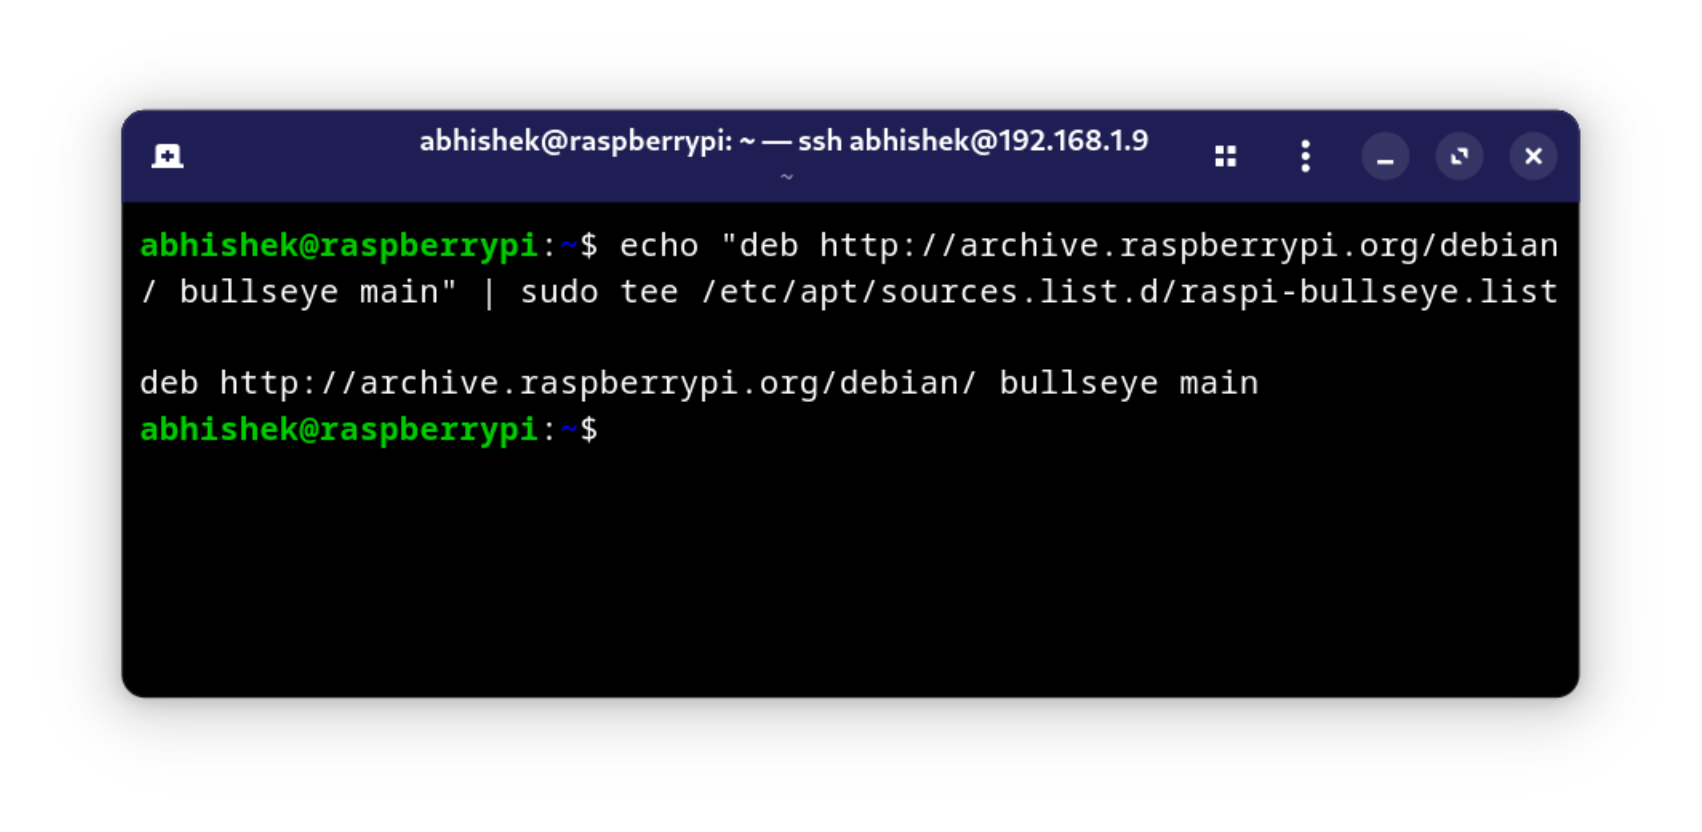
This command appends the Raspberry Pi repository to your system’s source list, providing you with access to the raspi-config package.
Step 3: Import the repository key
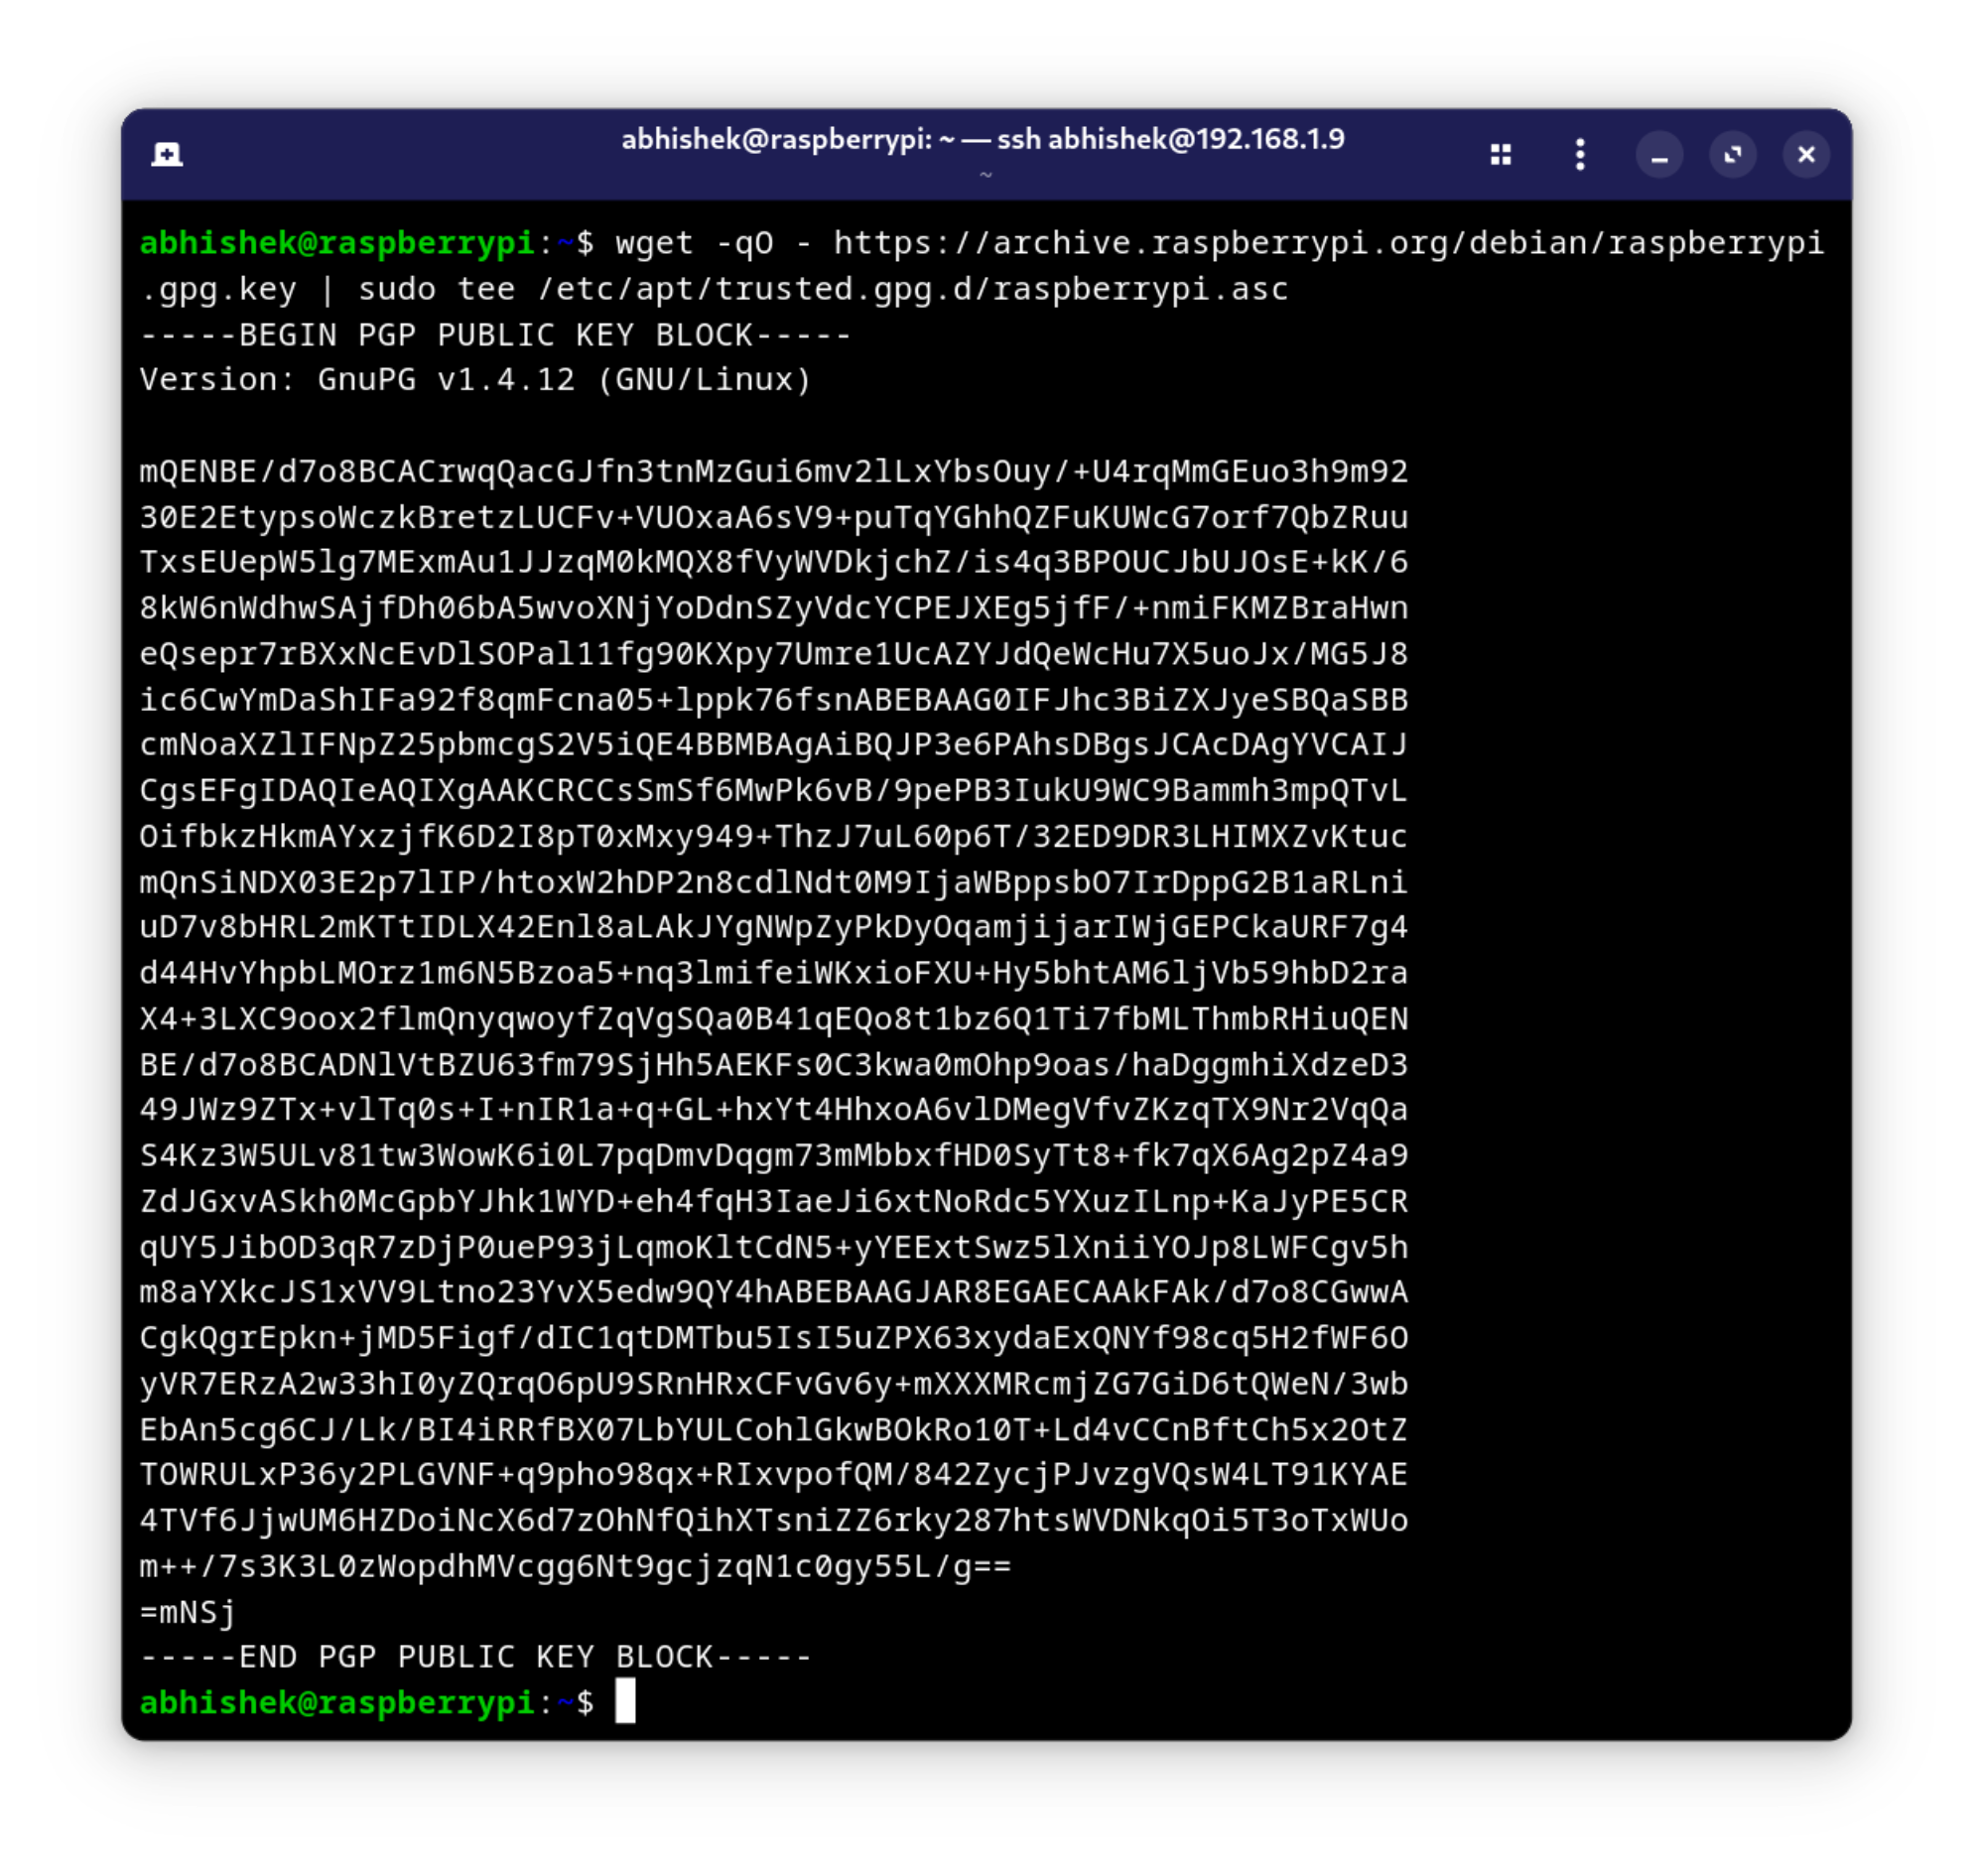
To authenticate the packages from the Raspberry Pi repository, you need to import its GPG key. Run:
wget -qO - https://archive.raspberrypi.org/debian/raspberrypi.gpg.key | sudo tee /etc/apt/trusted.gpg.d/raspberrypi.asc
This command tells Ubuntu to trust packages signed by this key. Without it, you may encounter errors when updating or installing packages from the Raspberry Pi repository.
Step 4: Update and install raspi-config
With the repository added and the key imported, you’re ready to install raspi-config. First, update your package lists to include the new repository:
sudo apt update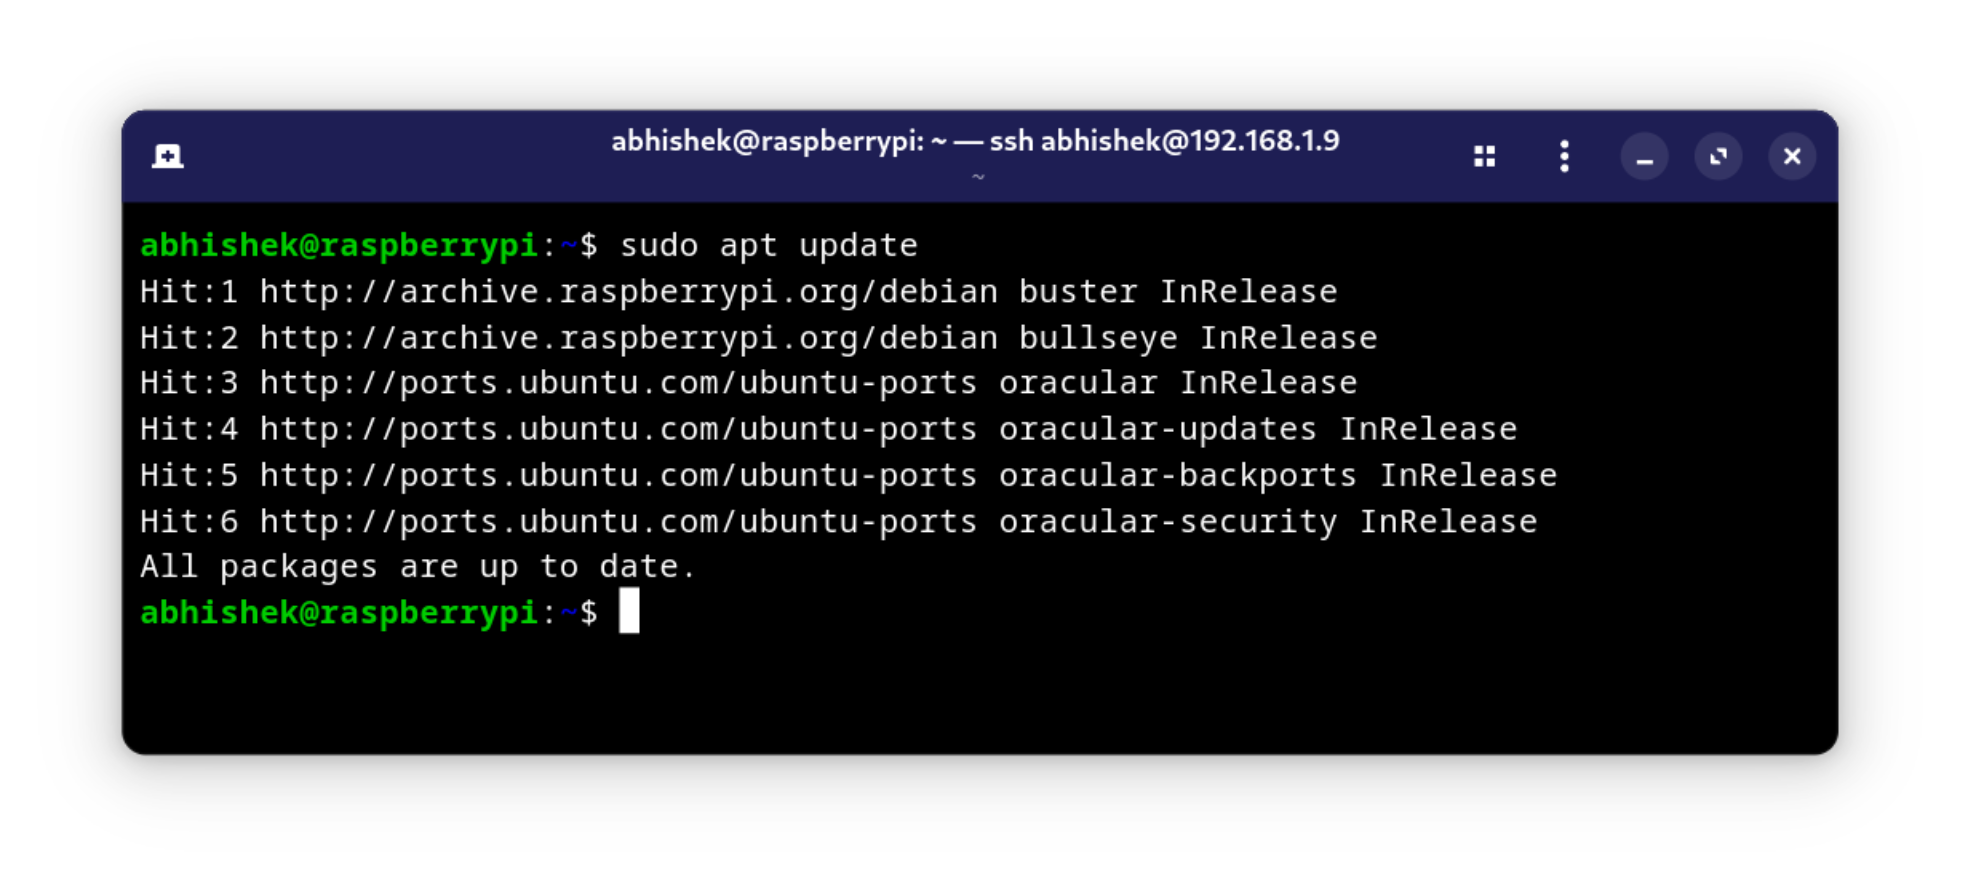
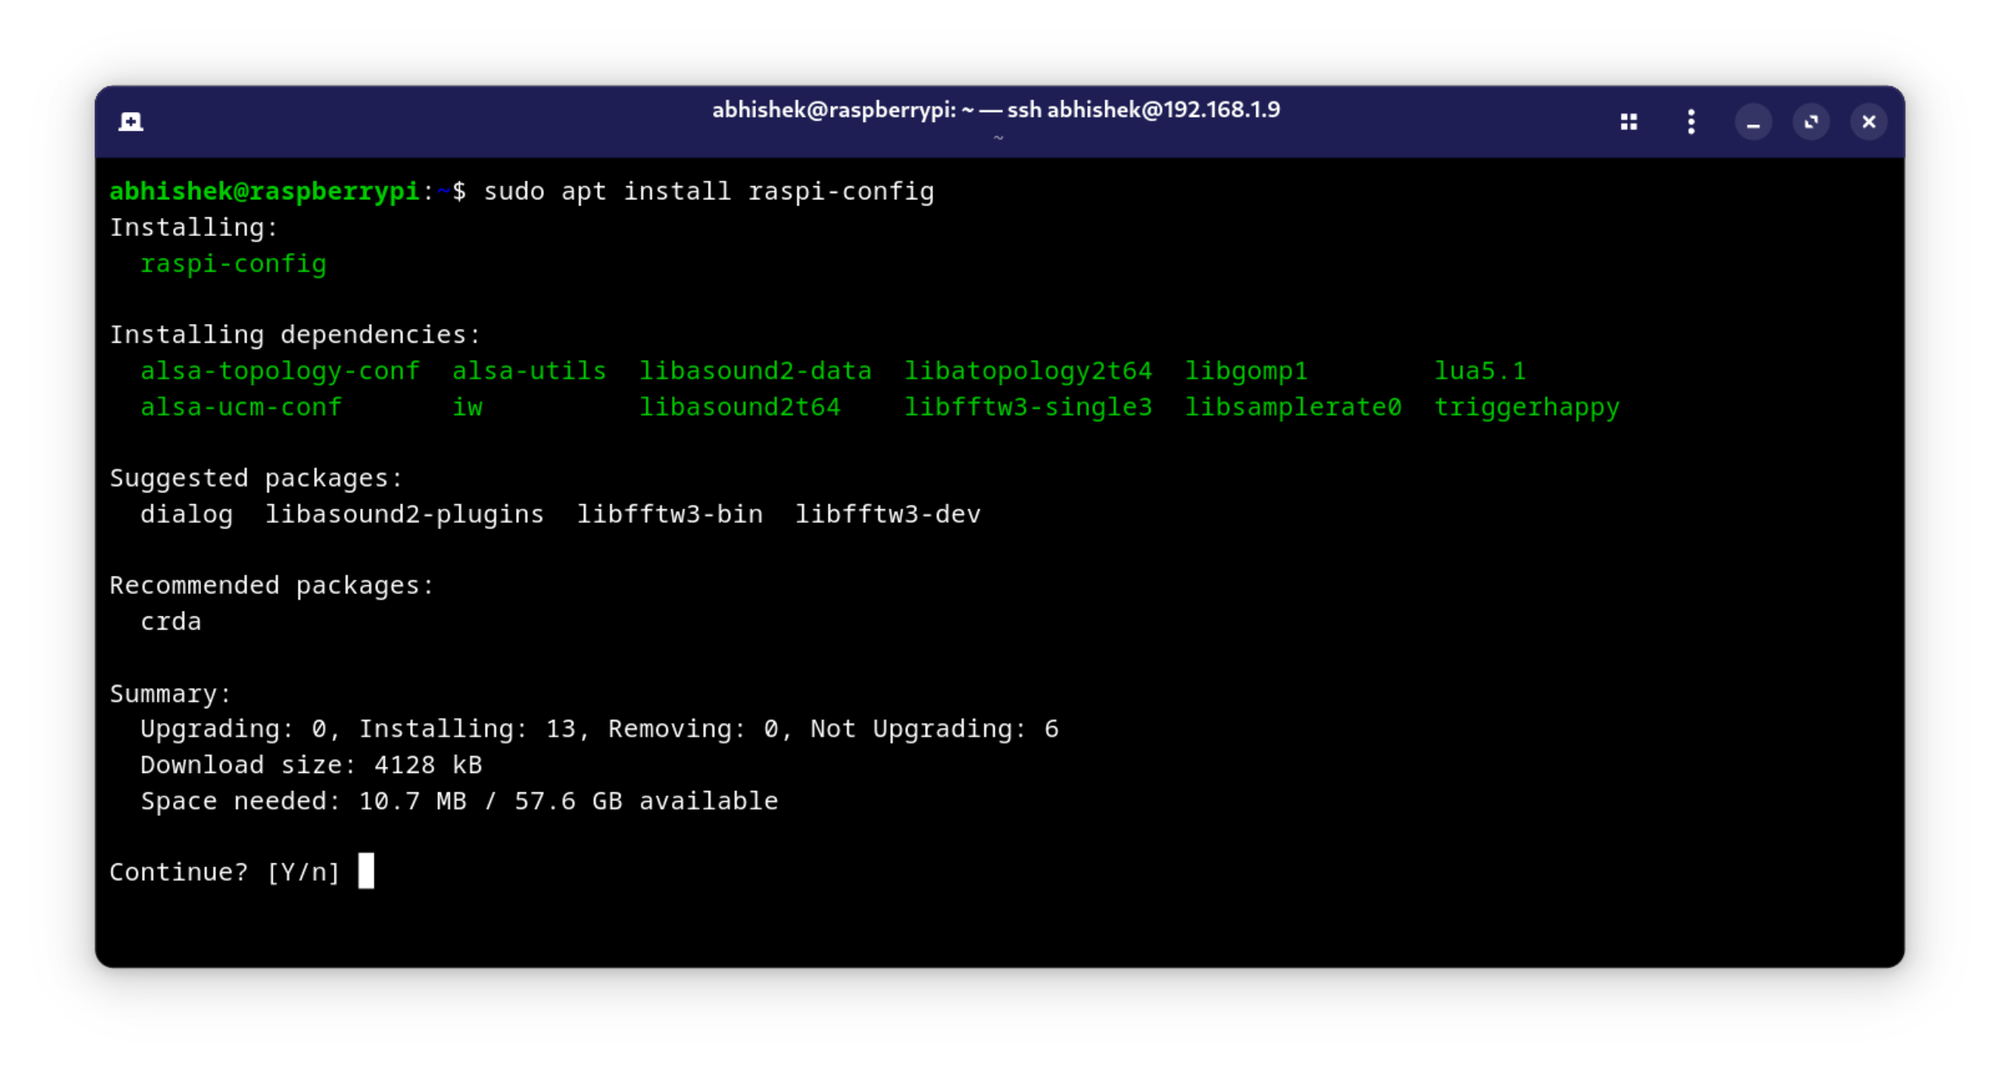
Then, install raspi-config with:
sudo apt install raspi-configThis will download and set up raspi-config on your Ubuntu system, bringing the configuration tool to your fingertips.
Step 5: Run raspi-config
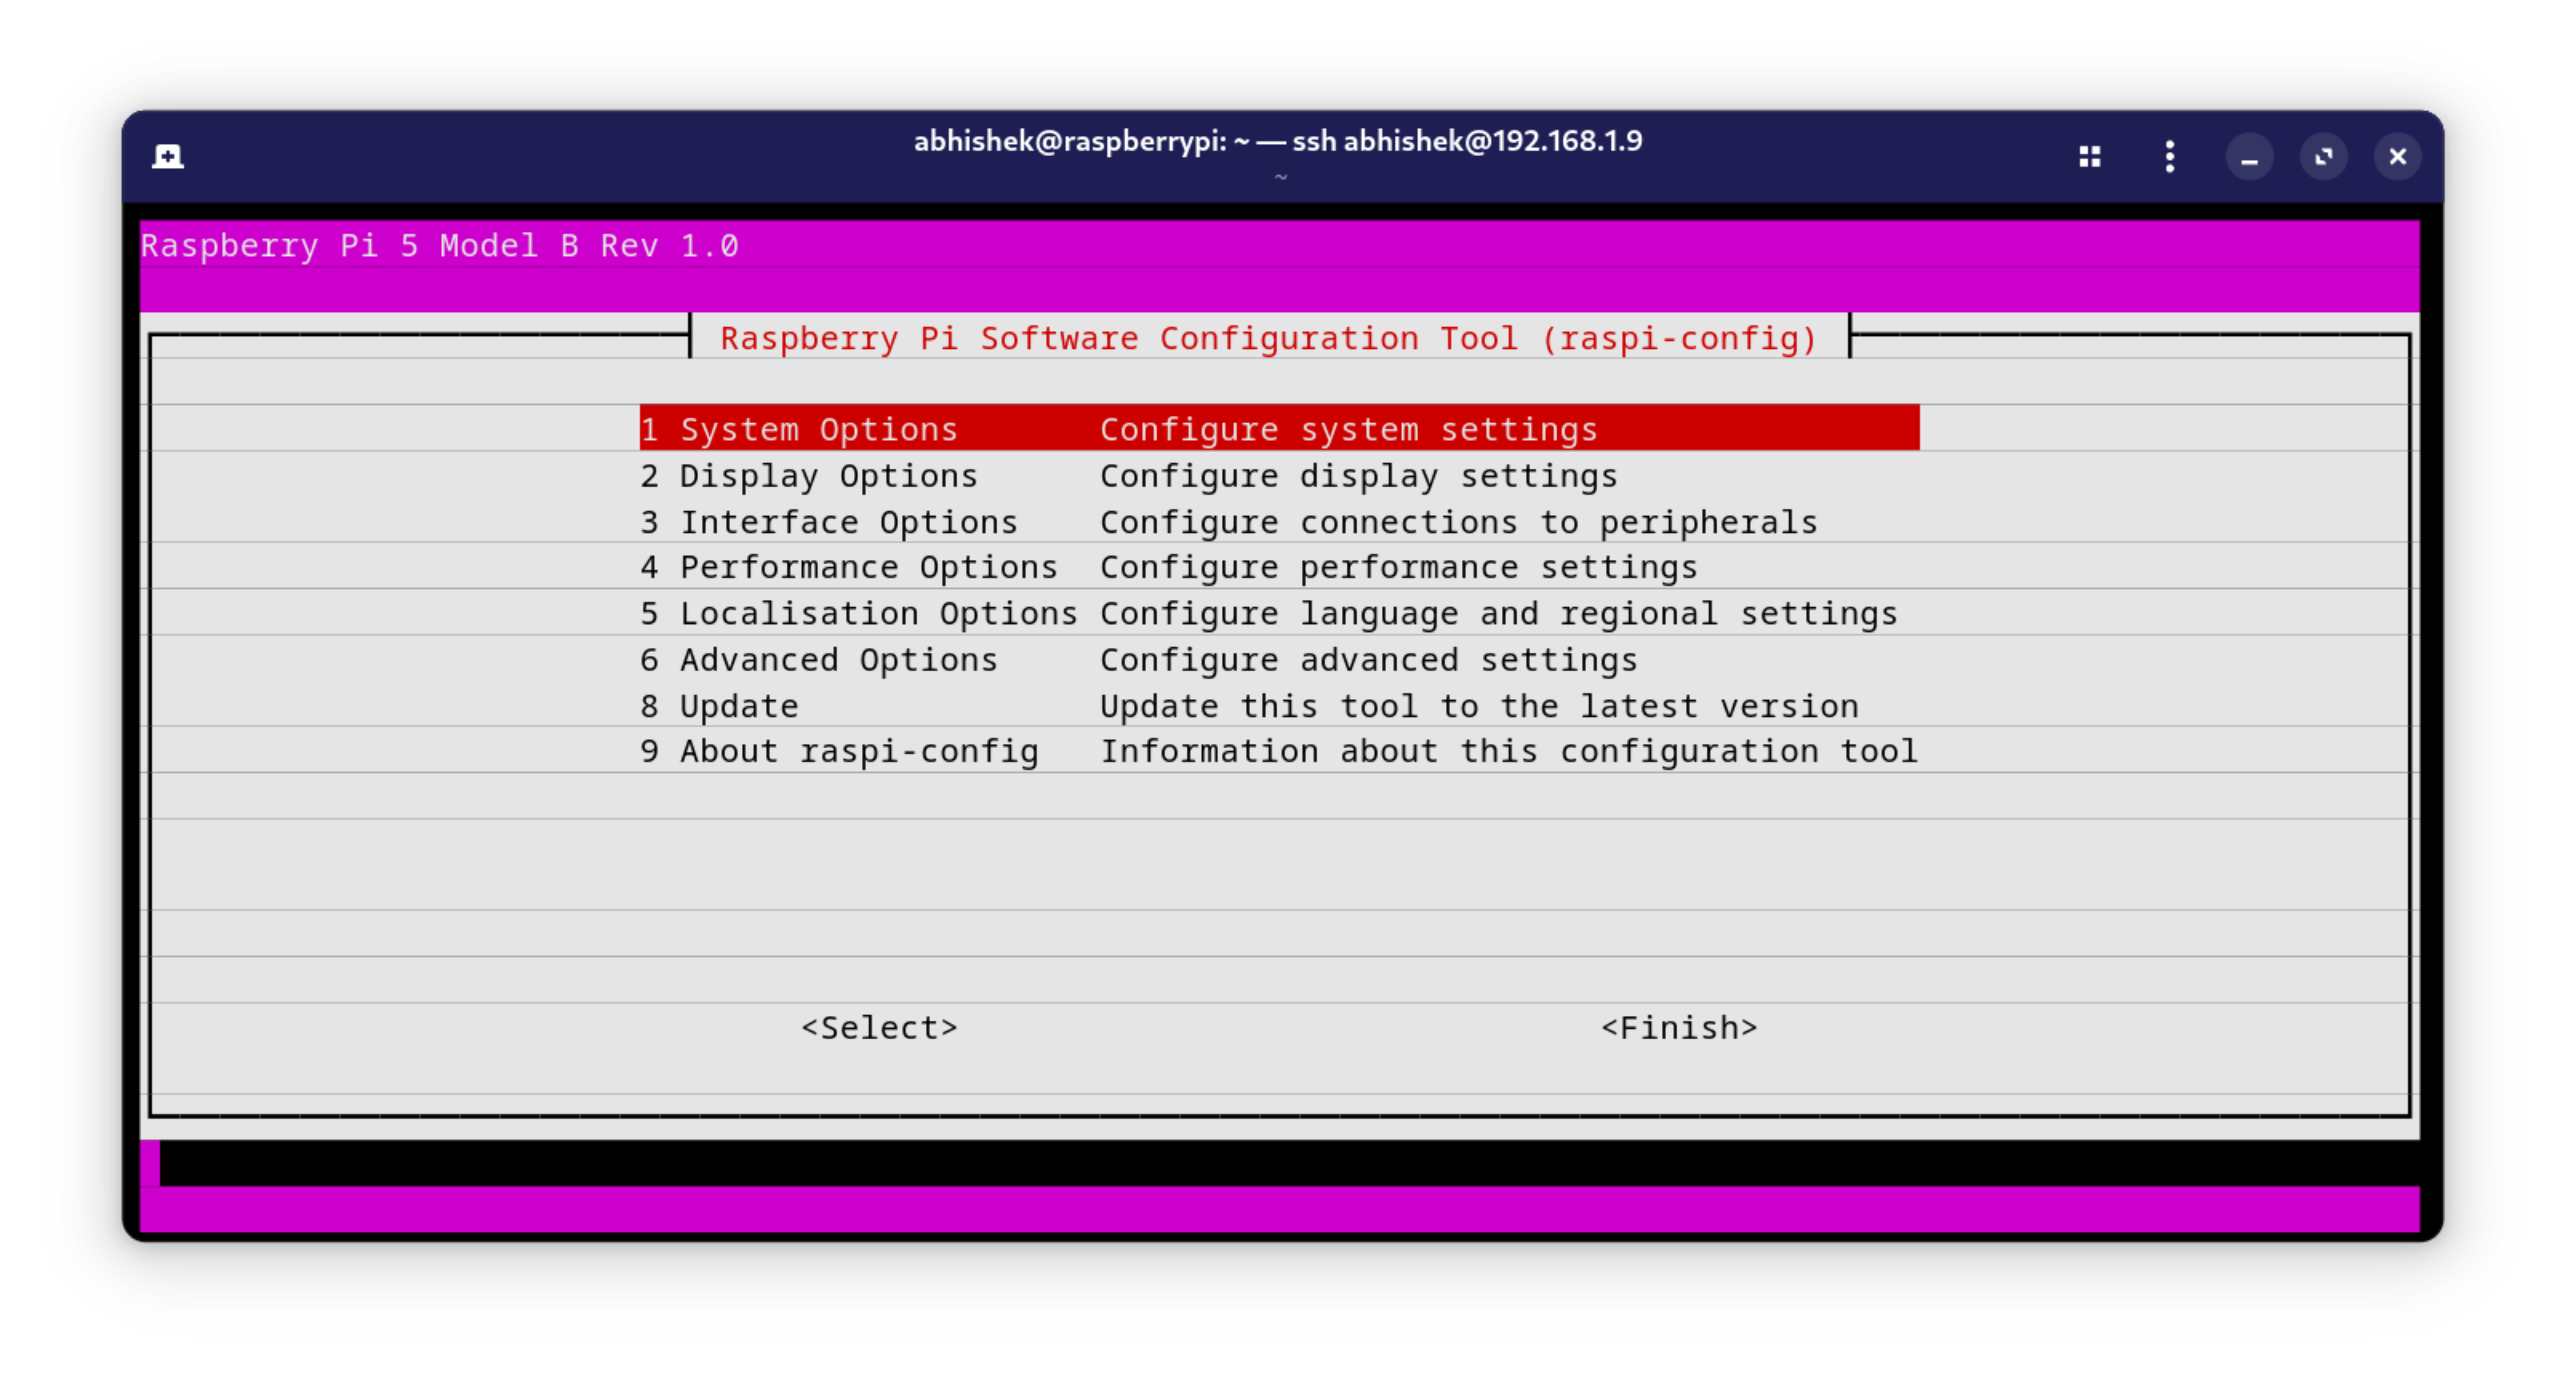
Once installed, you can launch raspi-config by running:
sudo raspi-configYou will now see the familiar configuration menu, allowing you to make various system adjustments.
Final Thoughts
Having raspi-config on Ubuntu brings back the ease of managing Raspberry Pi settings without needing to navigate through configuration files manually.
Although Ubuntu provides powerful configuration tools of its own, raspi-config simplifies some of the most common Pi-specific tasks and has a user-friendly interface.
For someone who’s comfortable in the Pi ecosystem, this is a familiar and efficient way to get the best of both worlds, Ubuntu’s flexibility with the convenience of Raspberry Pi’s configuration tools.
Now that raspi-config is set up, I can make adjustments with the same ease as I did on Raspberry Pi OS, and it feels like home 🥳
Happy configuring! 🎉
