Best Accessories to Supercharge Your Raspberry Pi
The Raspberry Pi is one of the most pocket-friendly single-board computers out there.
You can get the tiniest Raspberry Pi Zero for $5 or purchase the Raspberry Pi 4 (with 1 GB RAM or more) starting at $35.
However, that is not the end of it. You will need certain accessories to make it functional for a project you want to use it with.
Of course, it entirely depends on what you intend to achieve with the project, some accessories might be expensive, and some might be dirt cheap.
Here, we shall look at the essentials that are a must-buy and other accessories that could be useful or appear as a luxury add-on.
Necessary accessories for a functioning Raspberry Pi
There are two things you must have to use a Raspberry Pi:
- Micro SD Card
- Power Supply
Don’t you need a keyboard, mouse and a screen? Well, no if you plan to use the Pi in a headless state where you control the device from another system.
But the Micro SD Card is necessary for your operating system on the Raspberry Pi. And the power supply is needed to turn the device on, of course.
1. Micro SD Card
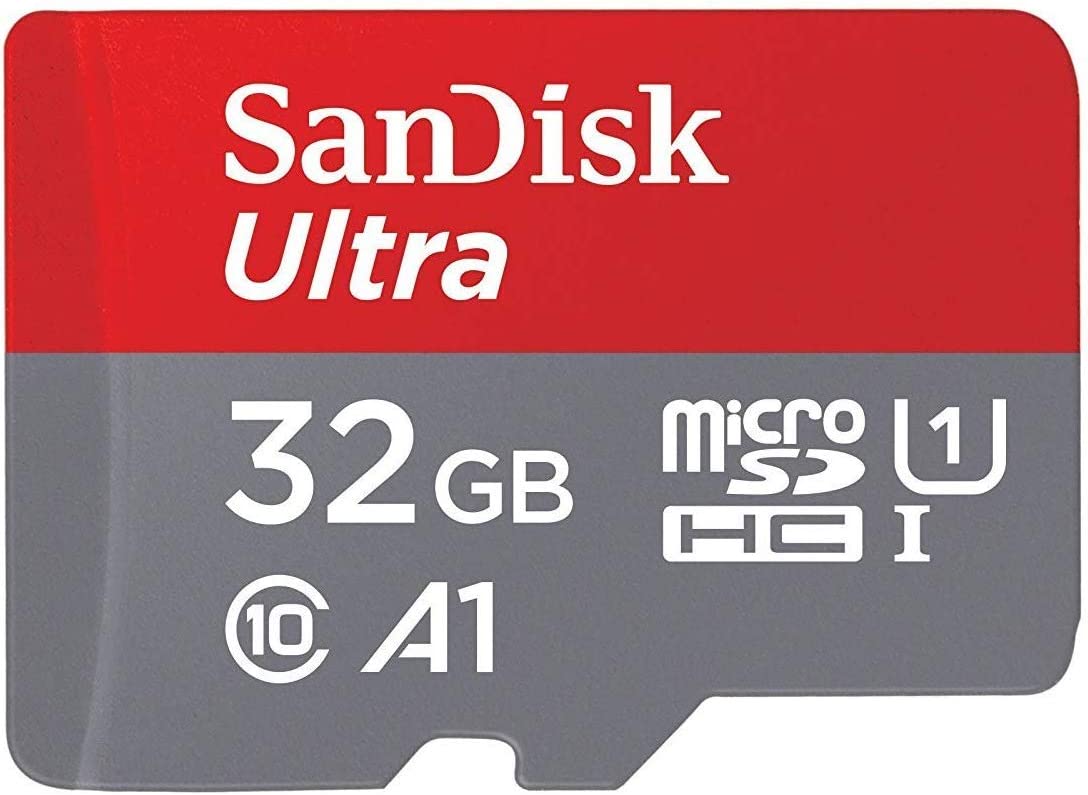
Unlike a standard desktop or a laptop, the Raspberry Pi comes with no storage (though some compute modules ship with eMMC storage). Instead, you need to use a Micro SD Card to install the operating system and store things if required.
You can get an SD card with A1, A2, or U1 as its performance rating per your requirements.
The minimum size of an SD card to install an OS is 8 GB. To gear up for various use cases, you might want a 32 GB card, considering it may not be too far away in terms of pricing with a 16 GB card.
One of the recommendations includes the SanDisk Ultra Micro SD Card with a minimum size of 32 GB.
2. A Power Supply
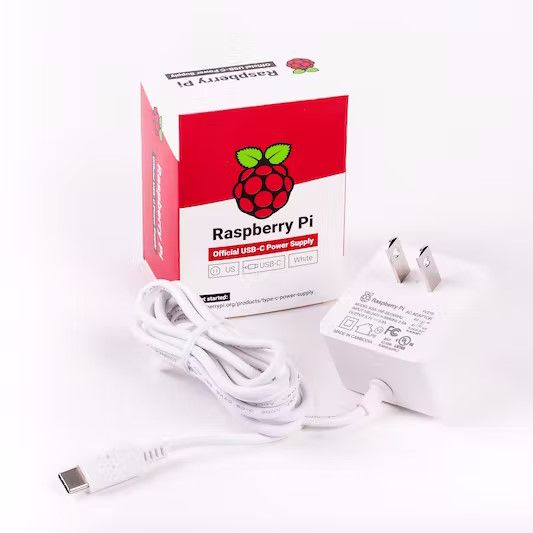
The Raspberry Pi foundation has always preferred to use a standard connector for power, either Micro USB or Type-C.
It would be best to opt for official products by Raspberry Pi Foundation like:
- Official Raspberry Pi Power Supply (Micro USB-B)
- Official Raspberry Pi Power Supply (USB-C)
Nevertheless, as long as the power supply meets the power requirements of a Raspberry Pi, it should be a viable option.
While you can use almost any phone charger–pedantically speaking, you need to compare its output power to what the Raspberry Pi requires. If it is too confusing, you might want to stick to a separate power supply.
Recommended essentials for Raspberry Pi
Some accessories should be helpful, regardless of what you are building with Raspberry Pi.
Some of those include:
1. USB Keyboard and Mouse
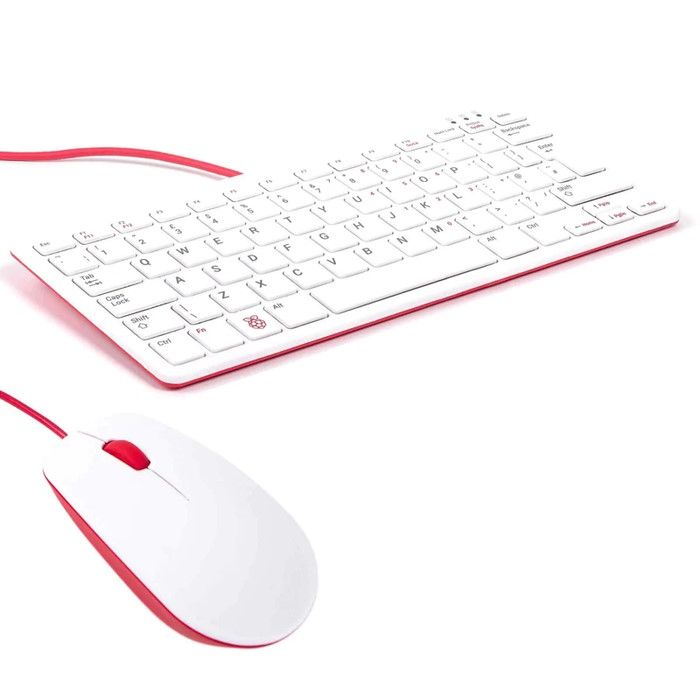
You can connect a USB keyboard and mouse to interact with the operating system on the Raspberry Pi. You can also use it as a desktop computer to learn Linux or code.
While any keyboard and mouse should work, make sure that the connectors for said devices are USB-A. If you prefer official items, the Raspberry Pi keyboard and mouse should be available on partner retailer sites like ThePiHut.
The Raspberry Pi keyboard also includes USB ports, which can be used as a hub to connect more things to the board.
2. HDMI Cable
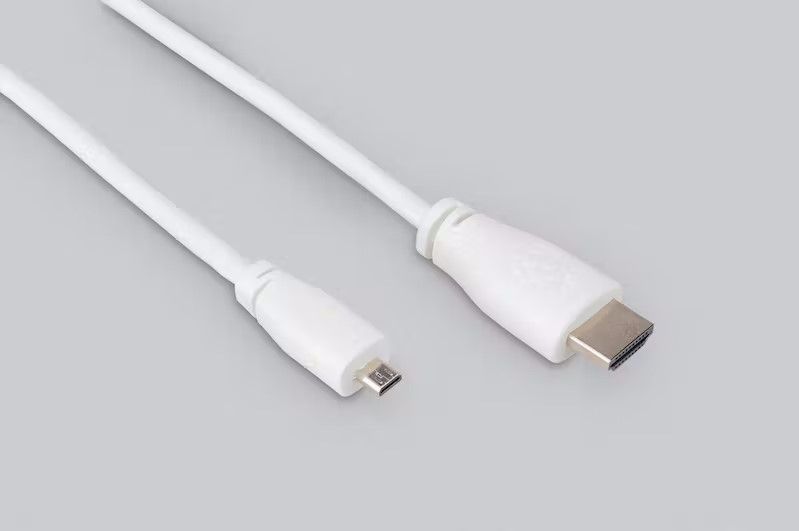
To see what you’re working on with the operating system, you will need an HDMI cable that connects to a TV or a monitor.
Some Raspberry Pis have a full-sized HDMI connector, while some ship with a Mini HDMI connector, and others might have a Micro HDMI connector. In that case, you might need to use an HDMI converter.
- Micro HDMI to Standard HDMI Cable
- Mini HDMI to Standard HDMI cable
3. An Ethernet Cable
Yes, I know, not all Raspberry Pis have the RJ45 jack, but for ones that do, it is nice to have to plug in a cable and get connected to the internet.
A bonus of using an Ethernet cable over WiFi is excellent network stability. If you intend to use your Raspberry Pi as an advertisement blocker, or as a NAS, or as a media server, or even a network router, the network connectivity must be reliable.
Hence, we recommend investing in an Ethernet cable if your Raspberry Pi has the RJ45 jack.
4. A monitor or screen
If you plan to use the Pi as a desktop or monitoring station, you’ll need a monitor. If you have an existing monitor, you can surely use it to connect to your Pi.
Suggested Read 📖
Good to have accessories for your Raspberry Pi
Now that we have covered the bare essential items you need to get your Raspberry Pi up and to run let us see what other goodies are available!
1. Cases for your Raspberry Pi
The Raspberry Pi is one of the most famous SBCs (Single Board Computers). Since it has also kept a similar form factor for generations, it is not hard to find some good cases for the Raspberry Pi.
There are some cases with a giant heat sink that cools down your Pi very well, even without a fan.
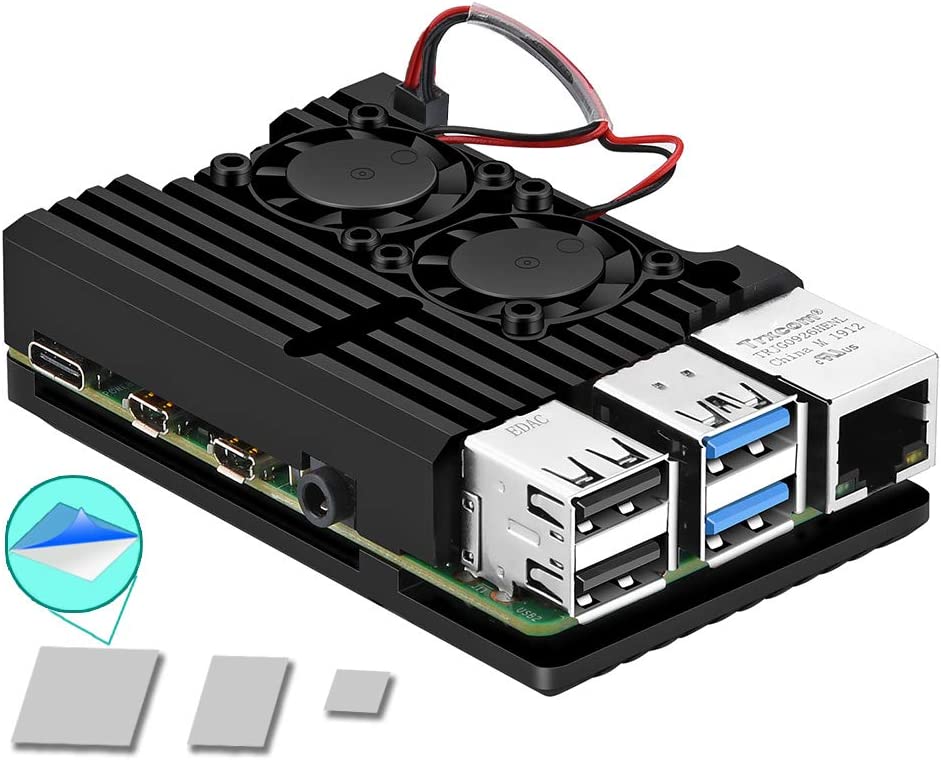
Some cases are built for a purpose or to look cool. You can take a look at a few examples like an Armor case, a console-like case, and a case that has a mount point for camera.
Or, you can opt for the official Raspberry Pi case as per the availability. The image below is a case for Raspberry Pi 4. However, the official Pi4 case causes overheating.
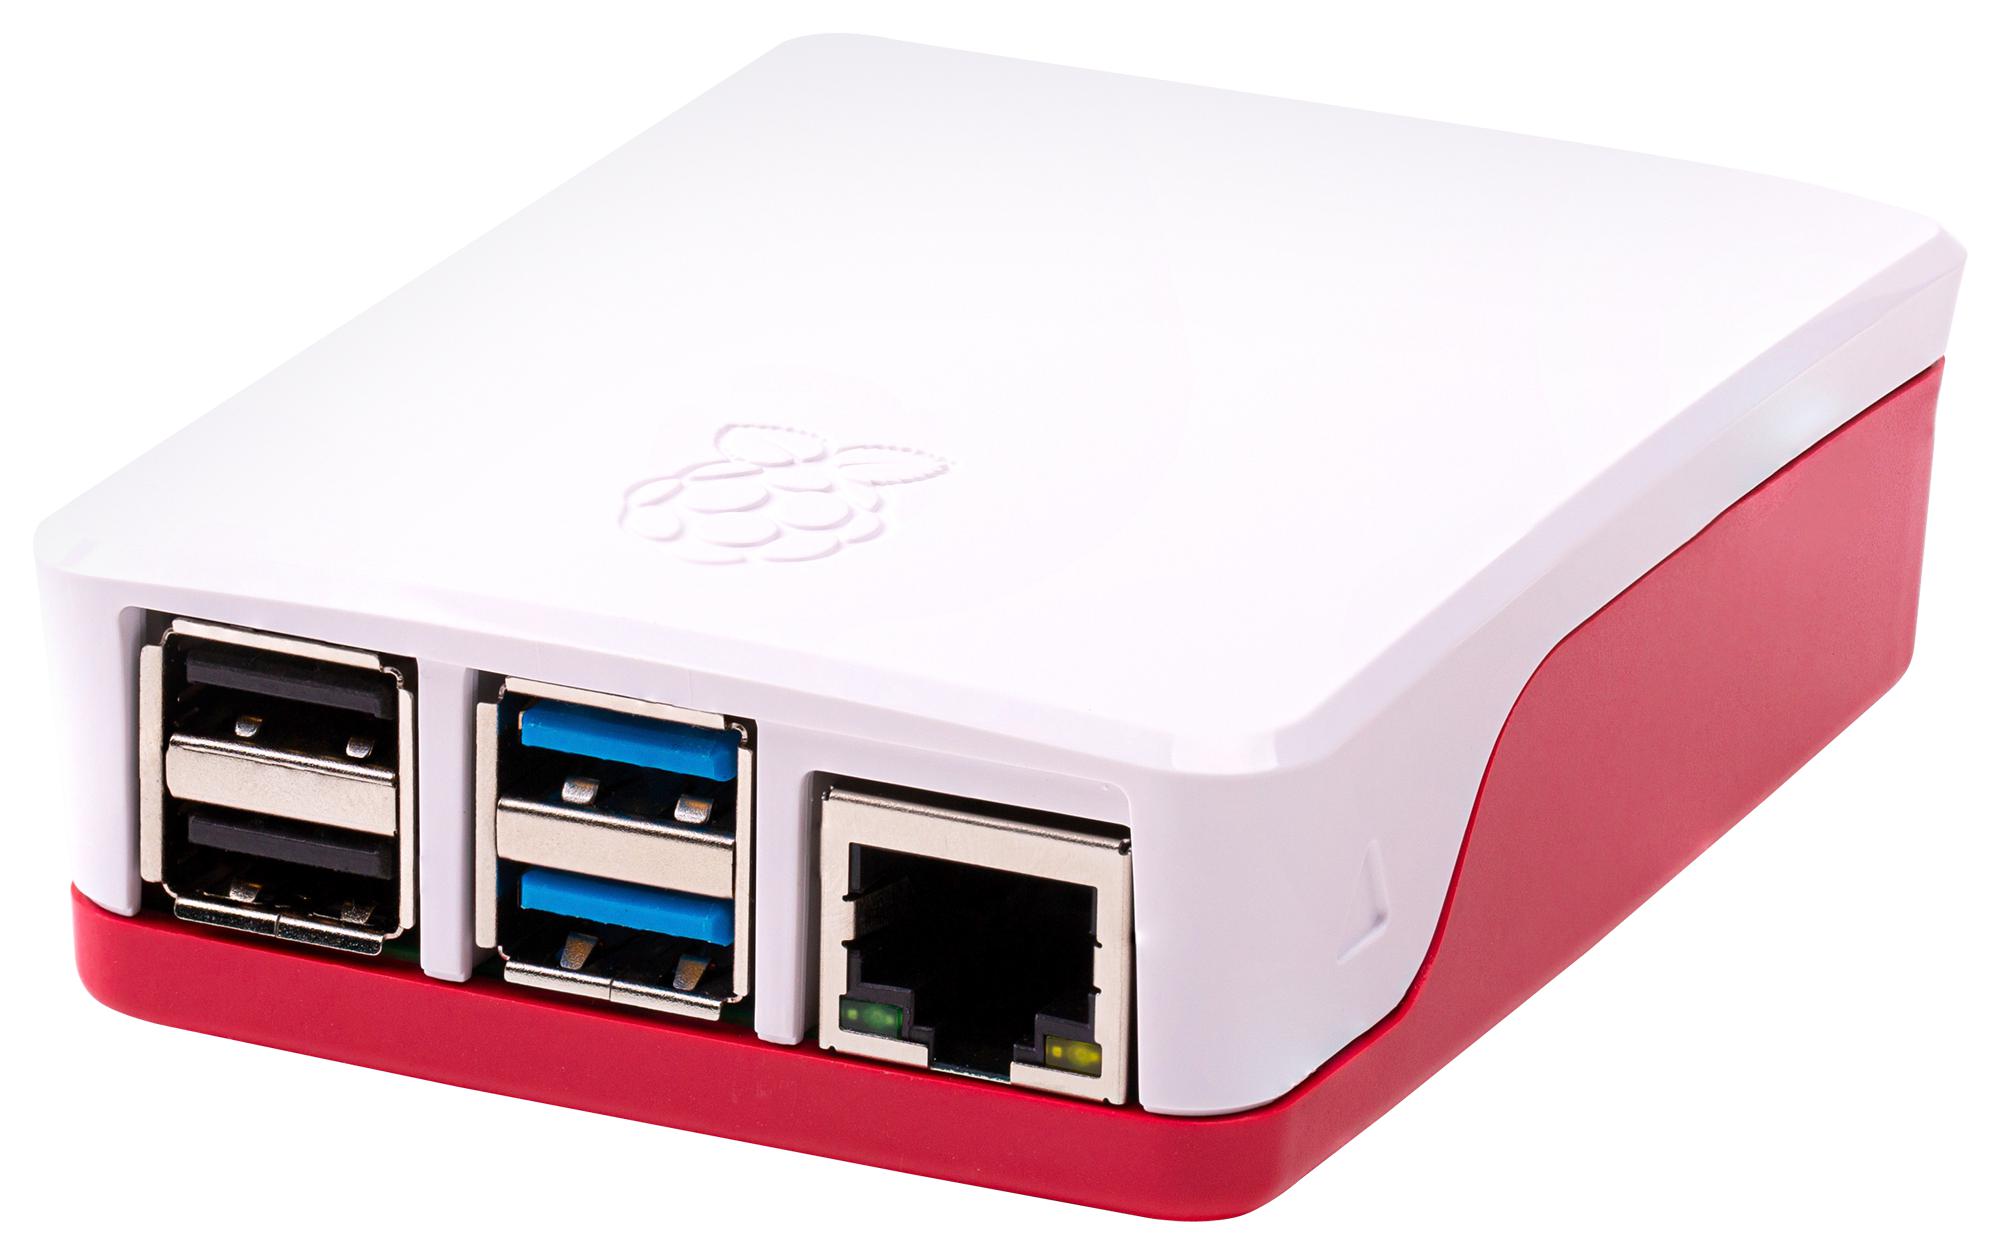
You will find a range of options, starting from a plain case to something that could be expensive just for its looks or expansion options (like slots for extra storage and so on).
2. Coolers for Raspberry Pi
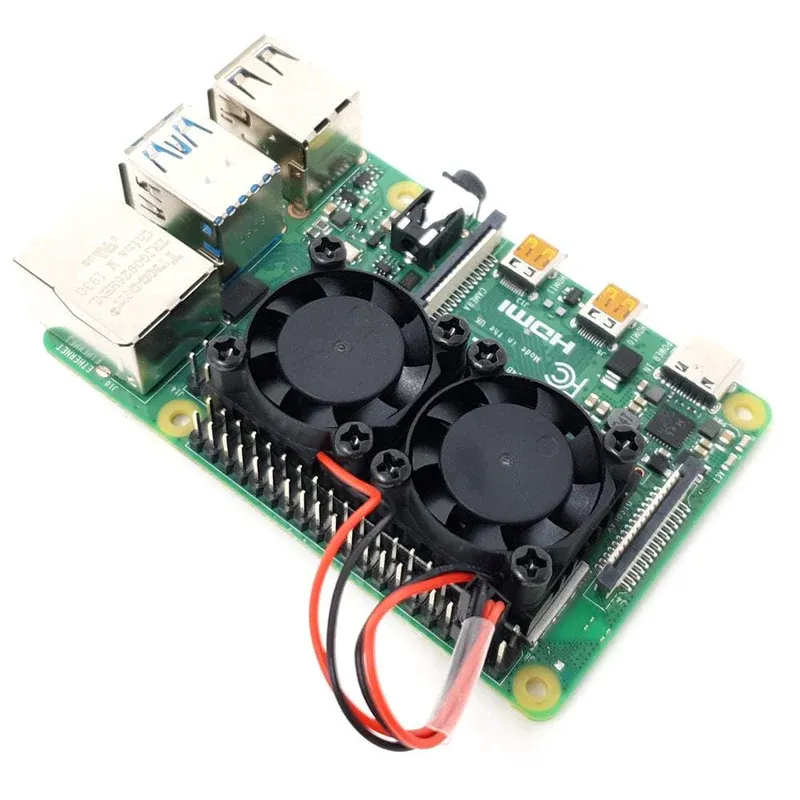
Starting with the Raspberry Pi 4 Model B and the Raspberry Pi 400, the SoC (System on a Chip) is vastly more powerful than its predecessors. But that also brings with it some higher heat output. This likely means that you will want to keep your Raspberry Pi as cool as possible.
I have already discussed some cases above that also have a cooling function so I won’t repeat myself here, but there are some standalone coolers for your Raspberry Pi if a case is not your thing.
The PiHut website has good availability of cooling accessories for the Raspberry Pi.
The following are some options:
- 4-Piece heatsink set for the Raspberry Pi 4 (no active cooling)
- Dual fan heatsink for the Raspberry Pi 4 and 3B+
- Extreme cooling heatsink and fan kit for the Raspberry Pi 4 and Raspberry Pi 3
- ICE tower cooling for the Raspberry Pi 4, 3 and 3B+
- ICE low profile cooler for the Raspberry Pi 4 and 3B+
3. Get a Powered USB hub
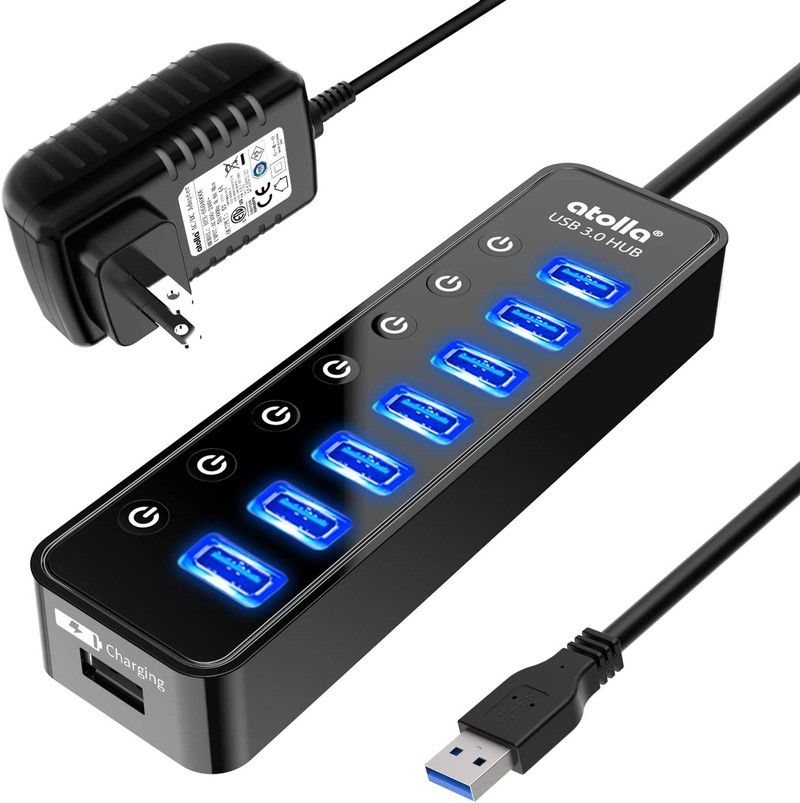
Are you planning on using your Raspberry Pi as a NAS or a media server? In that case, provided that your files take up a lot of storage, you will be using one or more external USB drives.
This is where the problem lies.
The Raspberry Pi can power only one external hard drive. Attaching a second drive will cause power-related issues.
To prevent this sort of issue (and avoid data corruption caused by insufficient power), it is advisable to get a USB hub that provides power from an external source rather than the Raspberry Pi.
Some suggestions include:
- Atolla bus powered USB hub (4 port)
- Atolla bus powered USB hub (7 port)
- Sabrent bus powered USB hub (4 port)
4. External SSDs
Yes, you can use external SSDs to replace microSD cards for a faster experience with Raspberry Pi.
You need an updated bootloader to boot the Raspberry Pi from a USB drive. You might want to refer to the official instructions on how to update the bootloader of Raspberry Pi.
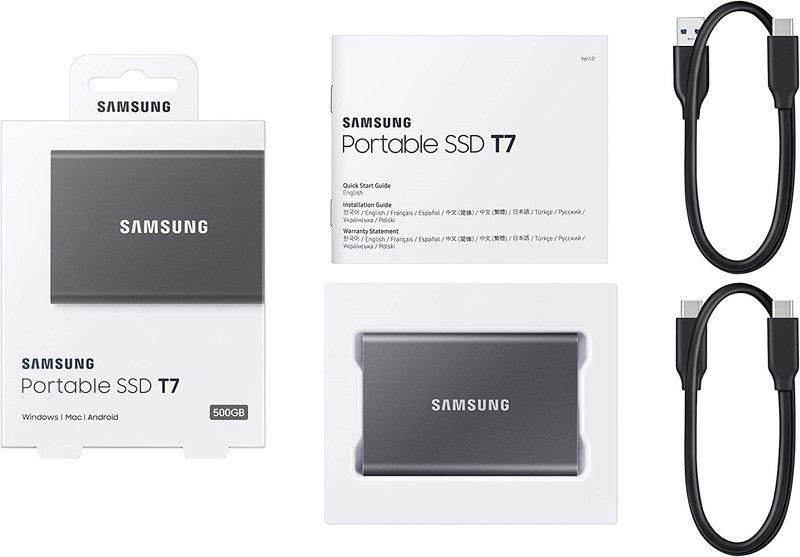
Part of what makes the “desktop experience” on a Raspberry Pi better is booting from a faster storage medium, like an SSD. Distributions that offer a variant for the Raspberry Pi (Pop!_OS, Ubuntu MATE, Ubuntu Desktop, Fedora Workstation) intended for desktop-like usage recommend using an SSD (if possible).
This is not a requirement. Merely a recommendation for a better desktop experience on the Raspberry Pi.
5. USB to Ethernet adapter
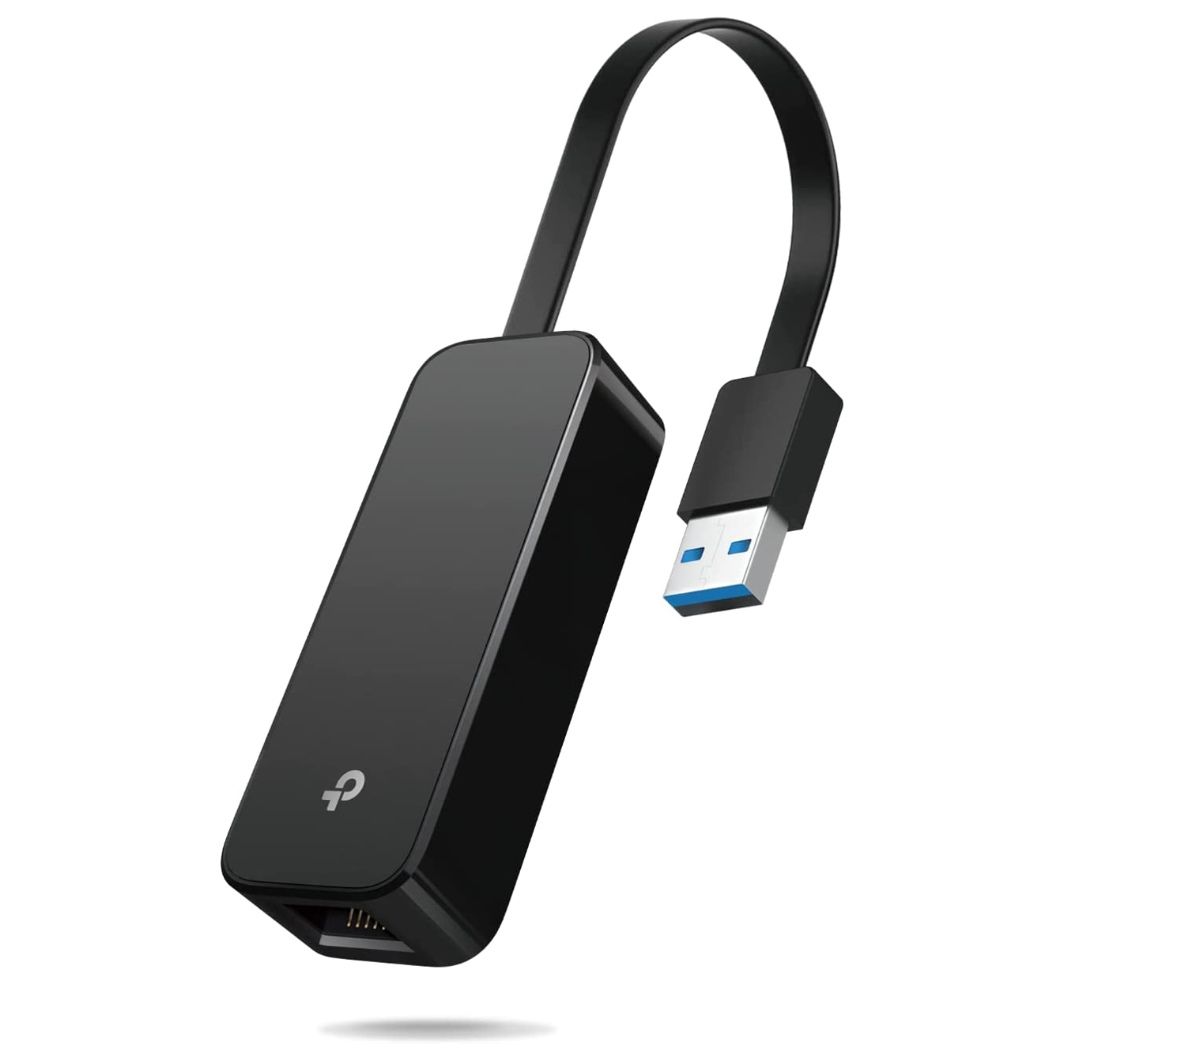
What if I told you that you could have a good, cheap and customizable router that is potentially better than the one that your ISP provided you?
Behold, the Raspberry Pi! It has enough horsepower to act as a home router. For a router, you will need at-least 2 RJ45 ports, hence the USB to Ethernet adapter recommendation.
You can opt for a TP-Link adapter, as shown in the image above.
Below are a few guides on turning your Raspberry Pi into a home router:
- Linux Router with VPN on a Raspberry Pi using Alpine Linux (IPv4 setup guide) (IPv6 setup guide)
- OpenWRT on the Raspberry Pi (HOWTO) (Wiki)
Suggested Read 📖
Best Accessories for Tinkerers
In this section, we go over accessories for the Raspberry Pi that might not be considered as necessary, but if you are an enthusiast and an explorer, you should take a look.
1. USB to TTL Serial Cable
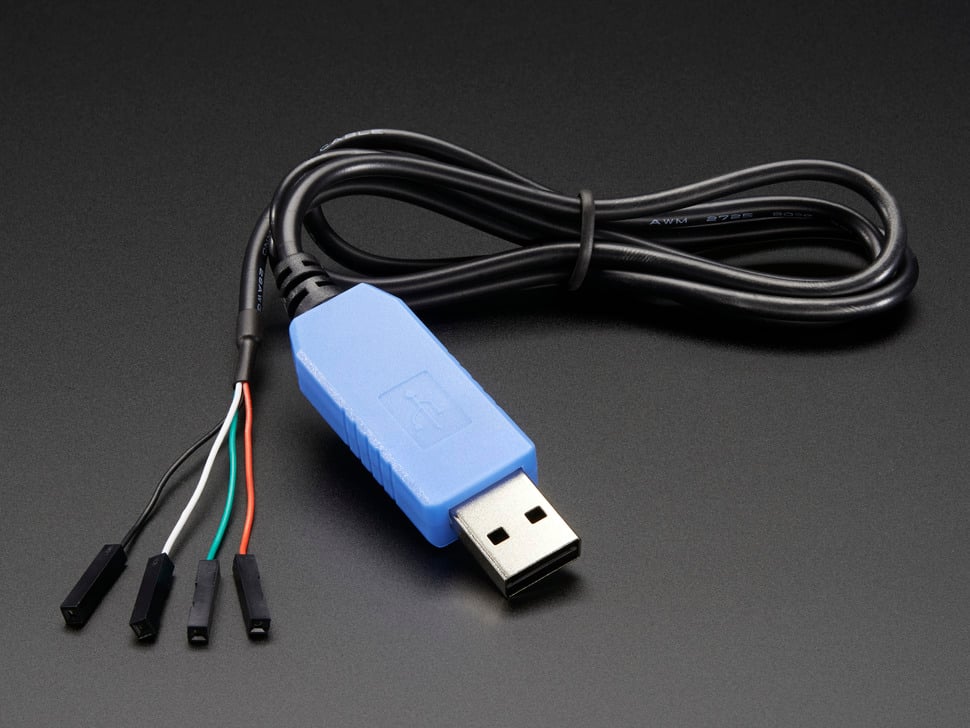
How do you check what went wrong since the Raspberry Pi is no longer booting?
You can connect the Raspberry Pi’s UART(Universal Asynchronous Receiver-Transmitter) interface to the USB to TTL serial cable.
Below are a few recommendations (I’ve had great luck with the CP2102 chipset):
- HiLetgo CP2102 USB to TTL Serial adapter with Jumper Wires
- Adafruit USB to TTL Serial Cable
If you do not know how to connect your Raspberry Pi’s UART interface to your computer using a USB to TTL Serial Cable, here is a nice guide to achieve this by Sarala Saraswati.
2. An external screen
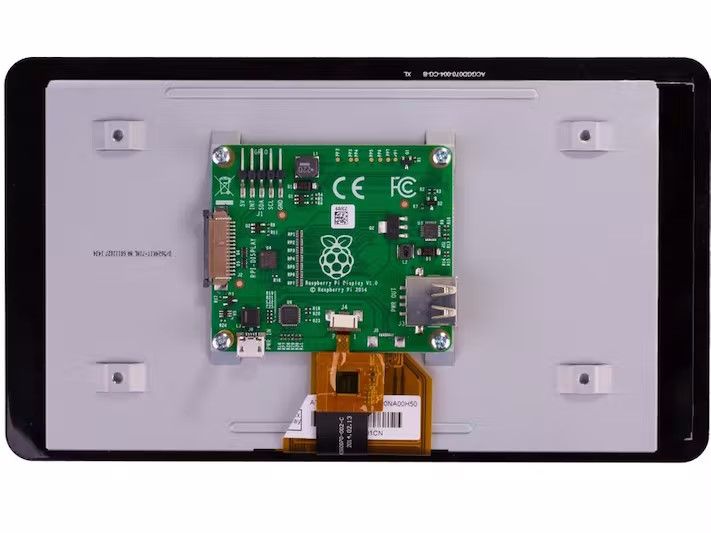
There are plenty of uses for an external screen when connected to the Raspberry Pi, primarily if the display supports touch input. You can even build your home-grown alternative to Google’s Nest Hub!
Following are a few displays that pair exceptionally well with a Raspberry Pi:
- Adafruit DPI TFT Kippah Screen for Raspberry Pi
- Adafruit DPI TFT Kippah Screen for Raspberry Pi with Touch Support
- Official Raspberry Pi foundation’s 7 inch Touchscreen Display
3. Cameras
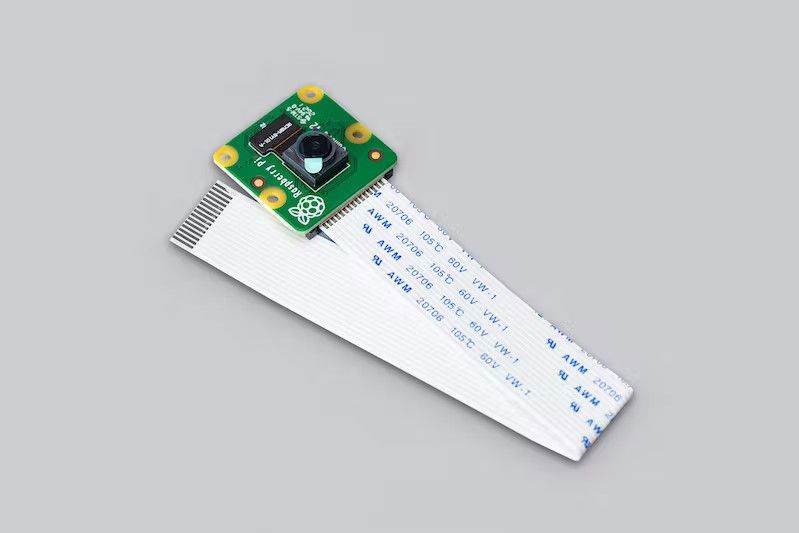
Intrusion detection system? Webcam? And several other possibilities.
I have listed some of the popular cameras that go well with the Raspberry Pi:
- Official Raspberry Pi Camera Module 2
- Official Raspberry Pi Camera Module 2 (No Infrared filter; “night vision camera”)
- Arducam OV5647 Camera Module V1
- Arducam 8MP IMX219 Auto Focus Camera Module with Motorized Lens
4. Jumper wires
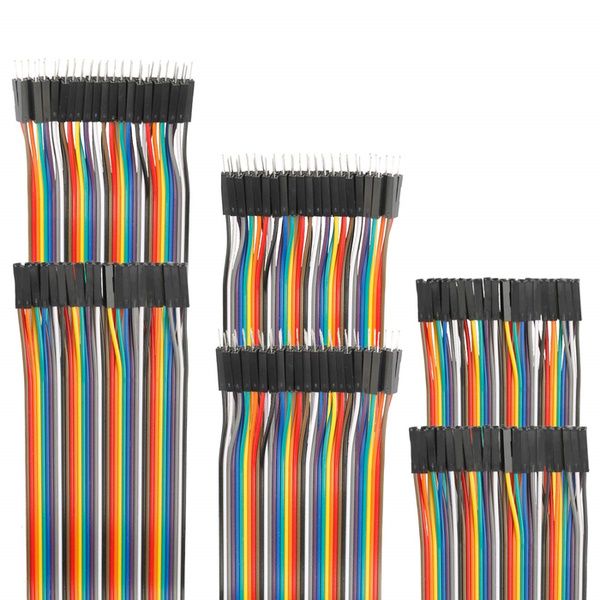
One of the least discussed and yet most essential part of a Raspberry Pi tinkerer’s toolbag is jumper wires. Jumper wires help you connect your Raspberry Pi’s GPIO pins to other electronic accessories like a resistor or an LED on a breadboard.
You can cheaply obtain these jumper wires from an electronics store or Amazon.
5. Breadboards
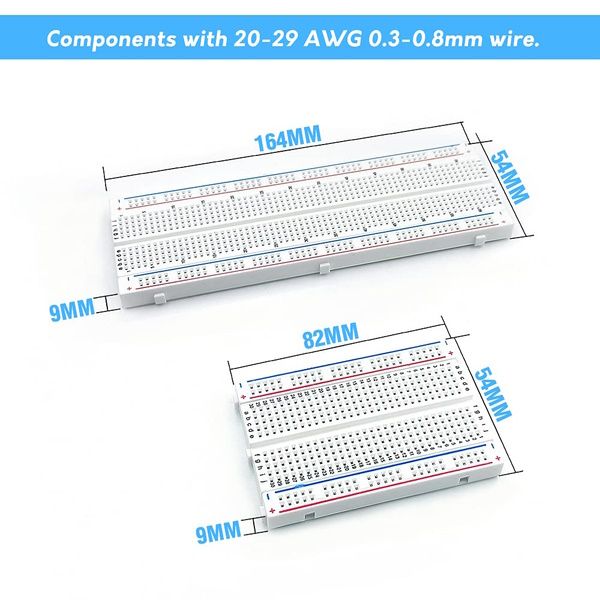
To use jumper wires, you can get Breadboards that help connect more accessories like a buzzer, LED, and others to the Raspberry Pi.
You can explore options available at Amazon or Raspberry Pi reseller websites.
6. Various HATs
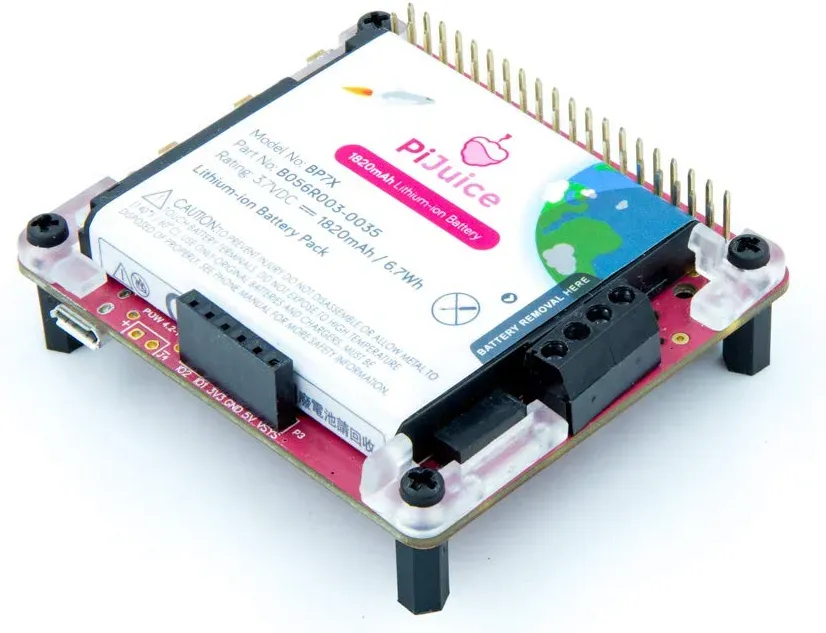
Did you know that you can get a HAT for your Raspberry Pi? A HAT is Hardware Attached on Top. This includes multiple hardware accessories that can be attached to the Raspberry Pi to increase its functionality. These are usually connected to the Raspberry Pi over its GPIO pins.
Some of the most popular options include:
- Power over Ethernet (PoE) HAT
- PiJuice HAT (a portable power platform)
- PiKVM HAT
- Raspberry Pi TV HAT
- NFC HAT
Suggested Read 📖
Luxury Accessories for Raspberry Pi
Raspberry Pi was never aimed to be an expensive ordeal. So, there are not many super expensive options or accessories available.
But, if we take some options that can be considered pricier than the usual accessories, here are some items that may or may not help your Raspberry Pi project:
1. Raspberry Pi 4 Aluminum Alloy Case
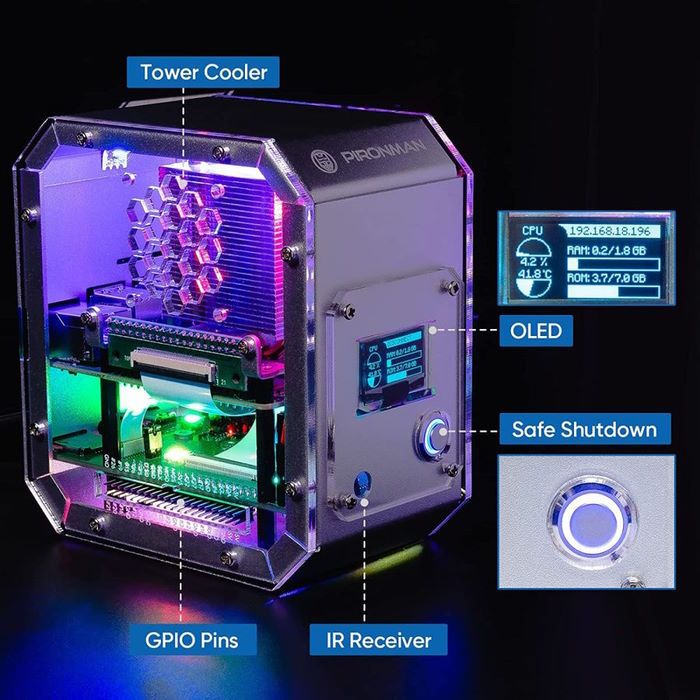
Who are we kidding? Raspberry Pi boards do not need cases manufactured by the likes of Lian Li or CoolerMaster (PC case manufacturers).
But this is an interesting case with an OLED screen providing important info. It costs about $80 without any discount on Amazon.
2. Raspberry Pi High-Quality Camera
Unlike the previous accessory, this is an official product, available with your choice of mount.
It features a 12.3 megapixel Sony IMX477 sensor and an adjustable back focus. The camera price is about $60, depending on the reseller’s price in your region.
3. Raspberry Pi Touch Screen With Built-in Speakers
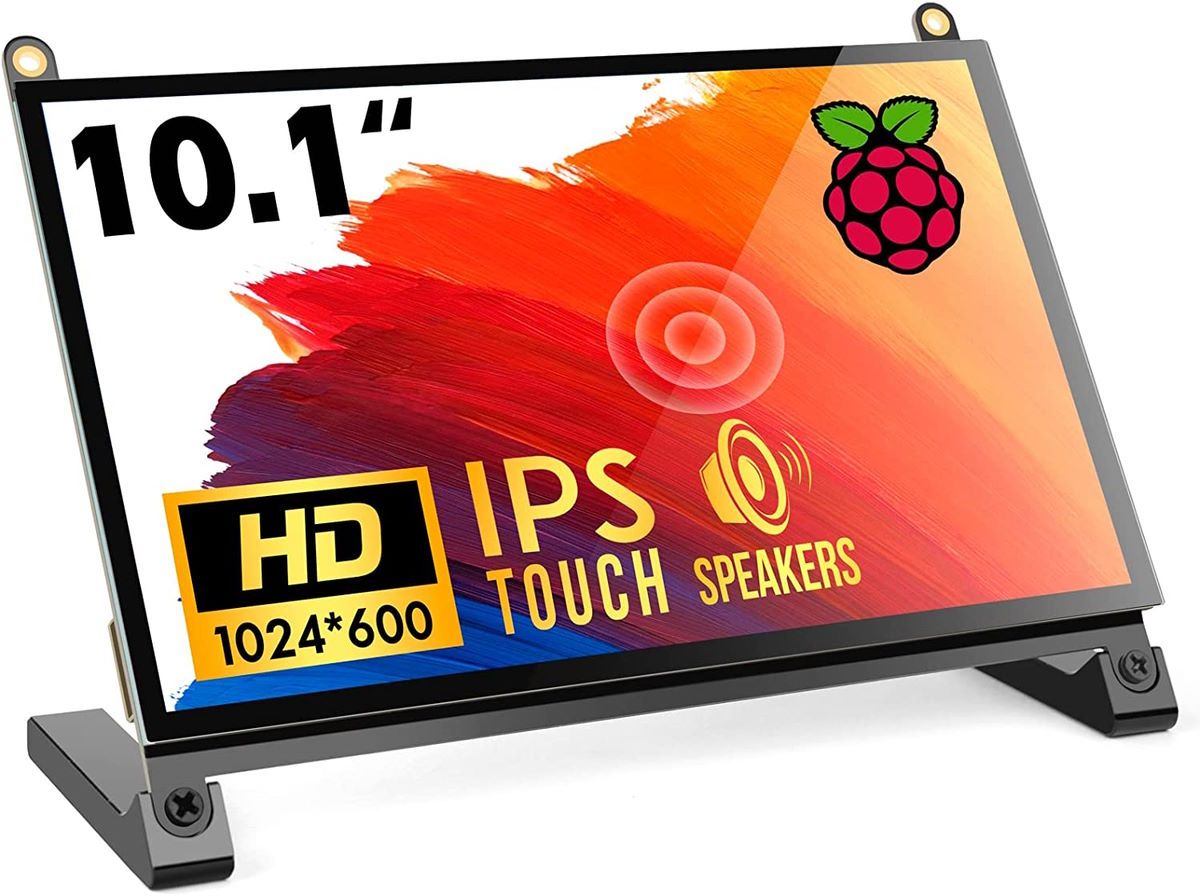
There are various external displays one can use for Raspberry Pi. For basic usage, you require a display, for the most part, whether it supports touch or not.
But this accessory also includes built-in speakers with a display. It converts your Pi into a tablet of sorts.
4. RasPad to turn Pi into a real tablet
If you want a tablet-like experience with Raspberry Pi, you cannot go wrong with the RasPad.
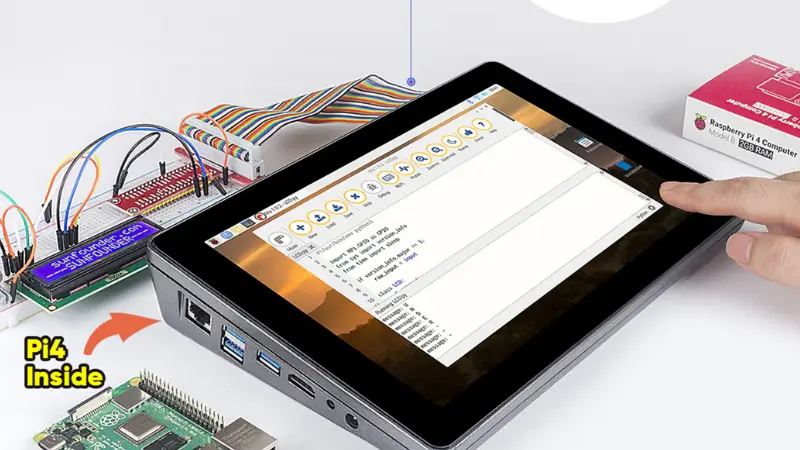
It gives you a 10.1 inches touch HD screen. The in-built chargeable battery lasts for up to 5 hours. All the Pi interfaces are visible from the outside so you can use them as you like.
It gives wings to your Pi and turns it into a usable device. You can use it to create IoT projects, attach it to a 3D printer or use it as a retro gaming console.
This is an add-on gadget. You need to have a Raspberry Pi.

Conclusion
Whether you aim to learn, explore, tinker, or have fun with Raspberry Pi, the above-mentioned list of accessories should be a fantastic starter pack collection if you do not know where to start.
In addition to these, numerous tiny accessories might act as essential components to your projects.
💬 Do you have a suggestion to make? You are welcome to share your thoughts in the comments below.


