
NixOS Series #2: How to Install NixOS on a Virtual Machine?
If you can use the Nix package manager on any Linux distro, why should you install the NixOS?
I often wondered about the same before using NixOS for a few days.
Once I realized the benefits, I wrote about it to help you know why you might consider using NixOS. If you have read the first article of the series, you already know what you want.
So, how to get started with it? Considering it can be a new experience for many, should you replace your daily driver with it or install it as a virtual machine?
I recommend using NixOS on a VM before you want to replace it as your primary operating system. This holds for anything new that you want to try, but specifically for advanced Linux distributions like NixOS.
Install NixOS in the VM Using VirtualBox
In this tutorial, I will be using VirtualBox.
And if you are using Ubuntu and don’t care about having the latest version, VirtualBox can be installed using a single command:
sudo apt install virtualboxWant to install the latest version? You can refer to the given guide:
 Abhishek Prakash
And if you are using anything besides Ubuntu, you can follow the download instructions from its official downloads page.
Once you have successfully installed VirtualBox, let us start with the first step.
Step 1: Get the ISO image of NixOS
You need to head to NixOS official download page.
And under the NixOS: the Linux distribution section, you will find ISO with GNOME and KDE desktops.
Sure, there is a minimal ISO, too, but I would recommend going with either of the two (GNOME and KDE):

For the sake of this tutorial, I will be using GNOME.
Remember, you are given GNOME and KDE options for the live desktop!
And during installation, you get the option to choose your favorite desktop environment, including Xfce, Pantheon, Cinnamon, MATE, and more!
Step 2: Create a virtual in VirtualBox
Open VirtualBox and click on the New button to add a new virtual machine:
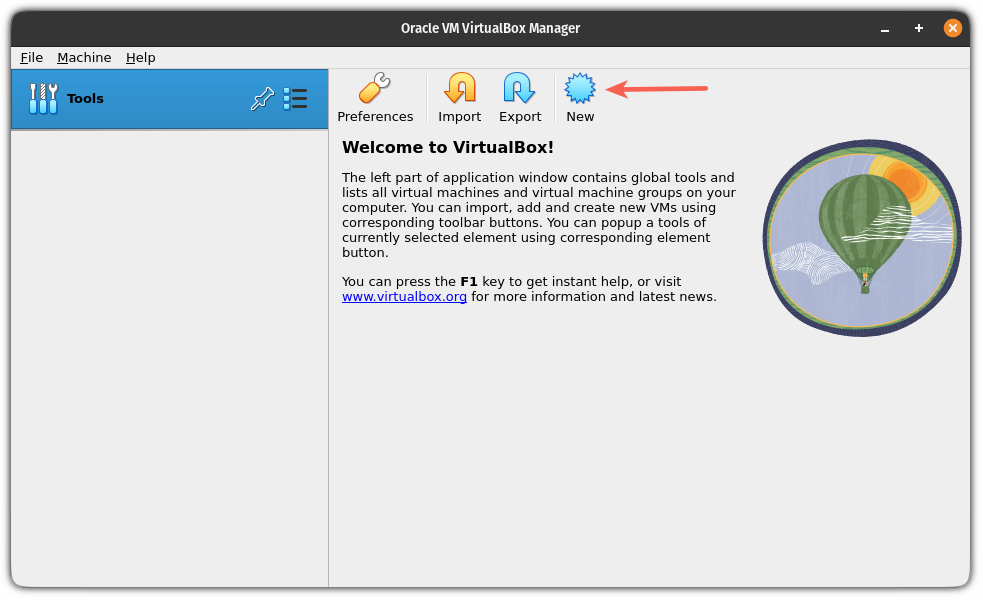
And it will open a prompt asking you to add information about the VM you want to add.
You can start by naming your VM:
- Name your VM so that you can identify it is a NixOS install. So I named it
NixOS. - Choose the ISO image that you’ve downloaded recently.
- Select
Linuxas a type of ISO. - And choose
Other Linux (64-bit)for version.
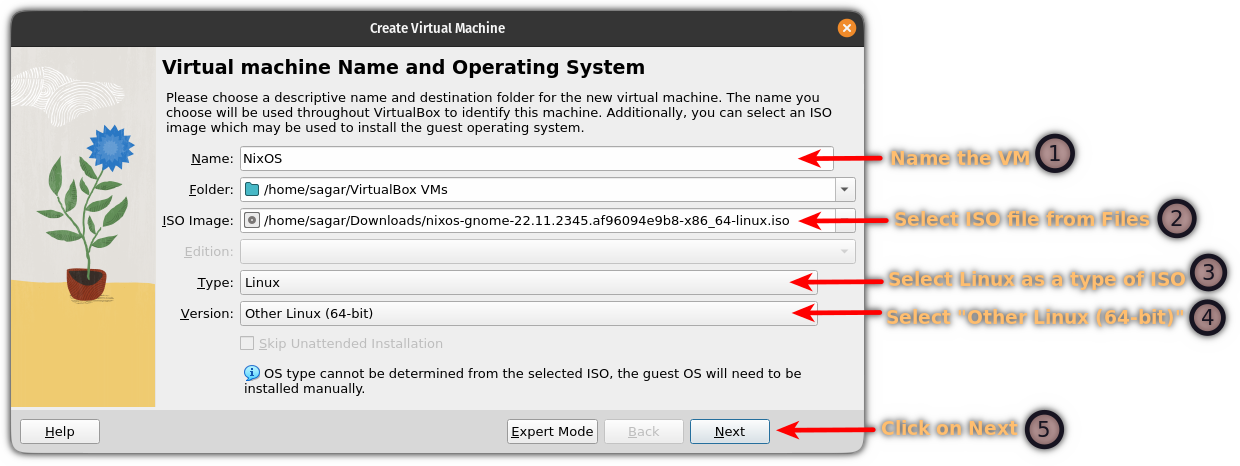
Once you select everything, click on the Next button.
Next, you will be asked to choose the Base memory (RAM), processors you want to allocate to this VM, and storage space for this install.
While NixOS mentions no official requirements, I recommend you to have at least 4 gigs of RAM, 2-4 processor cores, and 30 GB of space for this install:
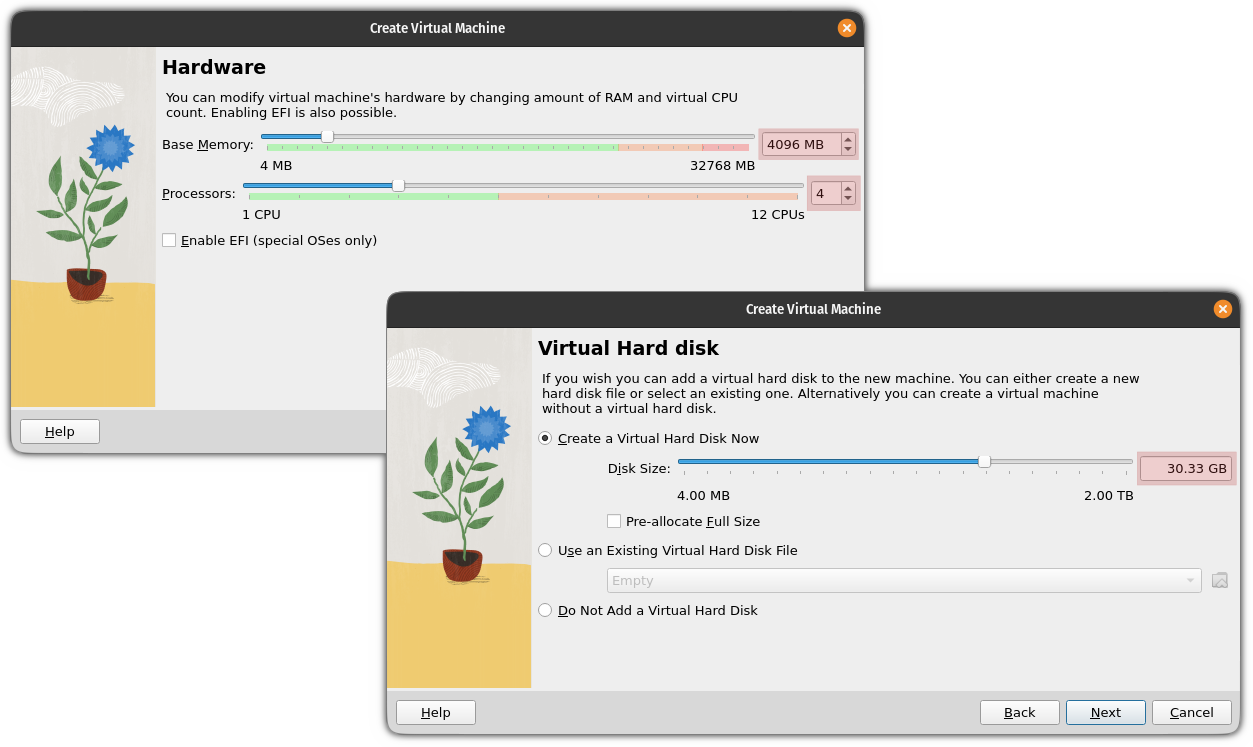
And in the end, it will show you the summary of the choices you made for this VM:
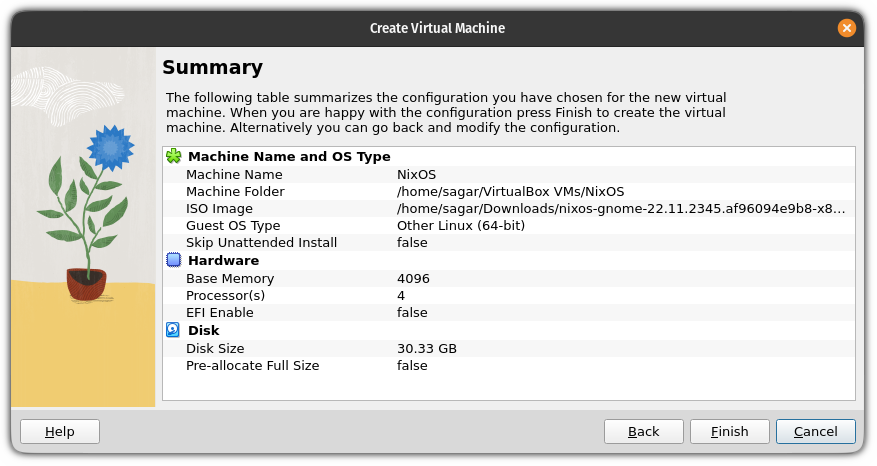
If everything seems fine, click on the Finish button and it will create a NixOS virtual machine for you.
Suggested Read 📖
Abhishek Prakash
Step 3: Installing NixOS
Once you are done creating the VM, the name you gave to your NixOS VM should start reflecting in the VirtualBox list of VMs.
Select the NixOS VM and click on the start button:
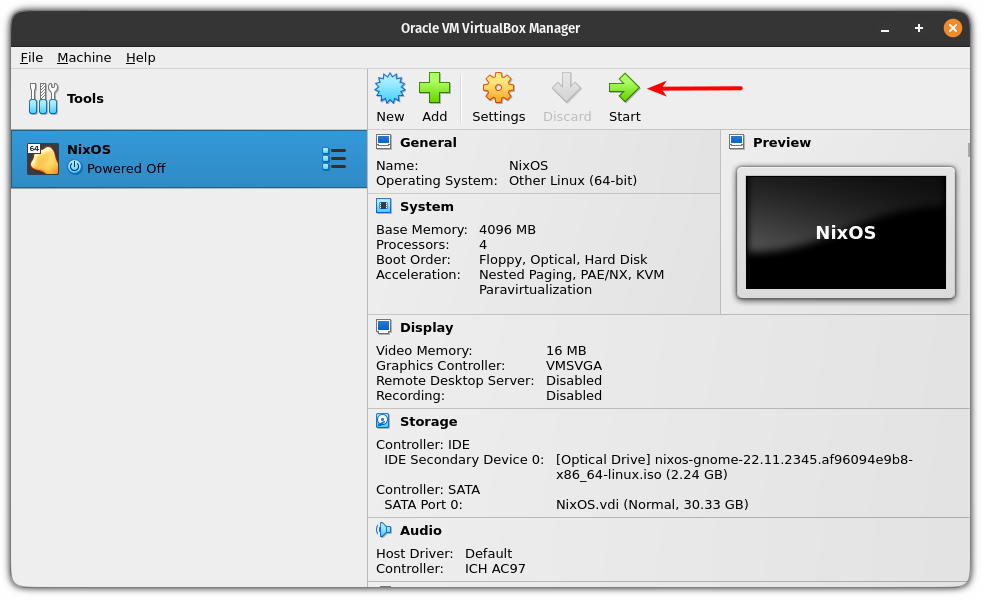
And it will start the NixOS live so you can try the Linux distro.
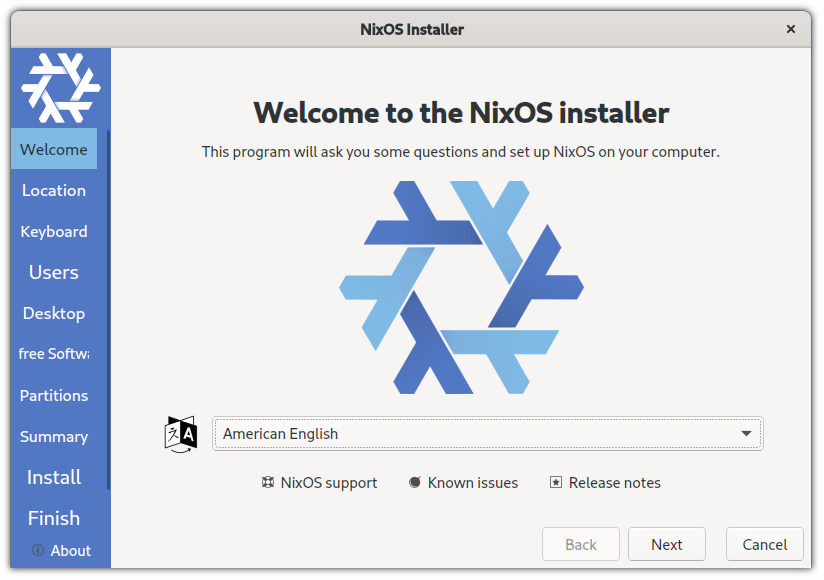
Select installer language
Once you boot into the NixOS, the installer will start and ask you to set the preferred language for the installer:
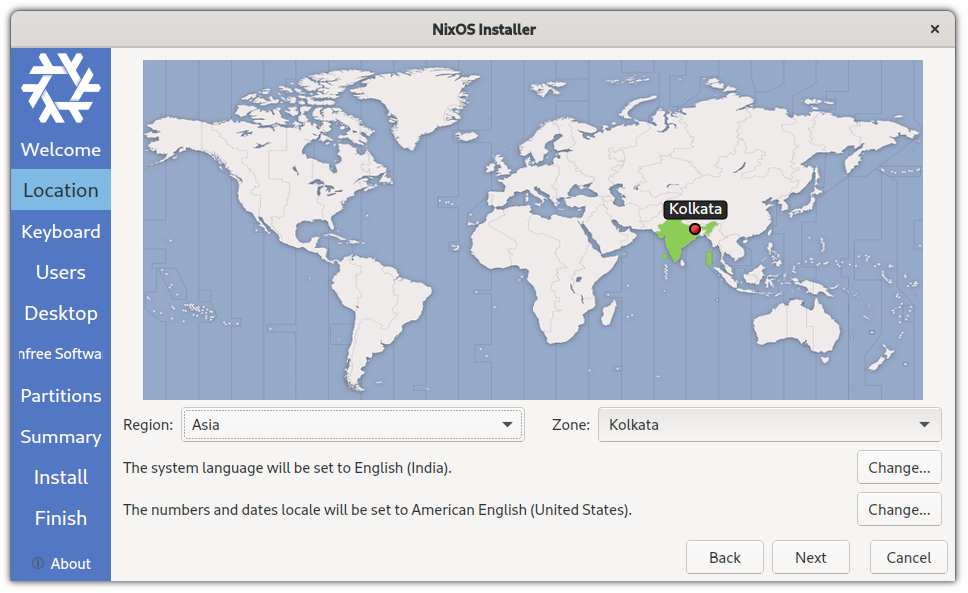
Choose region and timezone
Next, choose your region and zone. If you don’t know this, you can select your country from the map, which will set things for you.
Once you select the region and zone, it will also select the preferred language, numbers, and date locale.
Sure, you can change if you want to, but for most users, the selected options will work just fine:
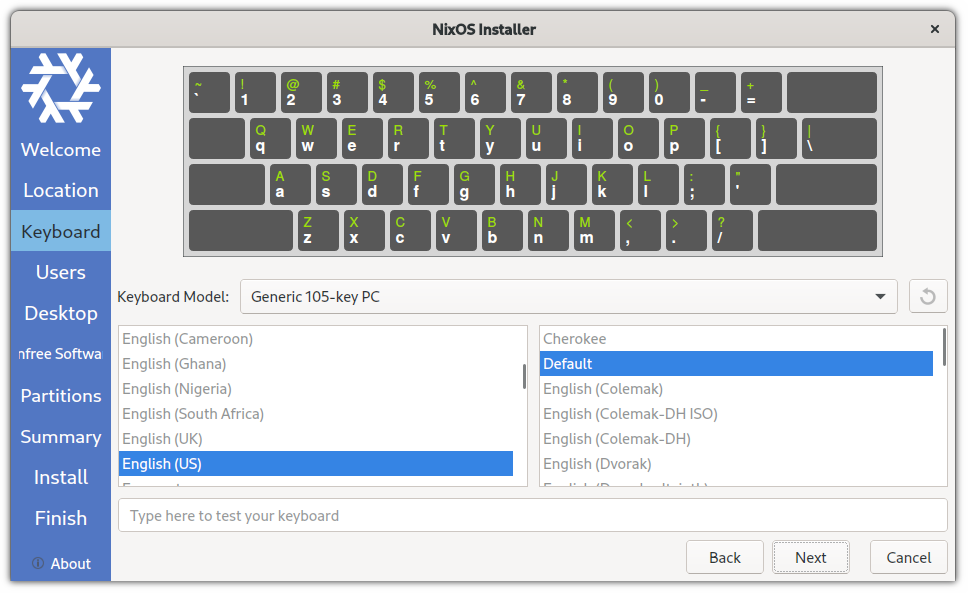
Select Keyboard layout
Next, you will have to set the keyboard layout. For most users, English (US) with default setting should work fine.
If you are going with something else, you can test your keyboard configuration before proceeding.
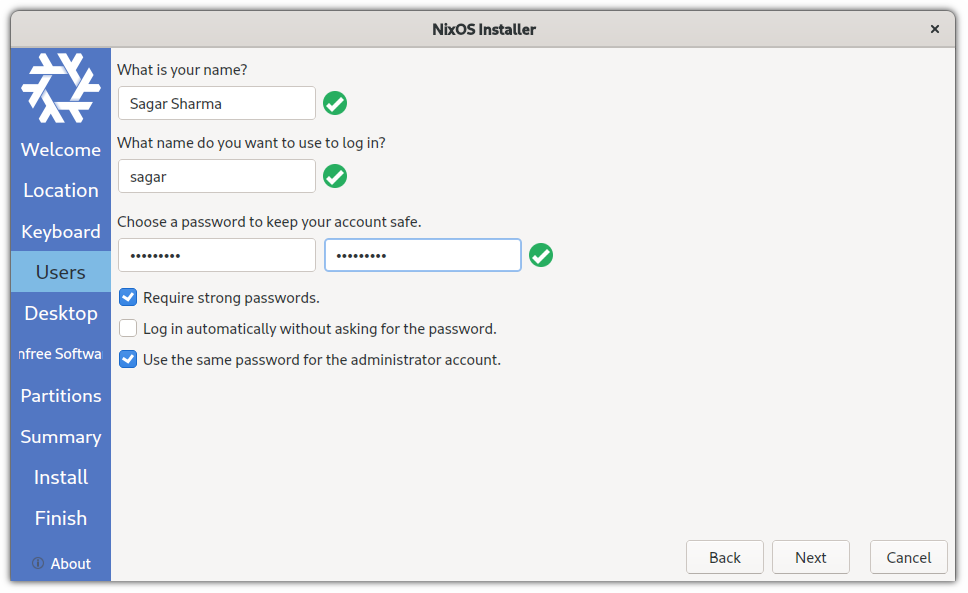
After that, you are asked to create a user and set a password for that user.
You can choose to keep a strong password or just anything random for the VM.
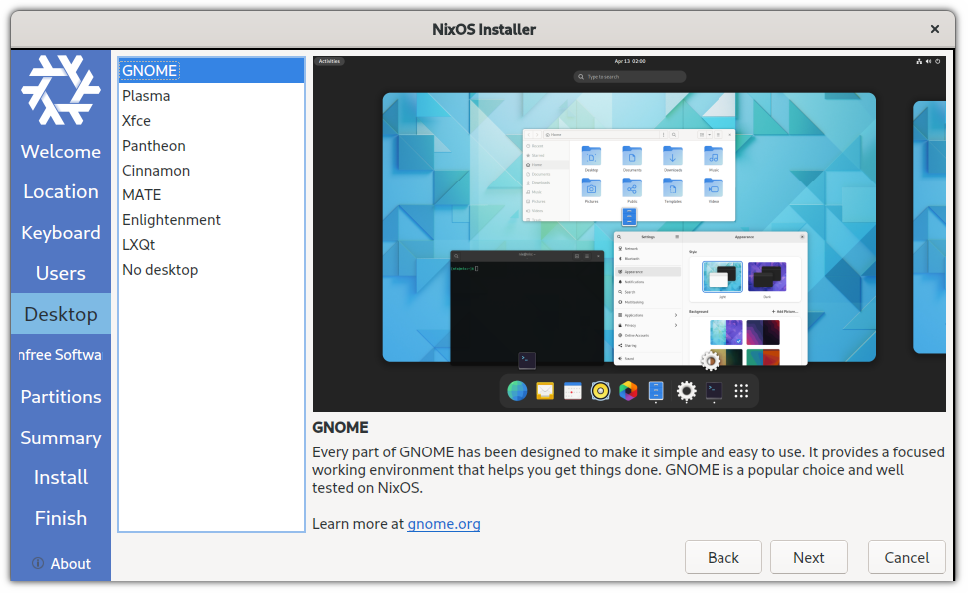
Select your favorite Desktop Environment
With NixOS, you are given the following choices for the desktop environment:
- GNOME
- KDE (best choice for customization)
- Xfce
- Pantheon (a desktop environment that ships with ElementaryOS)
- Cinnamon
- Enlightenment
- LXQt
Suggested Read 📖
Ankush Das
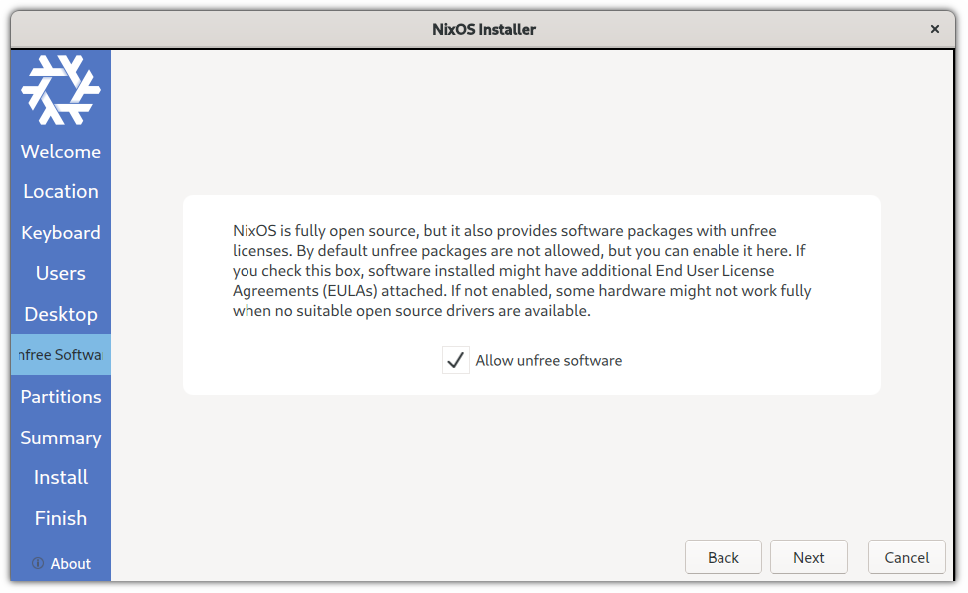
Use non-free software on NixOS
NixOS follows a similar approach to Fedora, where you have to choose whether you want the non-free software.
I would recommend you enable non-free packages:
The partitions part
As this is a VM guide, I will recommend you go with the Erase disk option that should partition the disk automatically!
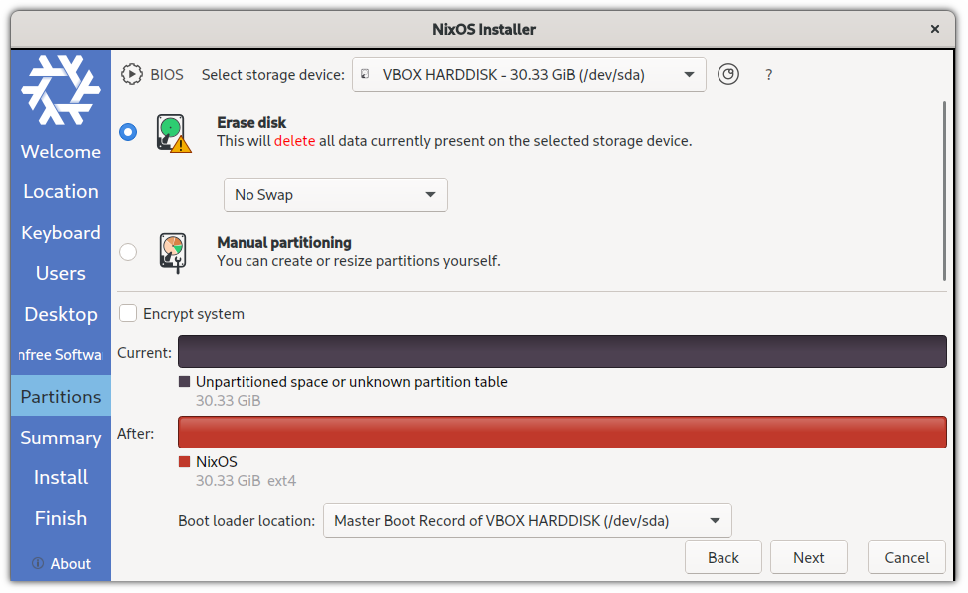
Once done, it will get you the summary of the choices you went with:
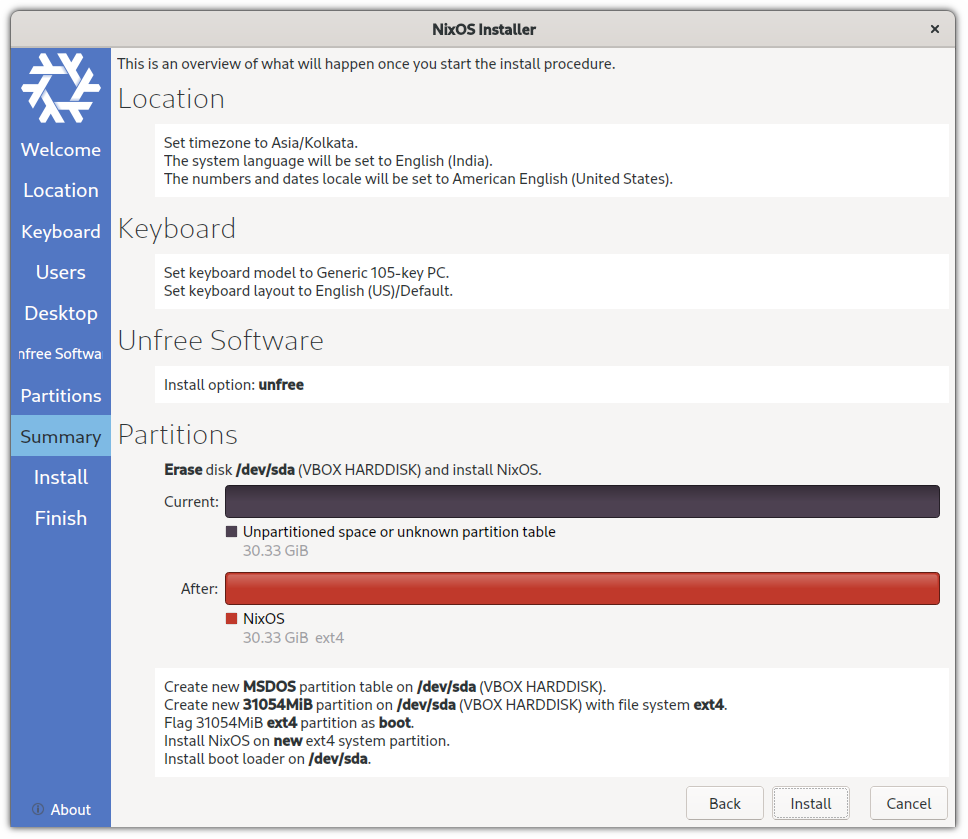
And if everything seems correct, click on the Install button, and it will start the installation button.
Don’t Reboot but turn off the VM
Once the installation is finished, you will be given the option to restart the VM.
And if you do so, it will load the installer again!
To solve this issue, you must make changes in the boot sequence.
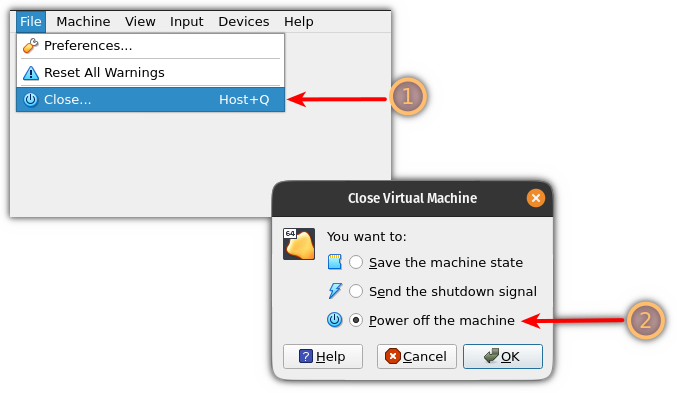
And to do that, power off your VM once the installation is complete.
To power off the VM, select the Close option from the File menu and select the Power off the machine option:
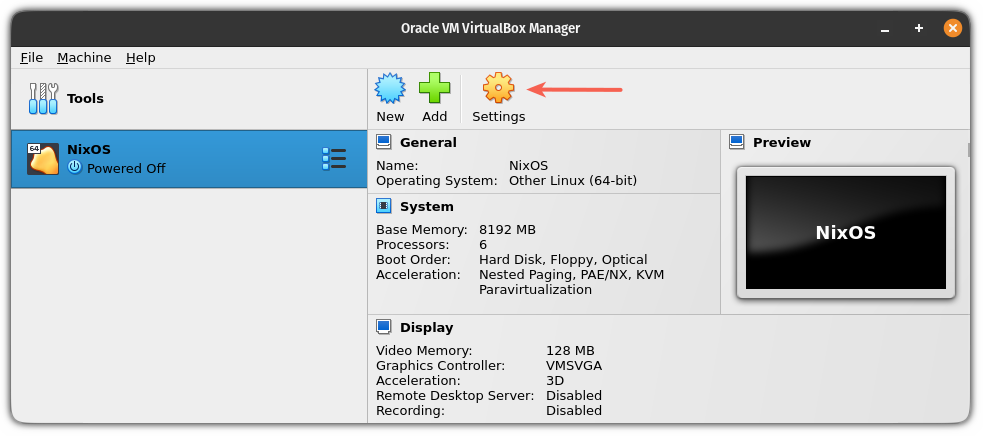
Change the boot order in VirtualBox
To change the boot order in the NixOS VM, open the settings for that VM:
In settings, select System and you will find the boot order.
Here, select the Hard Disk and use the up arrow icon next to the options and make it the first option to boot:
Press OK and it will save the changes you made.
Alternatively, you can remove the optical disk (ISO image) that we added to start the installation.
Step 4: Boot from NixOS install
Now, start your NixOS VM, and you will see a GRUB screen:
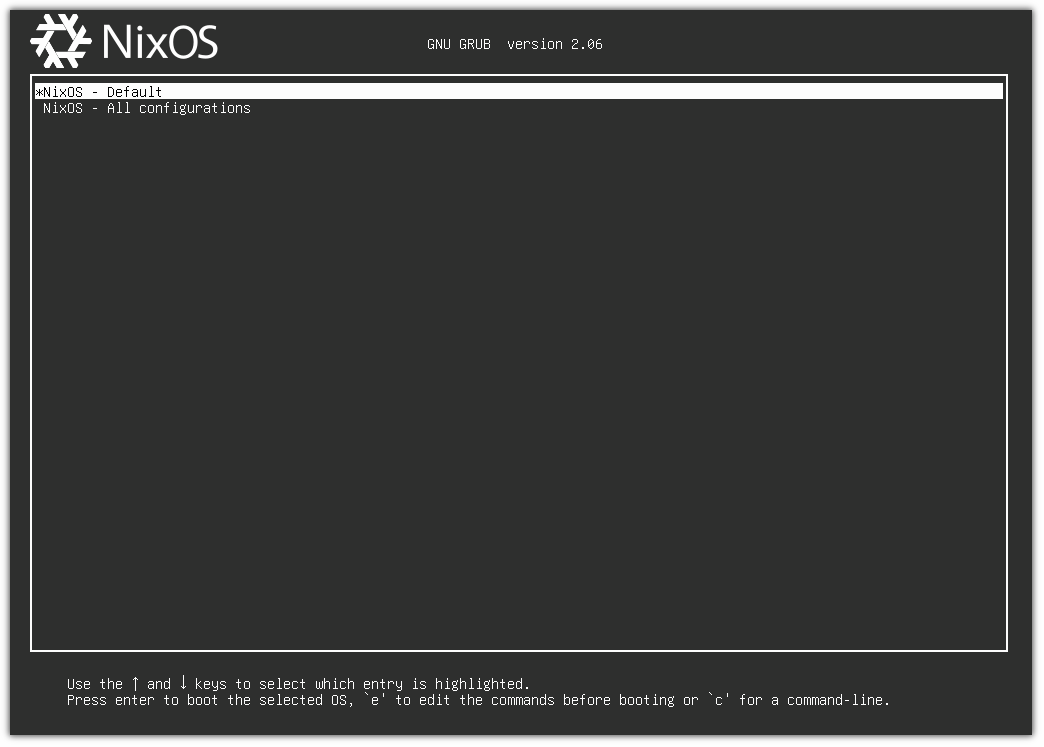
Select the default option, and it will get you into the fresh install of NixOS with the GNOME desktop.
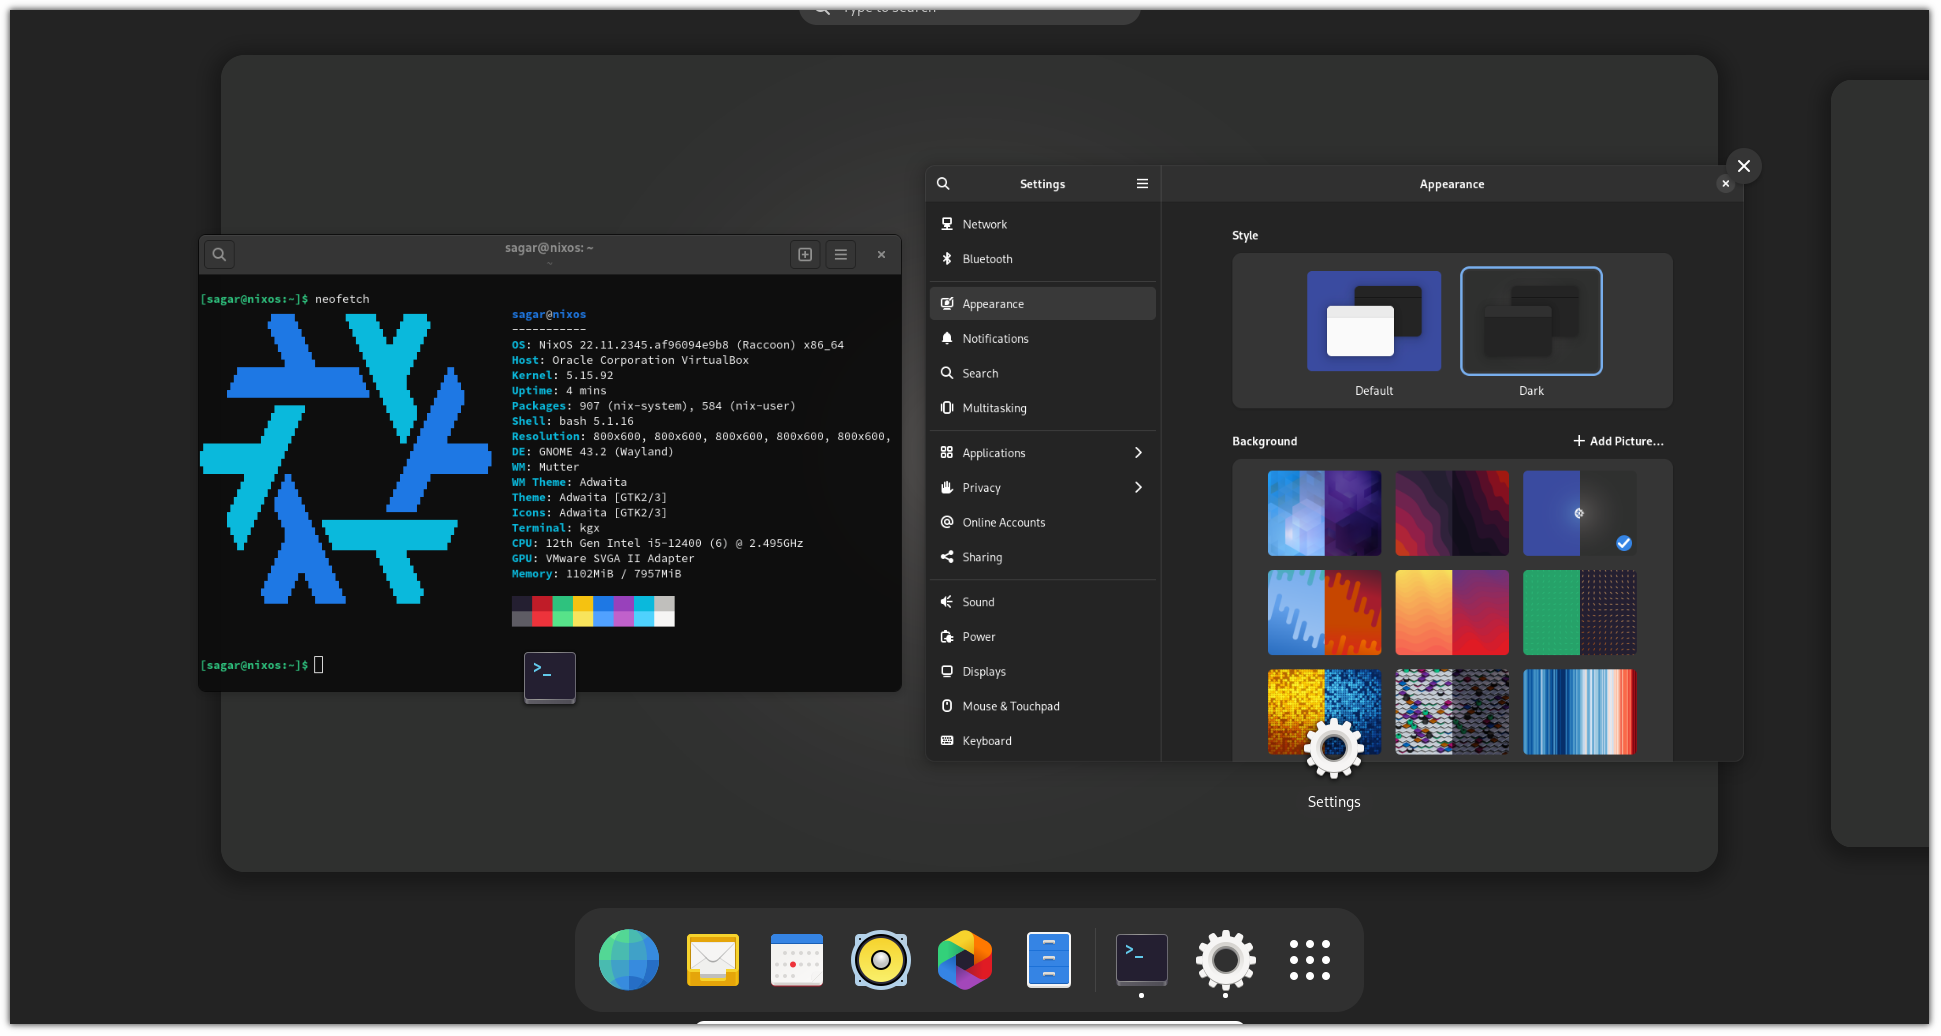
That’s it! Go on exploring NixOS!
Wrapping Up
This was a quick guide on how you can install NixOS on VirtualBox.
For the next part of the NixOS tutorial series, I shall share pointers on installing and removing packages.
💬 Stay tuned for the next part of the series. Until then, feel free to share your thoughts on NixOS and if you face any issues following the guide!